Description of this recipe
These buttermilk waffles are not just breakfast; they’re an experience. Each bite offers a delightful combination of a crisp exterior and a soft, tangy interior, making them a true comfort food classic. Perfectly balanced with a hint of sweetness and a touch of vanilla, these waffles are incredibly versatile and can be dressed up or down to suit any occasion.
Why you will love this recipe
You will love this buttermilk waffle recipe because it is simple, reliable, and incredibly satisfying. Unlike some waffle recipes that require complicated steps or hard-to-find ingredients, this one uses everyday pantry staples. The buttermilk adds a unique tanginess that elevates the flavor profile, creating a waffle that is both rich and refreshing. The method is straightforward, ensuring consistently perfect results every time. Whether you’re making a quick breakfast for yourself or a brunch spread for friends and family, these waffles are sure to impress.
Ingredients:
- 1 cup all-purpose flour
- 1 cup buttermilk
- 2 tbsp sugar
- 1 tbsp baking powder
- 1 large egg
- 4 tbsp unsalted butter, melted
- 1 tsp vanilla extract
- 1/4 tsp salt
Preparation:
Step 1: Preheat the Waffle Iron. This is a crucial step. Make sure your waffle iron is fully preheated according to the manufacturer’s instructions. A hot iron ensures that the waffles will cook quickly and evenly, developing a crispy exterior while maintaining a soft interior. If your waffle iron has adjustable settings, experiment to find the perfect temperature for your desired level of crispness.
Step 2: Combine Dry Ingredients. In a large bowl, whisk together the all-purpose flour, sugar, baking powder, and salt. Whisking is essential to ensure that the baking powder is evenly distributed throughout the flour, which will help the waffles rise properly and achieve a light, airy texture. The sugar adds a touch of sweetness and helps to caramelize the edges of the waffles, creating a delicious, golden-brown crust.
Step 3: Mix Wet Ingredients. In a separate bowl, mix the buttermilk, melted butter, egg, and vanilla extract until smooth. The buttermilk is the star of this recipe, providing a tangy flavor and contributing to the waffles’ tender texture. The melted butter adds richness and helps to prevent the waffles from sticking to the iron. The egg binds the ingredients together, while the vanilla extract enhances the overall flavor.
Step 4: Combine Wet and Dry Ingredients. Gently fold the wet ingredients into the dry ingredients until just combined. It is important not to overmix the batter, as this can develop the gluten in the flour, resulting in tough waffles. A few lumps in the batter are perfectly fine. Overmixing is a common mistake, so be mindful of this step.
Step 5: Cook the Waffles. Pour the batter onto the preheated waffle iron. The amount of batter you use will depend on the size of your waffle iron; consult the manufacturer’s instructions for guidance. Cook the waffles until they are golden brown and crisp, usually about 4-5 minutes. The exact cooking time will vary depending on your waffle iron, so keep an eye on them.
COOKING Rating: 5/5
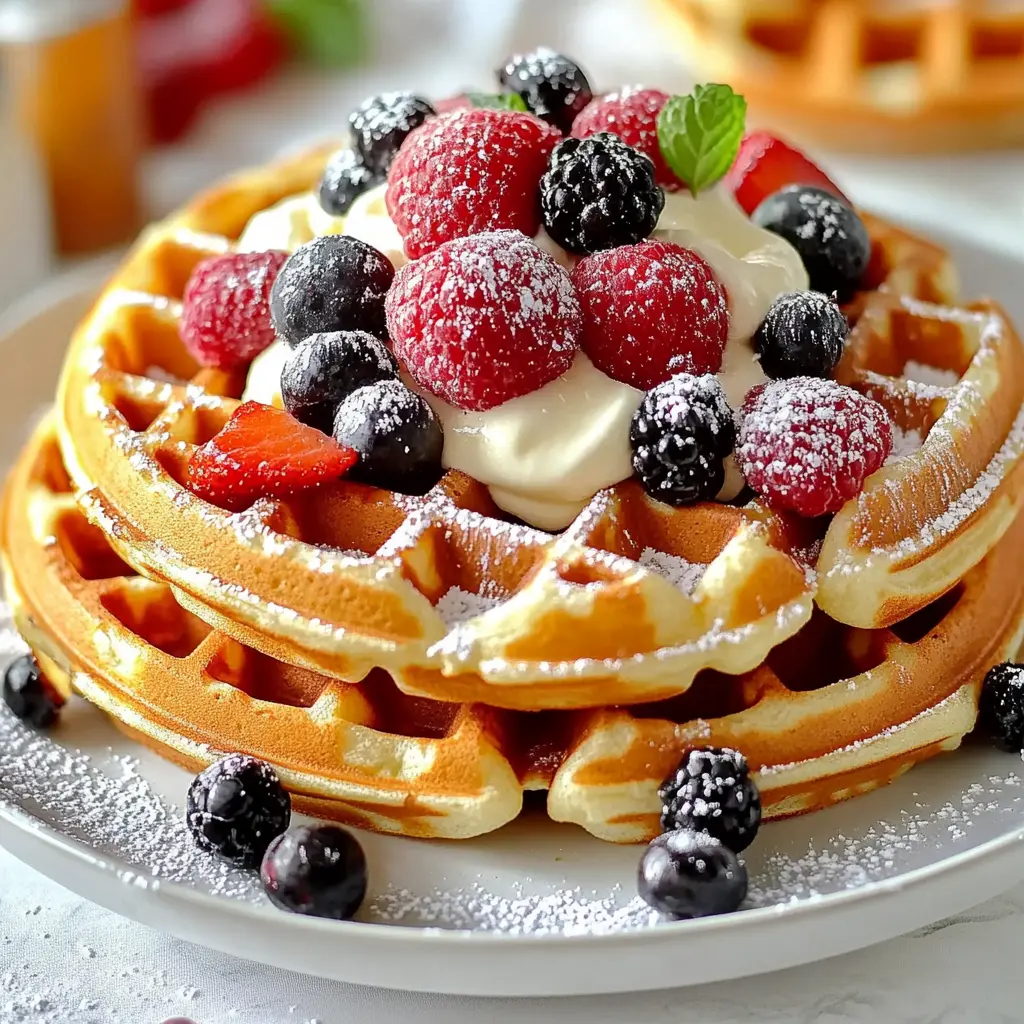
Serving Suggestions:
Serve these buttermilk waffles warm with your favorite toppings. Some popular options include fresh fruit (such as berries, bananas, or sliced peaches), maple syrup, whipped cream, chocolate sauce, and toasted nuts. For a savory twist, try topping them with fried chicken, a poached egg, and a drizzle of hot sauce.
Tips:
- For extra fluffy waffles, separate the egg and whisk the egg white until stiff peaks form. Gently fold the egg white into the batter just before cooking.
- To keep the waffles warm while you are making a large batch, place them on a wire rack in a preheated oven at 200°F (93°C).
- If you don’t have buttermilk on hand, you can make a substitute by adding 1 tablespoon of lemon juice or white vinegar to 1 cup of milk. Let it sit for 5 minutes before using.
- Experiment with different flavorings. Try adding a pinch of cinnamon, nutmeg, or cardamom to the dry ingredients. You can also add a tablespoon of lemon zest or orange zest to the wet ingredients for a citrusy twist.
Prep Time: 5 minutes
Cook Time: 10-15 minutes
Total Time: 15-20 minutes
Nutritional Information: (Approximate values per waffle, without toppings)
- Calories: 250
- Protein: 6g
- Sodium: 300mg
Conclusion
Buttermilk waffles are a breakfast staple that is easy to customize to your liking. With their tangy flavor, crispy exterior, and soft interior, they are sure to become a favorite in your household. This recipe is simple enough for a weekday breakfast yet elegant enough for a weekend brunch. Enjoy the process of making these waffles and savor every delicious bite!
Questions and Answers about Buttermilk Waffles
Q1: Can I use a different type of flour?
A1: Yes, you can experiment with different types of flour, but keep in mind that the texture of the waffles may change. Whole wheat flour will result in denser waffles, while gluten-free flour blends will require some adjustments to the liquid ratio. For best results with gluten-free flours, look for a blend that is specifically designed for baking and follow the instructions on the package.
Q2: Can I make the batter ahead of time?
A2: While you can make the batter ahead of time, it’s best to cook it immediately for the best results. If you must make it ahead, store it in the refrigerator for no more than 24 hours. Keep in mind that the baking powder will lose some of its potency over time, so the waffles may not rise as much. Stir the batter gently before using.
Q3: How do I prevent the waffles from sticking to the iron?
A3: Ensuring your waffle iron is properly preheated and lightly greased is key to preventing sticking. Use a non-stick cooking spray or brush the iron with melted butter before each batch. Avoid using too much oil, as this can make the waffles greasy.
Q4: Can I freeze leftover waffles?
A4: Yes, leftover waffles can be frozen for up to 2-3 months. To freeze, let the waffles cool completely on a wire rack. Then, place them in a single layer on a baking sheet and freeze for about 30 minutes to prevent them from sticking together. Once frozen, transfer them to a freezer-safe bag or container. To reheat, toast them in a toaster or oven until crisp and warm.
Q5: What can I add to the batter to make it more interesting?
A5: The possibilities are endless! Consider adding blueberries, chocolate chips, chopped nuts, or a sprinkle of cinnamon to the batter. For a savory option, try adding shredded cheese, chopped ham, or cooked bacon. Get creative and experiment with your favorite flavors! A personal recommendation: a bit of lemon zest brightens up the waffles wonderfully.