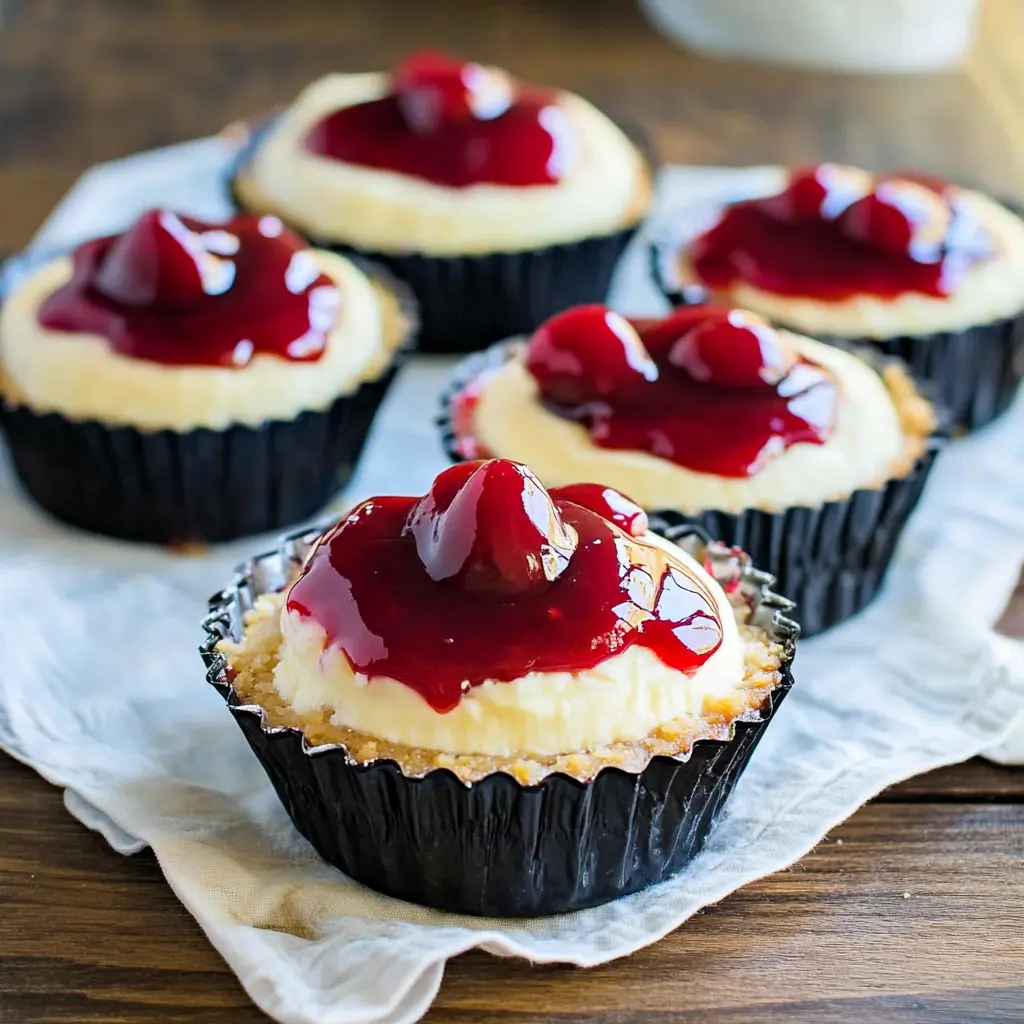
Description: These delightful Quick Cherry No-Bake Cheesecakes are the perfect dessert for any occasion. They offer a creamy, dreamy cheesecake filling nestled atop a sweet graham cracker crust and crowned with a generous dollop of luscious cherry pie filling. Best of all, they require no baking, making them incredibly easy and quick to prepare. This is an ideal treat for busy weeknights, potlucks, or when you simply crave something sweet and satisfying without the fuss of traditional baking.
Why You Will Love This Recipe:
- No-Bake Simplicity: The beauty of this recipe lies in its simplicity. No oven required! Perfect for hot summer days or when you’re short on time.
- Quick & Easy: From start to finish, these cheesecakes come together in under 30 minutes (plus chilling time).
- Customizable: The cherry pie filling can be easily swapped with other fruit fillings like blueberry, strawberry, or even chocolate ganache for a different flavor profile.
- Individual Portions: These mini cheesecakes are perfectly portioned, making them ideal for serving guests or controlling your own dessert intake.
- Crowd-Pleasing Flavor: The combination of creamy cheesecake, sweet graham cracker crust, and tangy cherry topping is a guaranteed crowd-pleaser.
Ingredients:
- 1 1/2 cups graham cracker crumbs
- 1/4 cup (1/2 stick) unsalted butter, melted
- 1/4 cup granulated sugar
- 8 oz cream cheese, softened
- 1 cup milk
- 3.4 oz instant vanilla pudding mix
- 1 (21 oz) can cherry pie filling
Preparation:
Step 1: Prepare the Crust
In a medium bowl, combine the graham cracker crumbs, melted butter, and sugar. Mix well until all the crumbs are moistened. The mixture should resemble wet sand. This is the foundation of your delightful no-bake cheesecakes, so ensure it’s properly mixed to hold its shape. The butter binds the crumbs together, while the sugar adds a touch of sweetness that complements the creamy filling and the tangy cherry topping. Feel free to adjust the sugar slightly based on your preference – some may prefer a slightly less sweet crust.
Step 2: Form the Crusts
Line a 12-cup muffin tin with paper liners. This makes removing the cheesecakes a breeze and adds a touch of elegance. Divide the graham cracker mixture evenly among the muffin cups. Using the back of a spoon or your fingers, press the mixture firmly into the bottom of each cup to form a compact crust. A well-pressed crust is essential to prevent it from crumbling when you add the cheesecake filling. Ensure the crust is even in each cup for a uniform presentation.
Step 3: Make the Cheesecake Filling
In a large bowl, beat the softened cream cheese with an electric mixer until light and fluffy. This step is crucial to achieving a smooth and creamy cheesecake filling. Make sure your cream cheese is at room temperature, or even slightly warmer, to prevent lumps from forming during mixing. Beat on medium speed until the cream cheese is completely smooth and airy.
Step 4: Incorporate the Pudding Mix and Milk
Add the instant vanilla pudding mix to the cream cheese and slowly beat in the milk until fully combined. Continue beating until the mixture is smooth, thick, and creamy. The instant pudding mix acts as a stabilizer, helping the cheesecake filling set properly without baking. Be sure to use instant pudding mix, not cook-and-serve, as the latter requires cooking to set.
Step 5: Assemble the Cheesecakes
Divide the cheesecake filling evenly among the muffin cups, on top of the graham cracker crusts. Smooth the tops with a spoon or spatula. At this point, you can get creative and add a few chocolate chips or a small piece of cherry to each cheesecake before chilling to add a special touch to your recipe.
Step 6: Chill to Set
Refrigerate the cheesecakes for at least 2 hours, or preferably overnight, to allow the filling to set completely. This is the most important step in the recipe, as it ensures that the cheesecakes are firm enough to hold their shape when removed from the muffin tin. Chilling the cheesecakes overnight allows the flavors to meld together, resulting in a more decadent and flavorful dessert.
Step 7: Top and Serve
Before serving, top each mini cheesecake with a generous tablespoon of cherry pie filling. This step adds a burst of fruity sweetness and a pop of color to the cheesecakes. If you’re not a fan of cherry pie filling, you can substitute it with other fruit fillings, chocolate ganache, whipped cream, or even a sprinkle of chocolate shavings.
COOKING Rating: Easy
Serving Suggestions:
- Serve these cheesecakes chilled as a refreshing dessert.
- Garnish with a dollop of whipped cream, a sprinkle of graham cracker crumbs, or a fresh cherry.
- Serve with a cup of coffee or tea for a delightful afternoon treat.
- These are perfect for parties, potlucks, or any occasion where you want a quick and easy dessert.
Tips:
- Make sure the cream cheese is softened to room temperature for a smooth filling.
- Press the graham cracker crust firmly into the muffin cups for a sturdy base.
- Chill the cheesecakes for at least 2 hours to allow the filling to set completely.
- For a richer flavor, use full-fat cream cheese.
- Experiment with different fruit fillings or toppings to customize the flavor.
- If you don’t have muffin liners, you can lightly grease the muffin tin with cooking spray.
Prep Time: 15 minutes
Cook Time: 5 minutes (for the crust, optional)
Total Time: 2 hours 20 minutes (includes chilling time)
Nutritional Information: (Approximate, per cheesecake)
Calories: 250
Protein: 4g
Sodium: 150mg
Conclusion:
These Quick Cherry No-Bake Cheesecakes are a testament to the fact that delicious desserts don’t have to be complicated or time-consuming. With just a handful of ingredients and a few simple steps, you can create a creamy, dreamy, and utterly irresistible treat that everyone will love. Whether you’re a seasoned baker or a novice in the kitchen, this recipe is sure to become a go-to for satisfying your sweet tooth. So, go ahead and whip up a batch of these delightful cheesecakes – you won’t regret it!
5 Questions and Answers About This Recipe:
Q1: Can I use a different type of crust?
A: Absolutely! While the graham cracker crust is a classic choice, you can easily substitute it with other cookie crumbs like Oreo crumbs (with the cream filling removed), vanilla wafers, or even shortbread cookies. Just make sure to adjust the amount of butter accordingly to ensure the crust holds together properly.
Q2: Can I use a different type of pudding mix?
A: Yes, you can experiment with different pudding flavors to customize the flavor of your cheesecakes. Cheesecake pudding mix would be a natural complement, but if you can’t find that, cream cheese or white chocolate pudding would both work very well. Consider using chocolate pudding for a chocolate cheesecake base to complement the cherry topping, or even lemon pudding for a zesty twist. Be mindful of the color of the pudding mix if you are going for a particular aesthetic appeal.
Q3: Can I make these cheesecakes ahead of time?
A: Definitely! In fact, these cheesecakes are perfect for making ahead of time. They can be stored in the refrigerator for up to 2 days without compromising their quality. Just make sure to cover them tightly with plastic wrap to prevent them from drying out. You can even assemble the cheesecakes a day in advance and add the cherry pie filling just before serving for the best flavor and texture.
Q4: Can I freeze these cheesecakes?
A: While it’s not recommended to freeze these cheesecakes for long periods, you can freeze them for up to a week without significantly affecting their quality. However, be aware that the texture of the cheesecake filling may change slightly after thawing. To freeze, place the cheesecakes in a single layer on a baking sheet and freeze until solid. Then, wrap each cheesecake individually in plastic wrap and store them in a freezer-safe bag or container. Thaw in the refrigerator before serving.
Q5: What can I use if I don’t have muffin liners?
A: If you don’t have muffin liners, you can lightly grease the muffin tin with cooking spray or melted butter. This will help prevent the cheesecakes from sticking to the pan and make them easier to remove. Alternatively, you can use silicone muffin cups, which are naturally non-stick and reusable. If you are using silicone cups, no greasing is needed.