Description of this recipe
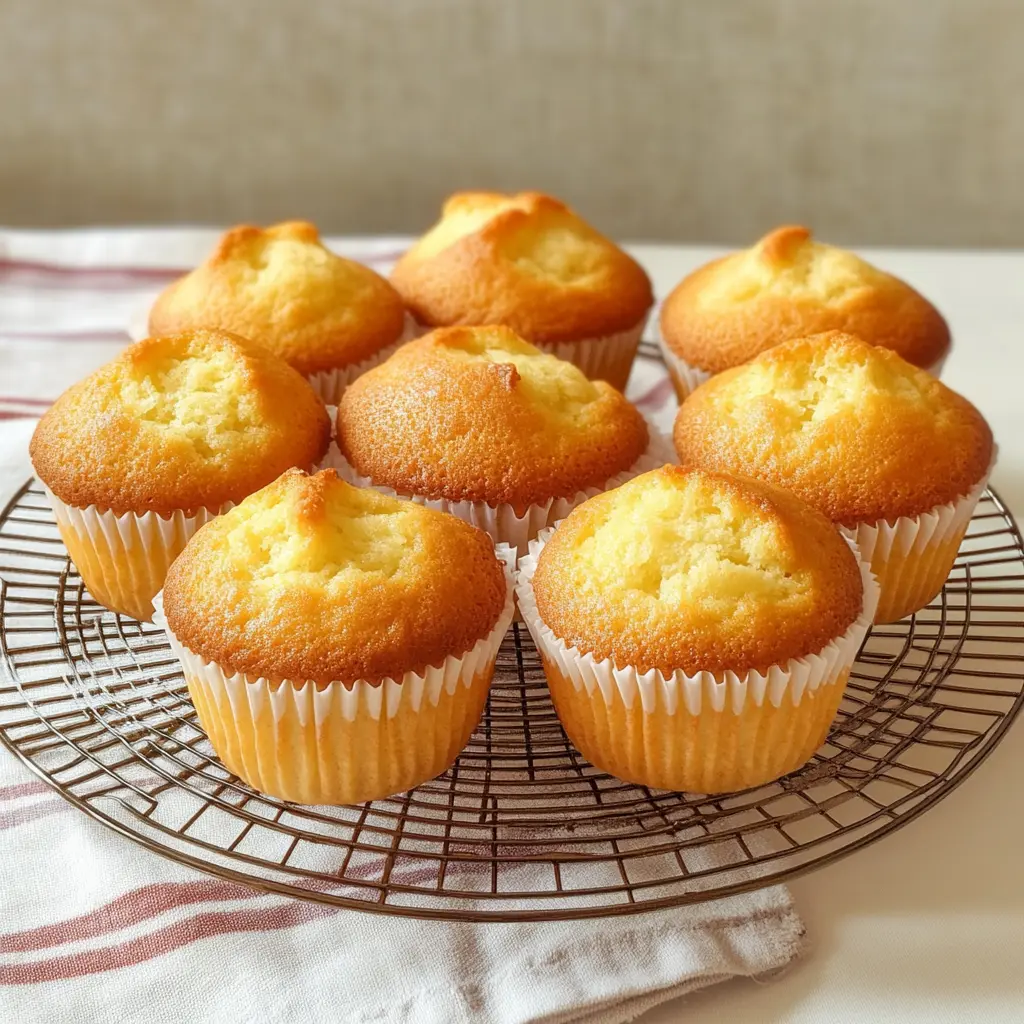
Indulge in the ultimate breakfast treat with these Super Fluffy Homemade Muffins. Crafted to perfection, these muffins boast an airy, delicate texture that effortlessly melts in your mouth. The secret lies in the precise blending of ingredients, which creates an exceptional rise, while the infusion of buttermilk ensures a remarkably tender crumb. Perfect for a leisurely weekend breakfast, a delightful afternoon snack, or a comforting addition to any meal, these muffins are sure to become a family favorite.
Why you will love this recipe
You’ll adore this muffin recipe for its simplicity and the sheer delight of biting into a cloud-like treat. What sets these muffins apart is their incredible fluffiness, achieved through a combination of perfectly balanced ingredients and careful mixing techniques. The buttermilk adds a subtle tang and unmatched tenderness, making each bite a truly memorable experience. Whether you’re a seasoned baker or just starting out, this recipe is foolproof and yields consistent, delightful results every time. Plus, the customizable mix-ins allow you to cater to everyone’s tastes, from classic chocolate chip to vibrant blueberry.
Ingredients:
- 2 ½ cups all-purpose flour
- 1 cup granulated sugar
- 2 ½ tsp baking powder
- ½ tsp baking soda
- ½ tsp salt
- 2 large eggs
- 1 cup buttermilk (or substitute with milk + 1 tbsp vinegar)
- ½ cup unsalted butter, melted
- 1 tsp vanilla extract
- Optional: 1 cup mix-ins (chocolate chips, blueberries, nuts, etc.)
Preparation:
Step 1: Preheat the Oven and Prepare the Muffin Tin
Begin by preheating your oven to a precise 375°F (190°C). This temperature is crucial for achieving the perfect rise and golden-brown crust.
Next, prepare your 12-cup muffin tin. You have two options here: either line each cup with paper liners for easy removal and cleanup, or lightly grease the tin with cooking spray to prevent the muffins from sticking. If you opt for greasing, ensure you reach every nook and cranny for best results.
Step 2: Mix the Dry Ingredients
In a generously sized mixing bowl, combine all the dry ingredients. This includes 2 ½ cups of all-purpose flour, 1 cup of granulated sugar, 2 ½ teaspoons of baking powder, ½ teaspoon of baking soda, and ½ teaspoon of salt.
Whisk these ingredients together thoroughly. Whisking is essential to ensure that the baking powder and baking soda are evenly distributed throughout the flour, which is what gives the muffins their light and airy texture.
Step 3: Mix the Wet Ingredients
In a separate, medium-sized bowl, lightly beat 2 large eggs. You don’t need to whip them vigorously; just break the yolks and combine them with the whites.
Add 1 cup of buttermilk (or your milk and vinegar substitute), ½ cup of melted unsalted butter, and 1 teaspoon of vanilla extract to the beaten eggs. Mix these wet ingredients together until they are smooth and fully incorporated. The buttermilk adds a subtle tang and helps to create an incredibly tender crumb. If you’re using the milk and vinegar substitute, allow the mixture to sit for a few minutes to allow the milk to curdle slightly, mimicking the effect of buttermilk.
Step 4: Combine the Wet and Dry Ingredients
Now it’s time to bring the wet and dry ingredients together. Create a well in the center of the dry ingredients in the large bowl. This well will serve as a reservoir for the wet ingredients, allowing for a more even distribution.
Pour the wet mixture into the well and gently fold it into the dry ingredients using a spatula. This is a crucial step, so be careful not to overmix the batter. Overmixing develops the gluten in the flour, which can result in tough, dense muffins. You want the batter to be just combined, with some lumps still visible. These lumps will contribute to the muffins’ fluffy texture.
If you’re adding any mix-ins, such as chocolate chips, blueberries, or nuts, gently fold them in now. Distribute them evenly throughout the batter, again being careful not to overmix.
Step 5: Fill the Muffin Tin
Using an ice cream scoop or a large spoon, scoop the batter evenly into the prepared muffin cups. Fill each cup about ¾ full. This leaves enough room for the muffins to rise without overflowing.
For an extra fluffy rise and a nice domed top, you can add a little extra batter to the top of each cup. This will create a visually appealing muffin with a beautiful, rounded shape.
Step 6: Bake the Muffins
Place the muffin tin in the preheated oven and bake for 18-22 minutes. Keep a close eye on them, as baking times can vary depending on your oven.
The muffins are done when a toothpick inserted into the center comes out clean or with just a few moist crumbs. The tops should be golden brown and spring back lightly when touched.
Allow the muffins to cool in the tin for a few minutes before transferring them to a wire rack to cool completely. This prevents them from becoming soggy and ensures they maintain their fluffy texture.
COOKING Rating:
Easy
Serving Suggestions:
These Super Fluffy Homemade Muffins are incredibly versatile and can be enjoyed in countless ways. Here are a few serving suggestions to elevate your muffin experience:
- Breakfast Staple: Enjoy them warm with a pat of butter or a dollop of your favorite jam or marmalade. Pair them with a cup of coffee or tea for a delightful start to your day.
- Afternoon Snack: These muffins make a perfect afternoon treat for both kids and adults. Pack them in lunchboxes or enjoy them as a quick and satisfying snack between meals.
- Dessert Delight: Serve them warm with a scoop of vanilla ice cream or a drizzle of chocolate sauce for a simple yet elegant dessert. A dusting of powdered sugar adds a touch of sophistication.
- Brunch Addition: Add these muffins to your brunch spread for a guaranteed crowd-pleaser. They pair well with savory dishes like quiche, frittatas, and breakfast casseroles.
- Gift Giving: These muffins make a thoughtful and delicious homemade gift. Package them in a decorative box or basket and share them with friends, family, or neighbors.
Tips:
- Don’t Overmix: The key to fluffy muffins is to avoid overmixing the batter. Mix the wet and dry ingredients until just combined, leaving some lumps.
- Use Buttermilk: Buttermilk adds a tangy flavor and tender crumb to the muffins. If you don’t have buttermilk, you can make a substitute by adding 1 tablespoon of vinegar or lemon juice to 1 cup of milk.
- Melted Butter: Using melted butter ensures that the muffins are moist and tender. Make sure the butter is cooled slightly before adding it to the wet ingredients.
- Room Temperature Ingredients: Using room temperature eggs and buttermilk helps the batter come together more easily and results in a smoother texture.
- Mix-Ins: Feel free to experiment with different mix-ins, such as chocolate chips, blueberries, nuts, dried fruit, or spices.
- Storage: Store the muffins in an airtight container at room temperature for up to 3 days or in the refrigerator for up to a week. You can also freeze them for longer storage.
Prep Time:
15 minutes
Cook Time:
18-22 minutes
Total Time:
33-37 minutes
Nutritional Information:
(Approximate values, will vary based on specific ingredients and mix-ins)
Calories:
220-280 per muffin
Protein:
4-6 grams per muffin
Sodium:
200-250 mg per muffin
Conclusion
These Super Fluffy Homemade Muffins are a testament to the magic of simple ingredients combined with careful technique. Their delicate texture and customizable flavors make them a delightful treat for any occasion. Whether you’re enjoying them for breakfast, as a snack, or as part of a dessert spread, these muffins are sure to bring a smile to your face. So, grab your mixing bowls and get ready to bake a batch of these irresistible delights!
Questions and Answers about this recipe
Q1: Can I use self-rising flour instead of all-purpose flour and baking powder?
A: While you can use self-rising flour, you’ll need to adjust the recipe slightly. Since self-rising flour already contains baking powder and salt, you should omit the baking powder and salt from the recipe. The muffins may not be as light and fluffy as when using all-purpose flour and baking powder separately, but it’s a workable substitution in a pinch.
Q2: What can I do if I don’t have buttermilk?
A: If you don’t have buttermilk on hand, you can easily make a substitute. Simply add 1 tablespoon of white vinegar or lemon juice to a liquid measuring cup, then fill the cup with milk until it reaches the 1-cup mark. Stir the mixture and let it sit for 5-10 minutes. The milk will curdle slightly, mimicking the texture and acidity of buttermilk. This substitute works surprisingly well in the recipe and will still provide a tender crumb.
Q3: Can I freeze these muffins for later?
A: Absolutely! These muffins freeze exceptionally well. Allow the muffins to cool completely on a wire rack. Then, place them in a single layer on a baking sheet and freeze for about an hour, or until they are solid. This prevents them from sticking together when you store them. Once frozen, transfer the muffins to a freezer-safe bag or container. They can be stored in the freezer for up to 2-3 months. When you’re ready to enjoy them, simply thaw them at room temperature or warm them in the oven or microwave.
Q4: How can I prevent my muffins from sticking to the muffin tin?
A: To prevent muffins from sticking to the muffin tin, you have a couple of options. The most reliable method is to use paper liners. These liners create a barrier between the muffins and the tin, making them easy to remove. Alternatively, you can grease the muffin tin thoroughly with cooking spray. Make sure to spray every nook and cranny of the tin to ensure the muffins release easily. If you’re using cooking spray, you might also consider dusting the greased tin with flour for extra insurance.
Q5: My muffins are browning too quickly on top. What can I do?
A: If you notice that your muffins are browning too quickly on top before they are fully cooked inside, you can tent the muffin tin with aluminum foil. Simply loosely cover the muffin tin with a sheet of foil, making sure not to press the foil down onto the muffins. This will help to deflect some of the heat and prevent the tops from burning, while still allowing the muffins to cook through. You can also try lowering the oven temperature by 25 degrees and baking them for a few minutes longer. Keep a close eye on them to ensure they don’t dry out.