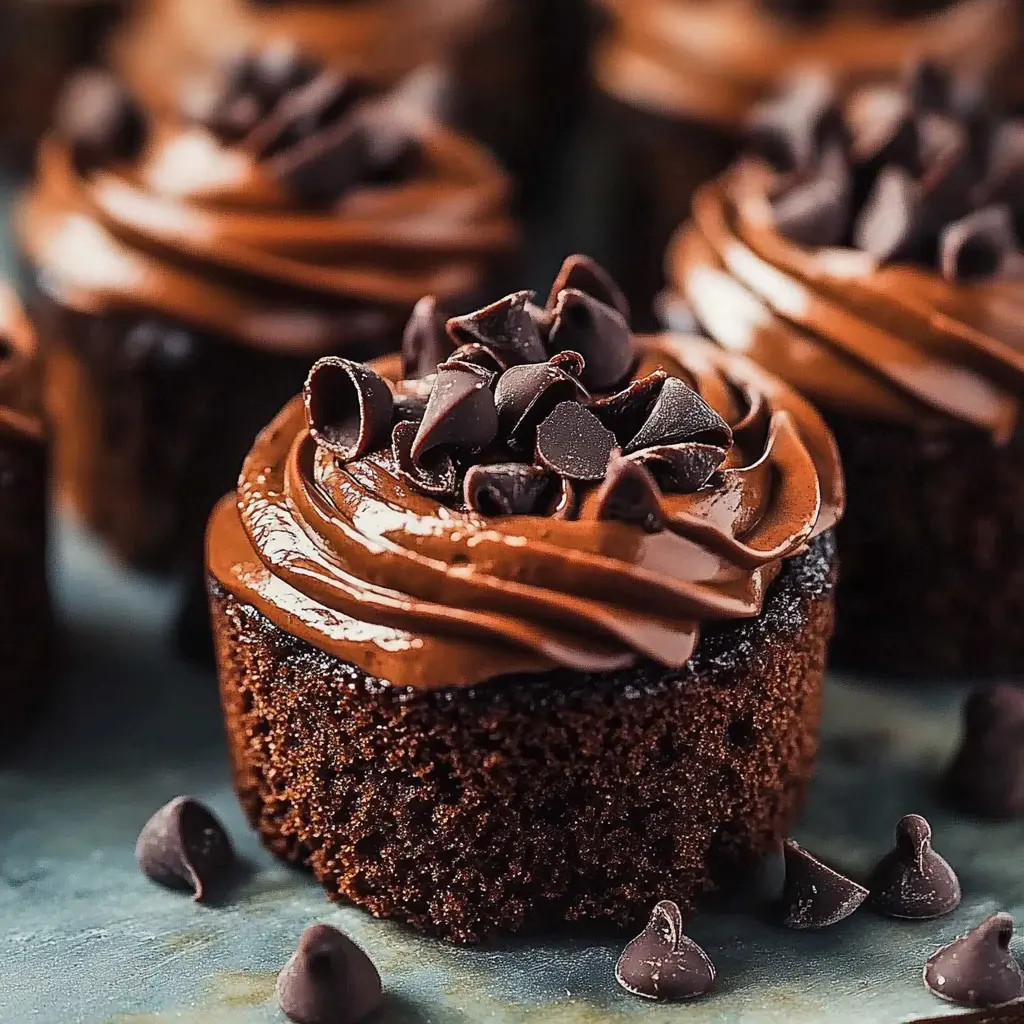
These decadent mini chocolate cakes are the perfect individual dessert, offering a rich and intense chocolate experience in every bite. With a gooey, molten center and a slightly firm exterior, they are sure to satisfy any chocolate craving. Perfect for special occasions or a cozy night in, these cakes are surprisingly easy to make and incredibly impressive.
Why You Will Love This Recipe
These mini chocolate cakes are a chocolate lover’s dream come true. Here’s why you’ll adore them:
- Intense Chocolate Flavor: Made with high-quality dark chocolate, these cakes deliver a deeply satisfying chocolate experience that is both rich and complex.
- Gooey Molten Center: The contrast between the slightly firm exterior and the warm, molten center creates a delightful textural experience that is simply irresistible.
- Easy to Make: Despite their elegant presentation, these cakes are surprisingly simple to prepare, requiring just a few basic ingredients and minimal effort.
- Perfect Individual Portions: The mini size makes them ideal for individual servings, allowing you to indulge without feeling guilty and eliminating the need for slicing and serving.
- Versatile: These cakes can be customized with various toppings and served with a variety of accompaniments, making them perfect for any occasion.
Ingredients:
- 150g dark chocolate (70% cocoa), chopped
- 100g unsalted butter
- 2 large eggs
- 2 large egg yolks
- 100g caster sugar
- 50g plain flour, sifted
- 1 tsp vanilla extract
- Pinch of salt
- Cocoa powder or icing sugar, for dusting
Preparation:
Step 1: Preheat the oven to 200°C (390°F). Grease six 6-ounce ramekins or muffin tins with butter and dust with cocoa powder. This ensures the cakes release easily and adds a subtle chocolate flavor to the exterior. Prepare all your ingredients ahead of time.
Step 2: Melt the dark chocolate and butter together in a heatproof bowl over simmering water (double boiler method) or in short bursts in the microwave. If using the microwave, heat in 30-second intervals, stirring in between, to prevent burning. Stir until smooth and glossy, then remove from heat. Allow to cool slightly before proceeding. This step is crucial for achieving the perfect consistency and preventing the chocolate from seizing.
Step 3: In a separate bowl, whisk the eggs, egg yolks, and caster sugar together until pale and slightly thickened. This incorporates air into the mixture, creating a light and airy texture that will contribute to the cake’s molten center. Whisk vigorously for about 3-5 minutes until the mixture ribbons when the whisk is lifted.
Step 4: Gently fold the melted chocolate mixture into the egg mixture. Be careful not to overmix, as this can deflate the eggs and result in a dense cake. Use a rubber spatula and fold in a figure-eight motion until just combined.
Step 5: Sift the flour and salt into the bowl and gently fold it in, being careful not to overmix. Overmixing will develop the gluten in the flour, resulting in a tough cake. Stir in the vanilla extract. Mix until just combined, ensuring there are no streaks of flour remaining.
Step 6: Divide the batter evenly between the prepared ramekins, filling them about three-quarters full. This ensures that the cakes bake evenly and have enough room to rise without overflowing.
Step 7: Bake for 10-12 minutes until the edges are set but the center remains soft and slightly gooey. The baking time may vary depending on your oven, so keep a close eye on the cakes. Do not overbake! Overbaking will result in a dry, solid cake instead of a molten-centered treat.
Step 8: Remove from the oven and let sit for 1 minute. This allows the cakes to set slightly and makes them easier to handle.
Step 9: Run a knife around the edges to loosen the cakes and invert onto serving plates. Dust with cocoa powder or icing sugar for an elegant finish.
Step 10: Serve immediately. These cakes are best enjoyed warm, when the molten center is at its most decadent.
COOKING Rating:
Easy
Serving Suggestions:
These mini chocolate cakes can be served on their own or with a variety of accompaniments. Here are a few suggestions:
- Vanilla Ice Cream: The classic pairing of warm chocolate cake and cold vanilla ice cream is always a winner. The contrast in temperature and texture is simply divine.
- Fresh Berries: A handful of fresh raspberries, strawberries, or blueberries adds a burst of freshness and acidity that complements the richness of the chocolate.
- Whipped Cream: A dollop of freshly whipped cream adds a light and airy element to the dessert, balancing the intensity of the chocolate.
- Chocolate Sauce: For an extra decadent treat, drizzle with warm chocolate sauce.
- Coffee or Tea: A cup of coffee or tea is the perfect accompaniment to these rich chocolate cakes.
Tips:
- Use High-Quality Chocolate: The quality of the chocolate will greatly impact the flavor of the cakes. Use a dark chocolate with at least 70% cocoa for the best results.
- Don’t Overmix the Batter: Overmixing the batter will develop the gluten in the flour, resulting in a tough cake. Mix until just combined.
- Don’t Overbake the Cakes: Overbaking will result in a dry, solid cake instead of a molten-centered treat. The centers should still be slightly gooey when you remove them from the oven.
- Serve Immediately: These cakes are best enjoyed warm, when the molten center is at its most decadent.
Prep Time:
15 minutes
Cook Time:
10-12 minutes
Total Time:
25-27 minutes
Nutritional Information (per serving):
(Note: Nutritional information is approximate and may vary based on specific ingredients used.)
Calories: Approximately 350-400
Protein: 5-7g
Sodium: 50-75mg
Conclusion
These mini chocolate cakes are a delightful and indulgent treat that is perfect for any occasion. With their rich chocolate flavor, gooey molten center, and elegant presentation, they are sure to impress your guests and satisfy your chocolate cravings. So gather your ingredients, follow the simple steps, and enjoy these heavenly mini chocolate cakes!
Questions and Answers:
Q1: Can I use milk chocolate instead of dark chocolate?
A: While you can use milk chocolate, the flavor will be significantly different. Dark chocolate provides a richer and more intense chocolate flavor that is characteristic of these cakes. If you prefer a sweeter taste, you can use a semi-sweet chocolate, but keep in mind that the texture might be slightly different as well.
Q2: Can I make these cakes ahead of time?
A: These cakes are best served immediately after baking to enjoy the molten center. If you need to prepare ahead of time, you can mix the batter and store it in the refrigerator for up to 24 hours. However, the texture might change slightly. When ready to bake, bring the batter to room temperature and bake as directed. Note that the molten center might not be as pronounced.
Q3: Can I freeze these cakes?
A: Freezing these cakes is not recommended, as the texture of the molten center will change upon thawing. The high butter content can also make them less stable when frozen. It’s best to bake them fresh for the best results.
Q4: I don’t have ramekins. Can I use muffin tins?
A: Yes, you can use muffin tins. Be sure to grease and dust them with cocoa powder just like you would with ramekins. The baking time might be slightly shorter, so keep a close eye on them. The shape will be different, but the taste will be just as delicious.
Q5: What can I do if the centers aren’t molten enough?
A: If the centers aren’t molten enough, it could be due to overbaking or your oven temperature. Make sure your oven is calibrated correctly. Next time, try reducing the baking time by a minute or two. The centers should still be slightly wobbly when you take them out of the oven. Remember, they will continue to cook slightly as they cool.