Description of this recipe
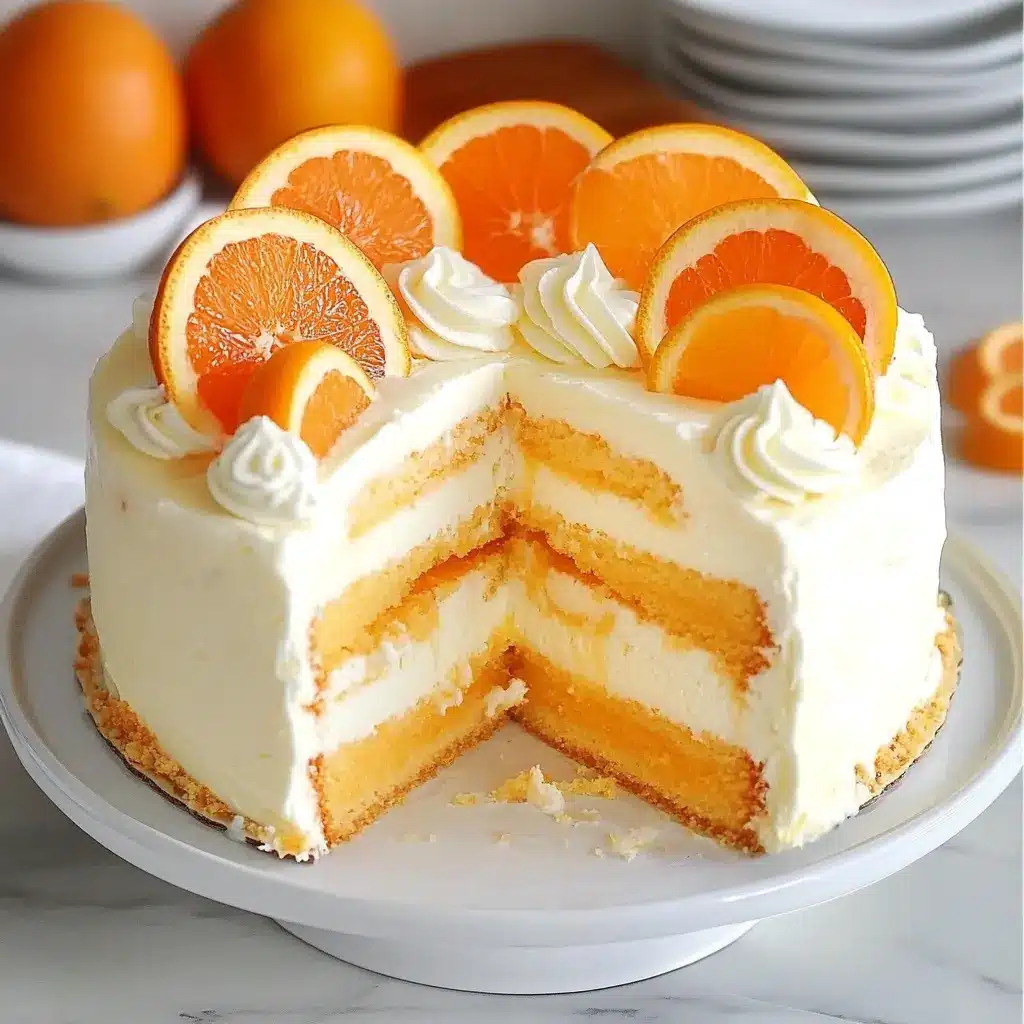
This Orange Creamsicle Ice Cream Cake is a delightful frozen dessert that perfectly captures the nostalgic flavors of the classic orange creamsicle popsicle. It features a moist and tender cake layer infused with orange Jell-O, topped with creamy layers of vanilla and orange-flavored ice cream. The cake is then frosted with whipped topping and garnished with orange candy slices, creating a visually stunning and delicious treat. Every bite is a burst of citrusy sweetness balanced by the rich creaminess of the ice cream, making it a perfect dessert for any occasion, especially during warm weather.
Why you will love this recipe
This Orange Creamsicle Ice Cream Cake is a guaranteed crowd-pleaser for several reasons:
- Nostalgic Flavors: It recreates the beloved orange creamsicle flavor profile, bringing back fond childhood memories with every bite.
- Easy to Make: Despite its impressive appearance, this cake is surprisingly easy to assemble, requiring minimal baking and no complicated techniques.
- Make-Ahead Friendly: This dessert can be made well in advance and stored in the freezer, making it ideal for parties and gatherings.
- Customizable: You can easily adapt the recipe to suit your preferences by using different flavors of Jell-O or adding additional toppings.
- Visually Appealing: The vibrant colors and elegant presentation make this cake a showstopper, perfect for impressing your guests.
Ingredients:
Cake Layer:
- 3/4 cup + 2 tbsp all-purpose flour
- 1/2 cup granulated sugar
- 1 1/4 tsp baking powder
- 6 tbsp salted butter, softened to room temperature
- 2 large egg whites
- 1 1/2 tsp vanilla extract
- 1/4 cup sour cream
- 1/4 cup milk
- 3 tbsp hot water
- 3 tbsp orange Jell-O powder
Ice Cream Layers:
- 12 oz cream cheese, softened
- 3/4 cup granulated sugar
- 1/4 cup milk
- 12 oz Cool Whip
- Remainder of 3 oz orange Jell-O powder (less 3 tbsp used above)
- 2 tbsp hot water
- 2 tsp vanilla extract
Additional Toppings:
- 8 oz Cool Whip
- Orange candy slices
- Orange gel food coloring (optional)
Preparation:
Cake:
Step 1: Preheat the oven to 350°F (175°C). Line an 8-inch round cake pan with parchment paper on the bottom and grease the sides. This ensures the cake releases easily after baking.
Step 2: In a large mixing bowl, whisk together the all-purpose flour, granulated sugar, and baking powder. This step ensures that the dry ingredients are evenly distributed, which helps the cake bake uniformly.
Step 3: Add the softened butter, egg whites, vanilla extract, sour cream, and milk to the bowl. Using an electric mixer, mix on medium speed until the batter is just smooth. Be careful not to overmix, as this can result in a tough cake. The sour cream adds moisture and richness to the cake.
Step 4: Pour the batter evenly into the prepared cake pan. Spread it out to ensure it bakes uniformly.
Step 5: Bake for 18–20 minutes, or until a toothpick inserted into the center of the cake comes out with a few moist crumbs. The baking time may vary depending on your oven, so it’s important to check for doneness.
Step 6: Cool the cake in the pan for 3–4 minutes, then transfer it to a wire rack to cool completely. This prevents the cake from sticking to the pan and allows it to cool evenly.
Step 7: Level the top of the cake using a serrated knife to create a flat surface for the ice cream layers. This ensures that the cake is stable and looks more presentable.
Step 8: Using a fork or skewer, poke holes across the top of the cake. This allows the orange Jell-O mixture to seep into the cake, adding moisture and flavor.
Step 9: In a small bowl, combine 3 tablespoons of hot water with 3 tablespoons of orange Jell-O powder. Stir until the Jell-O is completely dissolved.
Step 10: Spoon the orange Jell-O mixture evenly over the cake, letting it seep into the holes. This infuses the cake with a vibrant orange flavor and color.
Ice Cream Layers:
Step 1: In a large mixing bowl, beat the softened cream cheese and granulated sugar until smooth and creamy. The cream cheese provides a rich and tangy base for the ice cream layers.
Step 2: Mix in the milk until well combined. The milk helps to thin out the cream cheese mixture and create a smoother consistency.
Step 3: Gently fold in the Cool Whip until well combined. Be careful not to overmix, as this can cause the Cool Whip to deflate. The Cool Whip adds lightness and airiness to the ice cream layers.
Step 4: Divide the mixture evenly into two separate bowls. One bowl will be used for the vanilla ice cream layer, and the other for the orange ice cream layer.
Step 5: In a small bowl, dissolve the remaining orange Jell-O powder (less the 3 tablespoons used above) in 2 tablespoons of hot water. Stir until the Jell-O is completely dissolved.
Step 6: Fold the dissolved orange Jell-O mixture into one of the bowls to create the orange ice cream layer. This adds a burst of citrusy flavor and vibrant color to the ice cream.
Step 7: Add the vanilla extract to the second bowl to create the vanilla ice cream layer. The vanilla extract enhances the sweetness and adds a touch of warmth to the ice cream.
Assembly:
Step 1: Line an 8-inch springform pan with parchment paper around the edges. This makes it easier to remove the cake from the pan after freezing.
Step 2: Place the cake layer on the bottom of the springform pan.
Step 3: Spread the vanilla ice cream mixture evenly over the cake layer, smoothing it out with a spatula.
Step 4: Add the orange ice cream mixture on top of the vanilla layer and smooth it out evenly.
Step 5: Cover the springform pan with plastic wrap and freeze for at least 6–8 hours, or preferably overnight, until solid. This ensures that the ice cream layers are firm and the cake is easy to slice.
Step 6: Once frozen, remove the cake from the freezer and carefully remove it from the springform pan. Peel off the parchment paper from the sides.
Step 7: Frost the cake with the remaining 8 oz of Cool Whip. If desired, tint the Cool Whip with orange gel food coloring for a more vibrant appearance.
Step 8: Garnish the cake with piped Cool Whip and orange candy slices. You can use a piping bag with a star tip to create decorative swirls or rosettes.
Step 9: Freeze the cake again for at least 30 minutes before serving to allow the frosting to set.
COOKING Rating: Easy
Serving Suggestions:
- Serve the Orange Creamsicle Ice Cream Cake chilled, straight from the freezer.
- Cut into slices and serve with a dollop of whipped cream or a scoop of vanilla ice cream.
- Garnish with fresh berries, such as strawberries or raspberries, for added flavor and visual appeal.
- Drizzle with chocolate sauce or caramel sauce for a decadent treat.
- Serve as a refreshing dessert on a hot summer day or as a festive treat for a special occasion.
Tips:
- Make sure the cream cheese is softened to room temperature before beating it to avoid lumps in the ice cream layers.
- Do not overmix the batter for the cake, as this can result in a tough cake.
- Be careful not to overmix the Cool Whip when folding it into the ice cream layers, as this can cause it to deflate.
- Freeze the cake for at least 6–8 hours, or preferably overnight, to ensure that the ice cream layers are firm.
- If you don’t have orange candy slices, you can use other orange-flavored candies or zest from an orange.
Prep Time: 30 minutes
Cook Time: 20 minutes
Total Time: 8 hours (including freezing time)
Nutritional Information:
- Calories: Approximately 350 per slice (estimation)
- Protein: Approximately 5g per slice (estimation)
- Sodium: Approximately 200mg per slice (estimation)
Conclusion
This Orange Creamsicle Ice Cream Cake is a delightful and easy-to-make dessert that’s perfect for any occasion. With its nostalgic flavors, vibrant colors, and creamy texture, it’s sure to be a hit with both kids and adults. The combination of a moist orange-infused cake layer, creamy vanilla and orange ice cream layers, and a fluffy whipped topping creates a truly irresistible treat. Whether you’re looking for a refreshing summer dessert or a festive cake for a special celebration, this Orange Creamsicle Ice Cream Cake is a guaranteed winner. Enjoy the delightful taste of summer with every bite!
Questions and Answers about this recipe:
- Can I use a different flavor of Jell-O for the cake and ice cream layers?
- Yes, you can definitely experiment with different flavors of Jell-O to customize the cake to your liking. Lemon, lime, or even strawberry Jell-O would work well. Just be sure to adjust the flavorings accordingly (e.g., lemon extract instead of vanilla extract for a lemon-flavored cake).
- Can I make this cake without Cool Whip?
- While Cool Whip adds a light and airy texture to the ice cream layers, you can substitute it with homemade whipped cream if you prefer. Just be sure to whip the cream to stiff peaks and fold it gently into the cream cheese mixture.
- Can I use a different size pan for this recipe?
- This recipe is specifically designed for an 8-inch springform pan. If you use a different size pan, you may need to adjust the baking time and the amount of ingredients accordingly. A 9-inch pan will work, but the cake will be thinner.
- How long can I store this cake in the freezer?
- This Orange Creamsicle Ice Cream Cake can be stored in the freezer for up to 2-3 months. Be sure to wrap it tightly in plastic wrap and then in foil to prevent freezer burn.
- Can I add other toppings to this cake?
- Absolutely! Feel free to get creative with your toppings. Chopped nuts, sprinkles, chocolate shavings, or fresh fruit would all be delicious additions.