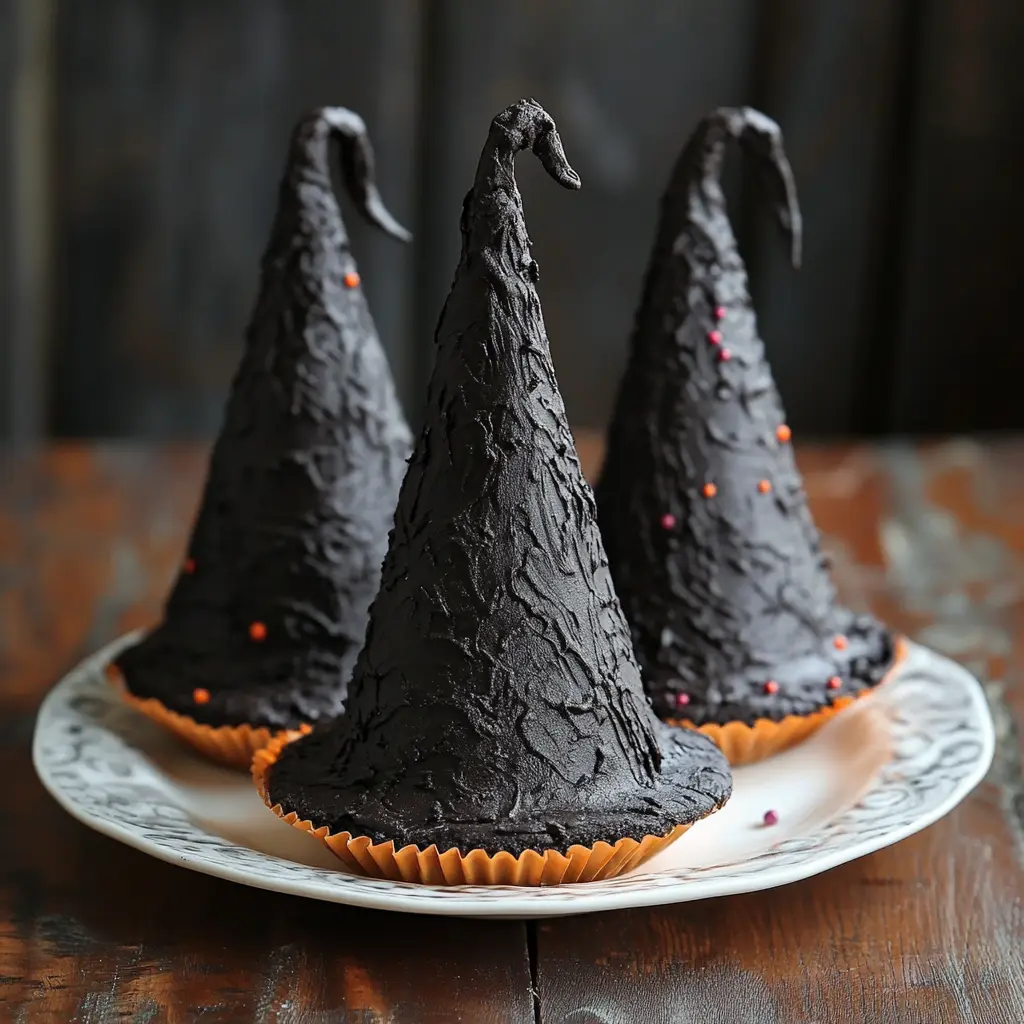
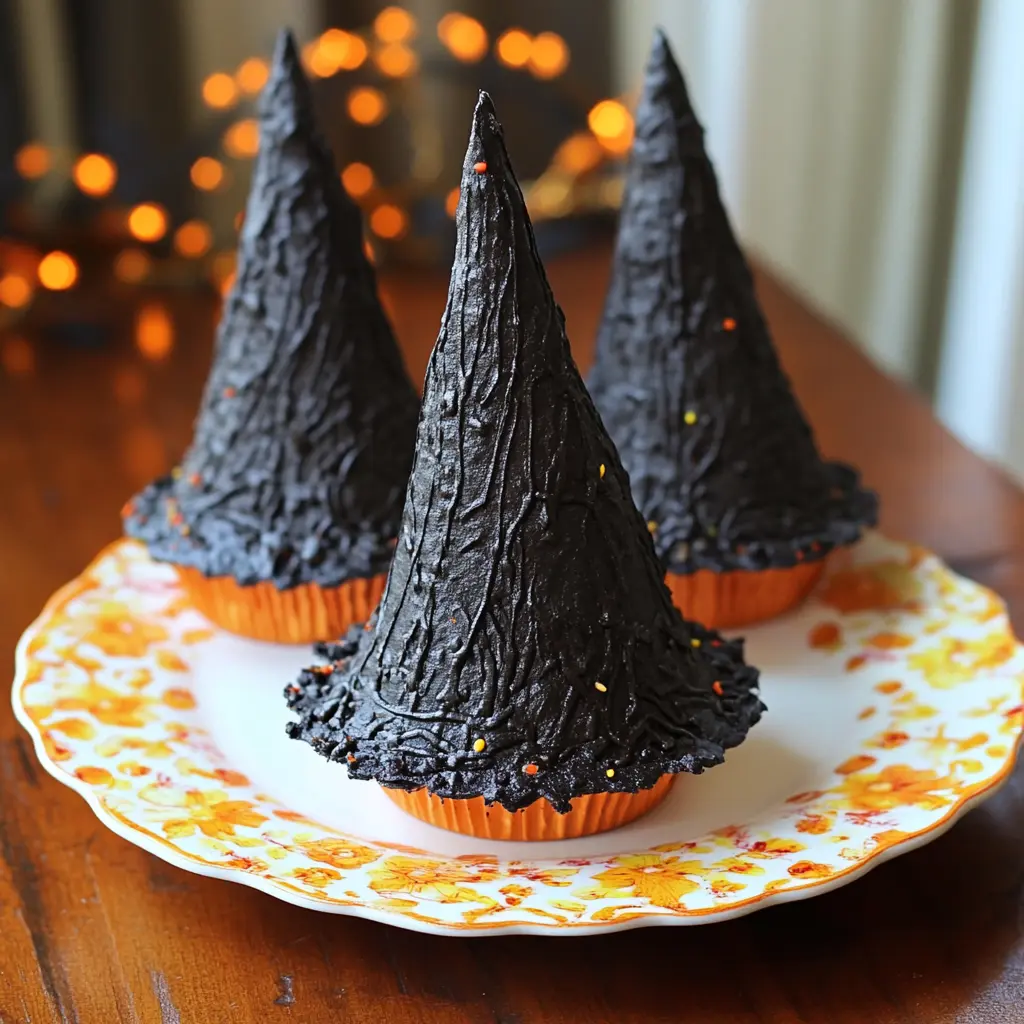
These whimsical witch hats are not only a delightful treat but also an enchanting project for both kids and adults. Made with sugar cones, chocolate, and assorted candies, these edible creations are sure to add a magical touch to your Halloween festivities.
Why You Will Love This Recipe
This recipe is perfect for Halloween celebrations, offering a fun and interactive way to engage with family and friends. The combination of crunchy sugar cones, rich chocolate, and colorful candies creates a delightful contrast that is both visually appealing and delicious. Plus, the surprise inside each hat adds an element of excitement that will thrill both children and adults alike. Whether you’re hosting a Halloween party or looking for a creative activity, these witch hats are sure to be a hit!
Introduction
Halloween is a time for creativity, fun, and of course, delicious treats! What better way to celebrate than by making these adorable Surprise Inside Halloween Witch Hats? This recipe combines the joy of crafting with the pleasure of indulging in sweet treats. Each witch hat is a mini treasure chest filled with goodies, making them a perfect centerpiece for your Halloween gatherings. With just a few simple ingredients and a little bit of imagination, you can create these enchanting hats that are sure to captivate your guests. Let’s dive into the details and get started on this spooktacular project!
Ingredients:
- 12 sugar cones
- 12 chocolate wafer cookies
- 16 ounces semi-sweet chocolate chips, melted
- Assorted small candies (for filling)
- Edible decorations (sprinkles, icing, etc.)
Preparation:
Step 1: Line a baking sheet with parchment paper to prevent sticking and make cleanup easier.
Step 2: Dip the rim of each sugar cone into the melted chocolate, allowing any excess to drip off. Carefully place the dipped cone onto the center of a chocolate wafer cookie and press gently to secure it. Let the chocolate set for a few minutes.
Step 3: Once the cones are attached to the cookies, use the remaining melted chocolate to coat the outside of the cone and the cookie base. Make sure to cover all surfaces for a smooth finish. Place the assembled witch hats on the prepared baking sheet.
Step 4: Chill the witch hats in the refrigerator for about 15-20 minutes, or until the chocolate is firm and set.
Step 5: After the chocolate has set, unleash your creativity by decorating the witch hats with edible decorations like sprinkles or icing. Let your imagination run wild! Finally, before serving, fill the inside of each cone with assorted small candies to reveal the delightful surprise inside.
Cooking Note:
Ensure that the chocolate is melted smoothly to avoid clumps. You can use a microwave or a double boiler for melting. If using the microwave, heat the chocolate in 30-second intervals, stirring in between until fully melted.
Presentation Suggestions:
To present your witch hats, arrange them on a festive platter or a Halloween-themed cake stand. You can also place them in a cauldron or a spooky basket for an added touch of fun. Consider using colorful paper or fabric to line the bottom of the display for a vibrant backdrop.
Tips:
- Experiment with different types of candies for the filling. Mini marshmallows, gummy worms, or chocolate-covered treats can add variety.
- For a more dramatic effect, use colored melting chocolate to coat the cones.
- These witch hats can be made a day in advance, making them a convenient option for busy party planners.
Time Estimates:
- Prep Time: 20 minutes (plus chilling)
- Cook Time: 0 minutes (no baking required)
- Total Time: 20 minutes (plus chilling)
Nutritional Information (per hat):
- Calories: 200
- Protein: 2g
- Sodium: 50mg
Conclusion
These Surprise Inside Halloween Witch Hats are the perfect blend of creativity and indulgence. They not only look fantastic but also provide a delightful surprise that will make your Halloween celebrations memorable. Whether you’re making them for a party or simply to enjoy at home, these treats are sure to bring smiles and excitement to everyone who encounters them. So gather your ingredients, invite your friends and family to join in on the fun, and let the Halloween magic begin!
Questions and Answers:
Q1: Can I use different types of cones for this recipe?
A1: Yes, you can experiment with different types of cones, such as waffle cones or chocolate-coated cones, to create unique flavors and textures.
Q2: How long can I store these witch hats?
A2: These treats are best enjoyed fresh but can be stored in an airtight container for up to 2 days. Keep them in a cool place to prevent the chocolate from melting.
Q3: What kind of candies work best for filling?
A3: Small candies like M&Ms, gummy bears, or mini chocolate bars work great! Choose candies that are colorful and fun to make the surprise even more exciting.
Q4: Can I make these witch hats gluten-free?
A4: Yes, you can use gluten-free sugar cones and cookies to make this recipe suitable for those with gluten sensitivities.
Q5: How can I make these hats more festive?
A5: Add themed decorations like edible eyes, Halloween-themed sprinkles, or even little plastic spiders to enhance the spooky vibe of your witch hats!

