Description of this recipe
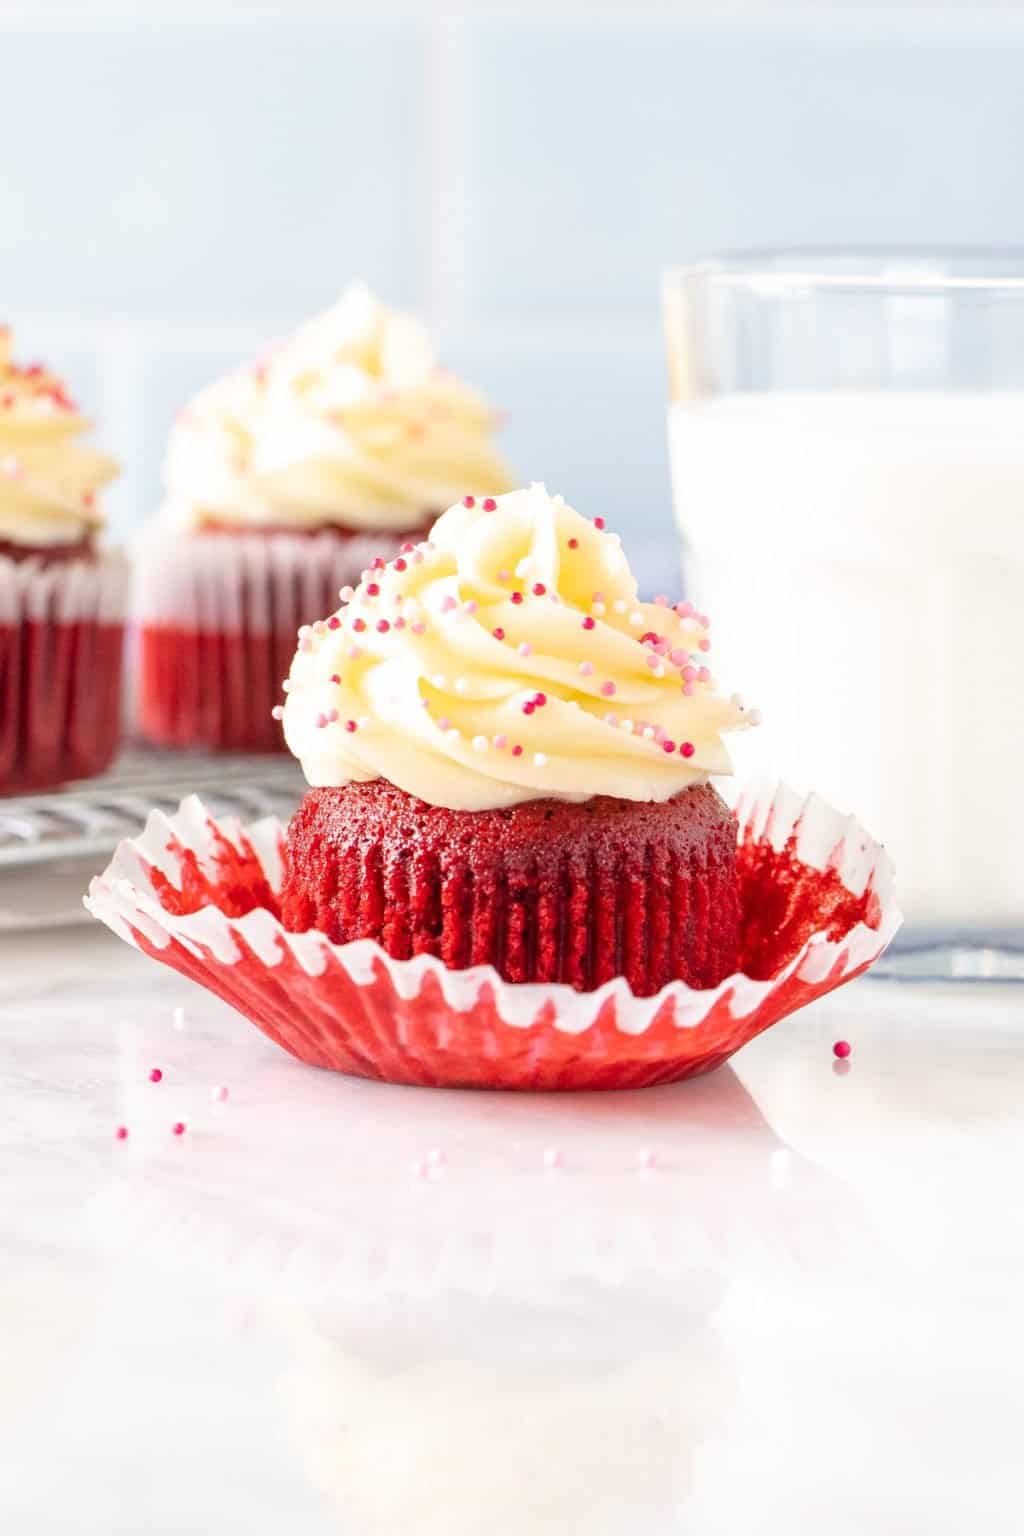
These Small-Batch Red Velvet Cupcakes are a scaled-down version of the classic dessert, perfect for when you crave a decadent treat but don’t want to bake a whole batch. These cupcakes boast a moist, tender crumb with a subtle cocoa flavor and a vibrant red hue, topped with a luscious cream cheese frosting that perfectly balances the sweetness.
Why you will love this recipe
- Perfect for Small Gatherings: This recipe makes just 6-7 cupcakes, ideal for a small family, a romantic date night, or a personal indulgence.
- Easy and Quick: With simple ingredients and straightforward instructions, these cupcakes are a breeze to whip up in under an hour.
- Classic Flavor Combination: The combination of the slightly tangy red velvet cake with the creamy, rich cream cheese frosting is a timeless favorite.
- Impressive Presentation: Despite their small size, these cupcakes are visually stunning with their vibrant red color and elegant frosting.
- Satisfyingly Indulgent: Each bite is a burst of flavor and texture, offering a satisfyingly sweet and comforting experience.
Ingredients:
Red Velvet Cupcakes:
- 3/4 cup all-purpose flour (94 grams)
- 1 tablespoon cocoa powder
- 1/2 cup granulated sugar (100 grams)
- 1/4 teaspoon baking soda
- 1/8 teaspoon salt, or just a tiny pinch
- 2 tablespoons vegetable oil (30 ml), canola works too
- 2 tablespoons unsalted butter (28 grams), melted
- 1 large egg
- 1 teaspoon vanilla extract
- 1/4 cup buttermilk (60 ml), or substitute with 1/4 cup milk and 1/2 teaspoon fresh lemon juice
- 2 teaspoons red food coloring, feel free to use a little less if you prefer
- 1/2 teaspoon distilled vinegar, white vinegar works too
Cream Cheese Frosting:
- 1/3 cup unsalted butter (75 grams), softened
- 1/4 cup full-fat cream cheese (56 grams), brick style, cut into chunks
- 1 – 1 1/2 cup powdered sugar (110 – 165 grams)
- 1/2 teaspoon vanilla extract
- 1/8 teaspoon salt
Preparation:
Red Velvet Cupcakes
- Step 1: Preheat the oven to 350°F (180°C). Line a muffin tin with 6-7 muffin papers using the middle 6 cavities of the muffin tin. Placing the cupcake liners in only some of the muffin tin cavities ensures more even heat distribution, leading to better-baked cupcakes.
- Step 2: In a large bowl, whisk together the flour, cocoa, sugar, baking soda, and salt. If the cocoa has lumps, sift it into the bowl to ensure a smooth batter. Sifting the dry ingredients, especially the cocoa powder, is crucial for preventing clumps and creating a light and airy texture. This step guarantees that the dry ingredients are evenly distributed, contributing to a consistent flavor and rise.
- Step 3: In a separate bowl, whisk together the oil, melted butter, egg, vanilla extract, buttermilk, red food coloring, and vinegar. The combination of oil and melted butter creates a moist and tender crumb, while the buttermilk adds a subtle tang that complements the sweetness of the cake. The red food coloring is what gives these cupcakes their signature vibrant hue, and the vinegar helps to activate the baking soda, creating a light and fluffy texture.
- Step 4: Make a well in the middle of dry ingredients. Then pour the wet ingredients into the well. This method helps to prevent overmixing, which can lead to a tough cake. Creating a well ensures that the wet and dry ingredients are gradually incorporated, resulting in a more tender crumb.
- Step 5: Whisk together until smooth and lump free. Stop whisking as soon as the batter is smooth. Overmixing develops the gluten in the flour, resulting in a dense and chewy cupcake. It’s essential to mix until just combined to maintain a delicate and tender texture.
- Step 6: Spoon the batter into the lined muffin tin, filling each about 2/3 to 3/4 full. You should end up with 6-7 in total. Overfilling the muffin liners can cause the cupcakes to overflow and become misshapen. Leaving some space allows the cupcakes to rise properly without spilling over.
- Step 7: Bake in the preheated oven for 15-17 minutes, or until an inserted toothpick comes out clean. Baking time may vary depending on your oven, so it’s essential to check for doneness using a toothpick. A clean toothpick indicates that the cupcakes are fully baked and have set properly.
- Step 8: Cool in the pan for at least 10 minutes, then continue to cool the cupcakes on a cooling rack. Allowing the cupcakes to cool in the pan prevents them from sticking and breaking. Transferring them to a cooling rack allows for even air circulation, preventing condensation and ensuring a perfectly cooled cupcake.
Cream Cheese Frosting
- Step 1: Beat the butter until smooth. Then mix in the cream cheese. Beating the butter until smooth creates a creamy base for the frosting. Adding the cream cheese while the butter is soft ensures a smooth and lump-free frosting.
- Step 2: Turn off the mixer and add in 1/2 cup powdered sugar, the vanilla, and salt. Starting with the mixer on a low speed, beat in the ingredients. Turning off the mixer before adding the powdered sugar prevents a cloud of sugar from puffing out. Starting on low speed prevents the powdered sugar from splattering.
- Step 3: Mix in a little more powdered sugar until the desired sweetness is reached. Adjusting the amount of powdered sugar allows you to customize the sweetness of the frosting to your preference. Adding it gradually ensures that the frosting reaches the desired consistency without becoming too stiff.
- Step 4: Frost the cooled cupcakes – I used a piping bag and 1M tip, or a knife works too. A piping bag and tip allow for a professional-looking swirl of frosting, while a knife provides a more rustic and simple finish.
COOKING Rating:
Easy
Serving Suggestions:
- Enjoy these cupcakes as a delightful afternoon snack with a cup of tea or coffee.
- Serve them at a small gathering or potluck for a guaranteed crowd-pleaser.
- Pair them with fresh berries or a scoop of vanilla ice cream for an extra special treat.
- Package them in a decorative box as a thoughtful gift for friends and family.
Tips:
- For a richer flavor, use Dutch-processed cocoa powder.
- If you don’t have buttermilk, you can substitute with 1/4 cup milk and 1/2 teaspoon fresh lemon juice or white vinegar.
- Be careful not to overbake the cupcakes, as they can become dry.
- For best results, use room temperature ingredients for the frosting.
- Store leftover cupcakes in an airtight container at room temperature for up to 2 days or in the refrigerator for up to 5 days.
Prep Time:
15 minutes
Cook Time:
15-17 minutes
Total Time:
30-32 minutes
Nutritional Information:
(Per cupcake, without frosting – approximations only)
- Calories: 220
- Protein: 3g
- Sodium: 100mg
Conclusion
These Small-Batch Red Velvet Cupcakes are a perfect way to indulge in a classic dessert without the commitment of a full-sized cake. Their moist texture, subtle cocoa flavor, and vibrant red hue, combined with the creamy tang of the cream cheese frosting, make them an irresistible treat for any occasion. Whether you’re baking for a small gathering or simply satisfying a personal craving, these cupcakes are sure to delight your taste buds and impress your friends and family. Enjoy the process of baking and savor every delicious bite!
Questions and Answers about this Recipe:
Q1: Can I use a different type of flour?
A: While all-purpose flour is recommended for this recipe, you can substitute it with cake flour for an even more tender crumb. However, avoid using bread flour, as it will result in a tougher cupcake.
Q2: Can I make these cupcakes without red food coloring?
A: Yes, you can omit the red food coloring if you prefer. The cupcakes will still have the same delicious flavor, but they will have a more subtle, brownish hue. You can also experiment with natural food colorings, such as beet juice, although the color may not be as vibrant.
Q3: Can I freeze these cupcakes?
A: Yes, you can freeze the cupcakes, but it’s best to do so without the frosting. Wrap the cooled cupcakes individually in plastic wrap and then place them in a freezer-safe bag or container. They can be stored in the freezer for up to 2-3 months. When ready to serve, thaw them at room temperature and then frost them.
Q4: Can I use a stand mixer instead of a hand mixer for the frosting?
A: Absolutely! A stand mixer will make the frosting process even easier. Simply use the paddle attachment and follow the same instructions as with a hand mixer. Be sure not to overmix the frosting, as this can cause it to become too stiff.
Q5: Can I double or triple this recipe?
A: Yes, you can easily double or triple this recipe to make a larger batch of cupcakes. Just be sure to adjust the baking time accordingly. It’s also a good idea to use a larger mixing bowl to accommodate the increased volume of ingredients. Remember to maintain the ratio of wet to dry ingredients for the best results.