Description of this recipe
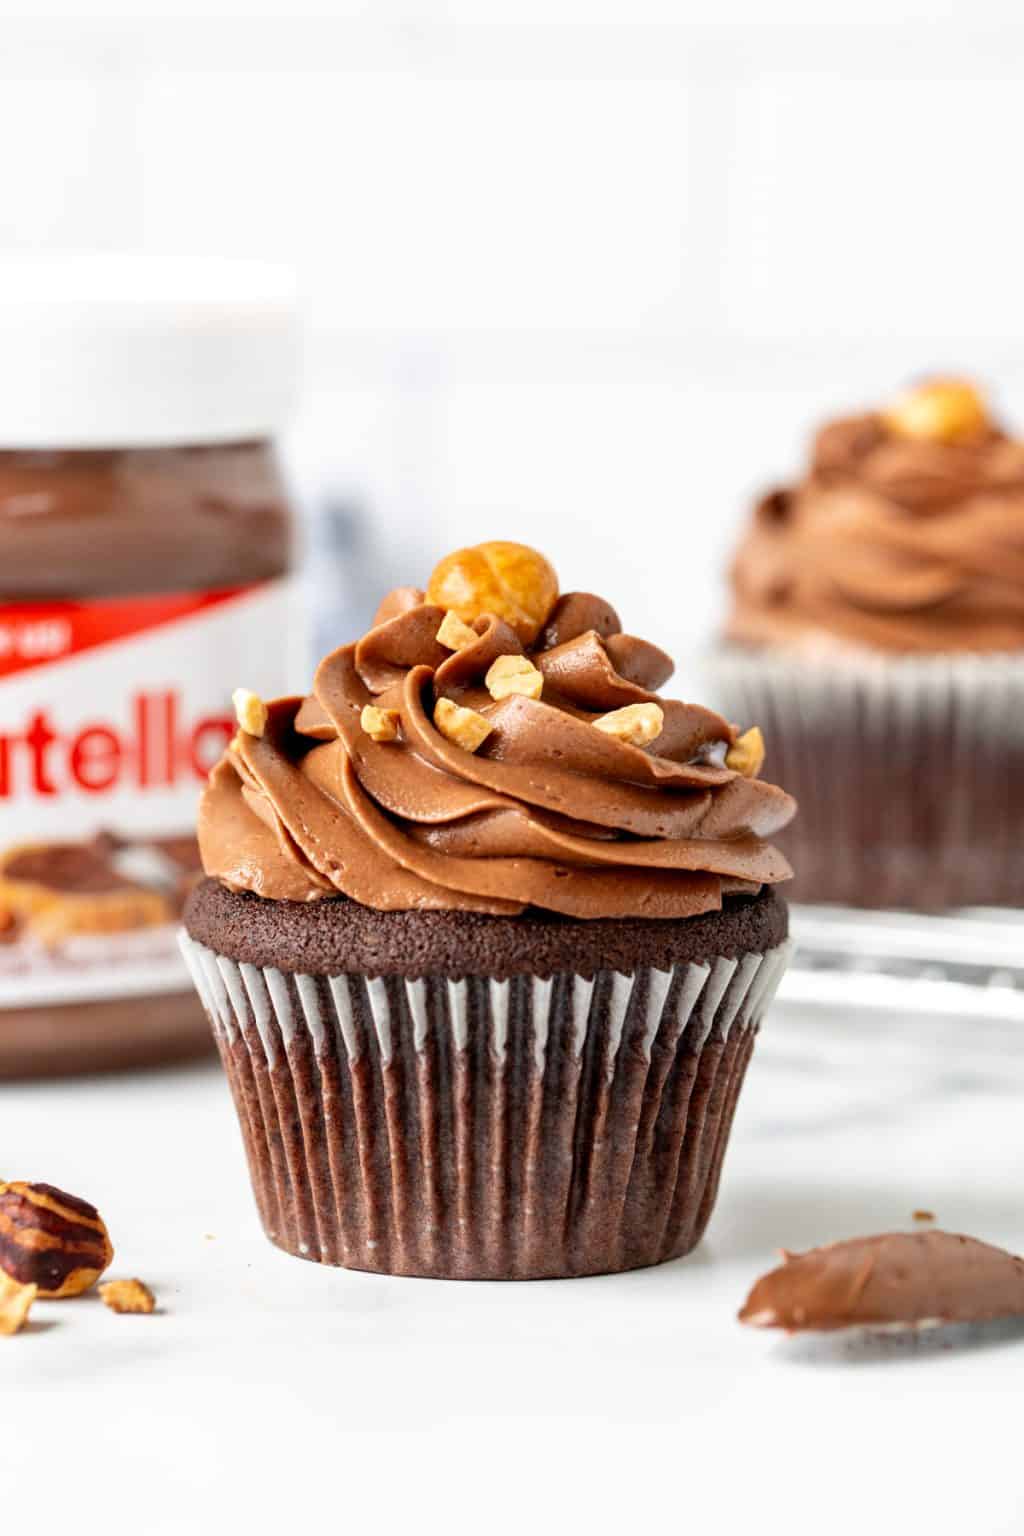
These Nutella Cupcakes are a chocolate lover’s dream come true! Moist, rich chocolate cupcakes are filled with a decadent Nutella stuffing and topped with a creamy Nutella frosting. This recipe combines the comforting flavors of chocolate and hazelnut into a delightful treat that’s perfect for any occasion.
Why you will love this recipe
You’ll adore these Nutella Cupcakes for their irresistible flavor and satisfying texture. The combination of the moist chocolate cupcake, the gooey Nutella filling, and the smooth Nutella frosting creates a symphony of flavors that will leave you craving more. Plus, they’re surprisingly easy to make, perfect for both beginner and experienced bakers. Whether you’re baking for a party, a special occasion, or simply a sweet treat for yourself, these cupcakes are guaranteed to be a hit!
Ingredients:
Chocolate Cupcakes:
- 2 ounces semi-sweet chocolate (57 grams), finely chopped
- 1 1/4 cup all-purpose flour (156 grams)
- 1/2 cup cocoa powder (40 grams)
- 1 teaspoon baking powder
- 1/2 teaspoon baking soda
- 1/4 teaspoon salt
- 1/2 cup vegetable oil (120 ml)
- 2/3 cup granulated sugar (136 grams)
- 1/2 cup brown sugar (105 grams), lightly packed
- 2 large eggs, room temperature
- 1/4 cup sour cream (60 ml)
- 1/2 cup milk (120 ml), 1%, 2% or whole milk – I prefer whole milk
Nutella Stuffing:
- 2/3 cup Nutella (about 200 grams)
Nutella Frosting:
- 1 cup unsalted butter (226 grams), slightly softened
- 3 – 3 1/2 cups powdered sugar (330 – 385 grams), AKA icing sugar
- 1/4 teaspoon salt
- 1 teaspoon vanilla extract
- 3/4 cup Nutella (about 225 grams)
- 2-4 tablespoons milk or cream (30-60 ml), 2%, whole milk, heavy creamy, whipping cream or table cream
- Hazelnuts, optional, for decorating
Preparation:
Step 1: Prepare the Oven and Chocolate
Preheat your oven to 350°F (180°C). Line a 12-cavity muffin pan with muffin liners. This recipe will make about 16-18 cupcakes, so you’ll likely need two pans. Finely chop the semi-sweet chocolate. Place the chopped chocolate in a heatproof bowl and microwave in 45-second intervals on medium power, stirring between each interval, until melted. Alternatively, melt the chocolate in a double boiler over low heat. Set the melted chocolate aside to cool slightly.
Step 2: Combine Dry Ingredients
In a medium-sized bowl, whisk together the all-purpose flour, cocoa powder, baking powder, baking soda, and salt. Make sure to sift the cocoa powder if it’s lumpy to avoid clumps in your batter. Set the dry ingredients aside.
Step 3: Mix Wet Ingredients
In a large bowl, whisk together the vegetable oil, granulated sugar, and brown sugar until the mixture is smooth, and you no longer see any clumps of brown sugar. This step is crucial for ensuring a consistent texture in your cupcakes.
Step 4: Incorporate Melted Chocolate and Eggs
Whisk the slightly cooled melted chocolate and vanilla extract into the oil and sugar mixture until everything is well combined. Next, whisk in the eggs one at a time, ensuring each egg is fully incorporated before adding the next. I prefer to do this by hand to avoid overmixing, but you can also use an electric mixer on low speed.
Step 5: Add Sour Cream and Alternate Dry and Wet Ingredients
Whisk in the sour cream until it’s fully incorporated into the wet ingredients. Gradually add the dry ingredients to the wet ingredients, alternating with the milk. Start by adding about 1/3 of the flour mixture, followed by 1/2 of the milk. Continue alternating until all the flour and milk are used up, ending with the flour mixture. Whisk until the batter is smooth and there are no visible lumps. Be careful not to overmix the batter, as this can lead to tough cupcakes.
Step 6: Fill the Cupcake Liners
Spoon the cupcake batter into the prepared muffin liners, filling each liner about 1/2 to 2/3 full. Avoid filling the liners more than 2/3 full, as the cupcakes may overflow and sink as they bake.
Step 7: Bake the Cupcakes
Bake one tray of cupcakes at a time in the preheated oven for about 17-20 minutes, or until the tops look set, and a toothpick inserted into the center comes out clean or with a few moist crumbs. Be careful not to overbake the cupcakes, as they can become dry.
Step 8: Cool the Cupcakes
Allow the cupcakes to cool in the muffin pan for about 10 minutes before transferring them to a wire cooling rack to cool completely. Make sure the cupcakes are completely cool before frosting them.
Step 9: Prepare the Nutella Frosting
In a large bowl, beat the softened unsalted butter until it’s smooth and creamy. This will take about 2-3 minutes.
Step 10: Add Powdered Sugar, Vanilla, and Salt
Gradually add 2 cups of powdered sugar, vanilla extract, and salt to the butter. Start the mixer on low speed to prevent the powdered sugar from flying everywhere, then gradually increase the speed to medium. Beat until the mixture is smooth and well combined.
Step 11: Incorporate Nutella
Add the Nutella to the frosting mixture and beat until it’s smooth and creamy. Scrape down the sides and bottom of the bowl as needed to ensure everything is evenly combined.
Step 12: Adjust Consistency with Milk or Cream
Gradually add the remaining powdered sugar, about 1/2 cup at a time, alternating with a tablespoon of milk or cream until the frosting reaches your desired sweetness and thickness. Beat well after each addition.
Step 13: Assemble the Cupcakes
Ensure the cupcakes are completely cooled before assembling. Use a paring knife to cut a cone shape into the top of each cupcake, going about 1/3 to 1/2 of the way down. Be careful not to cut all the way to the bottom, or the cupcakes will fall apart.
Step 14: Fill with Nutella
Drop a spoonful of Nutella into each cupcake, filling the hole you created.
Step 15: Replace the Cupcake Tops
Slice off the bottom of the cone-shaped piece of cupcake that you cut out, leaving just a disc of chocolate cake. Place the disc on top of the Nutella filling to seal it in.
Step 16: Frost the Cupcakes
Frost the cupcakes with the Nutella frosting. You can use a piping bag with a decorative tip for a professional look, or simply spread the frosting on with a knife or spatula.
Step 17: Decorate (Optional)
If desired, decorate the cupcakes with chopped hazelnuts or other toppings.
COOKING Rating:
Intermediate
Serving Suggestions:
These Nutella Cupcakes are perfect for serving at parties, bake sales, or as a special treat for friends and family. They pair well with a cold glass of milk or a warm cup of coffee.
Tips:
- Make sure all your ingredients are at room temperature for best results.
- Don’t overmix the batter, as this can lead to tough cupcakes.
- Allow the cupcakes to cool completely before frosting to prevent the frosting from melting.
- If you don’t have sour cream, you can substitute it with plain yogurt.
- For a richer flavor, use dark chocolate instead of semi-sweet chocolate.
- Store leftover cupcakes in an airtight container at room temperature for up to 3 days.
Prep Time:
30 minutes
Cook Time:
20 minutes
Total Time:
1 hour (includes cooling time)
Nutritional Information (per cupcake):
Calories: Approximately 350-400
Protein: 4-5 grams
Sodium: 150-200 mg
Conclusion
These Nutella Cupcakes are a decadent treat that combines the best of chocolate and hazelnut flavors. With a moist chocolate cupcake base, a rich Nutella filling, and a creamy Nutella frosting, they’re sure to be a crowd-pleaser. Perfect for any occasion, these cupcakes are surprisingly easy to make and will leave everyone wanting more. So gather your ingredients and get ready to bake up a batch of these irresistible Nutella Cupcakes!
Questions and Answers About This Recipe:
Q1: Can I use a different type of chocolate for the cupcakes?
A: Absolutely! If you prefer dark chocolate or milk chocolate, feel free to substitute it for the semi-sweet chocolate in the recipe. Keep in mind that using a different type of chocolate will alter the flavor profile of the cupcakes, so adjust accordingly to your taste preferences.
Q2: Can I make these cupcakes ahead of time?
A: Yes, you can definitely make these cupcakes ahead of time. The cupcakes can be baked a day in advance and stored in an airtight container at room temperature. You can also make the Nutella frosting ahead of time and store it in the refrigerator for up to 3 days. Just be sure to bring the frosting to room temperature and re-whip it before using.
Q3: What can I use if I don’t have sour cream?
A: If you don’t have sour cream on hand, you can substitute it with plain yogurt or Greek yogurt. These alternatives will provide a similar tanginess and moisture to the cupcakes.
Q4: Can I freeze these cupcakes?
A: Yes, you can freeze these cupcakes. Wrap them individually in plastic wrap and then place them in a freezer-safe bag or container. They can be stored in the freezer for up to 2-3 months. When you’re ready to eat them, thaw them overnight in the refrigerator.
Q5: Can I make these cupcakes without the Nutella filling?
A: Of course! If you prefer, you can omit the Nutella filling and simply frost the cupcakes with the Nutella frosting. Alternatively, you can try filling them with other delicious fillings like chocolate ganache, caramel, or even a simple vanilla cream.