Description of this recipe:
Imagine the nostalgic delight of a banana split sundae, but in cake form! This Banana Split Dump Cake is a super easy, unbelievably delicious dessert that captures all the flavors of the classic treat. It’s a simple “dump and bake” recipe, meaning you literally dump all the ingredients into a pan, bake it, and voila – instant dessert gratification! No fancy mixing or complicated steps required. This cake is perfect for potlucks, parties, or any time you need a quick and crowd-pleasing dessert. The combination of fruity sweetness, crunchy nuts, and creamy banana slices is truly irresistible.
Why you will love this recipe:
This Banana Split Dump Cake is a game-changer for anyone who loves effortless baking. Here’s why you’ll be obsessed:
- Ease of Preparation: Forget measuring multiple ingredients and dirtying a bunch of bowls. This recipe is as simple as layering ingredients in a baking dish and popping it in the oven.
- Incredible Flavor: The combination of pineapple, strawberry, coconut, walnuts, and banana creates a symphony of flavors that perfectly mimic the taste of a banana split.
- Crowd-Pleasing: This dessert is always a hit, no matter who you’re serving. Everyone loves the familiar flavors and the comforting texture of the cake.
- Customizable: You can easily adapt this recipe to suit your preferences. Add chocolate chips, different nuts, or even a drizzle of chocolate syrup for an extra touch of indulgence.
- Perfect for Any Occasion: Whether you’re hosting a casual get-together or need a last-minute dessert for a potluck, this cake is always a great choice.
Ingredients:
- 20 ounces crushed pineapple, juice included
- 21 ounces strawberry pie filling
- 1 package white cake mix
- ½ cup salted butter, cold
- 1 cup shredded, sweetened coconut
- 1 cup chopped walnuts
- 2 to 3 medium bananas
Preparation:
Step 1: Preheat the oven to 350°F (175°C). Prepare your 9×13 inch baking dish. A glass or metal baking pan will work equally well, but I typically find that glass pans provide a more even bake. Make sure that the pan is clean and ready to receive the ingredients. No greasing is necessary, as the ingredients will provide enough moisture to prevent sticking.
Step 2: Spread the crushed pineapple (with its juice) and the strawberry pie filling into the bottom of the 9×13-inch baking dish. It’s crucial to spread these ingredients evenly. The juice from the crushed pineapple is essential for ensuring that the cake remains moist during baking. The strawberry pie filling will melt and create a luscious base that adds to the overall flavor profile of the cake. Use a spatula to ensure both the pineapple and strawberry pie filling are evenly distributed across the entire bottom surface of the pan.
Step 3: Sprinkle the dry white cake mix evenly over the first two layers. This is where the “dump” aspect of the recipe truly shines. Simply open the package of white cake mix and sprinkle it evenly over the pineapple and strawberry mixture. Try to distribute it as uniformly as possible to prevent any dry patches in the finished cake. It’s best to avoid clumping or dense areas by gently shaking the cake mix as you sprinkle it.
Step 4: Slice very thin pats of cold, salted butter and spread them over the entire top of the dry cake mix. This step is critical for creating a rich, buttery, and slightly crisp topping. The butter needs to be cold, as this will allow it to melt slowly during baking and create the perfect texture. Thinly slice the butter and lay the pats evenly across the top of the dry cake mix. Ensure that as much of the cake mix as possible is covered by the butter, as this will prevent the cake from drying out during baking. The salted butter adds a wonderful savory contrast to the sweetness of the other ingredients.
Step 5: Sprinkle the shredded, sweetened coconut and chopped walnuts over the top of the butter. These ingredients add both flavor and texture to the cake, creating a delightful contrast with the soft, fruity layers beneath. Sprinkle the shredded coconut evenly over the buttered surface. Follow with the chopped walnuts, ensuring that they are also distributed evenly. The coconut will toast beautifully during baking, adding a subtle sweetness and a slightly chewy texture. The walnuts will add a nutty flavor and a pleasant crunch.
Step 6: Bake for 40 minutes or until the topping is browned and the filling is bubbling around the edges. The exact baking time may vary depending on your oven, so it’s crucial to keep an eye on the cake. The topping should be golden brown, and the filling should be visibly bubbling around the edges. Use a toothpick to test for doneness by inserting it into the center of the cake. If the toothpick comes out clean or with just a few moist crumbs, the cake is ready. Be careful not to overbake the cake, as this can cause it to become dry.
Step 7: Allow the dump cake to cool for at least 30 minutes before slicing. This cooling period allows the cake to set and the flavors to meld together. It also prevents the cake from falling apart when you slice it. Place the baking dish on a wire rack and allow it to cool for at least 30 minutes, or even longer if you have the time.
Step 8: Slice the bananas and space them over the top of the dump cake just before serving. The fresh banana slices add the final touch of banana split flavor to the cake. It’s best to slice the bananas just before serving to prevent them from browning. Arrange the banana slices evenly over the top of the cooled cake, creating a visually appealing and delicious final product.
COOKING Rating:
Easy
Serving Suggestions:
- Serve warm or at room temperature.
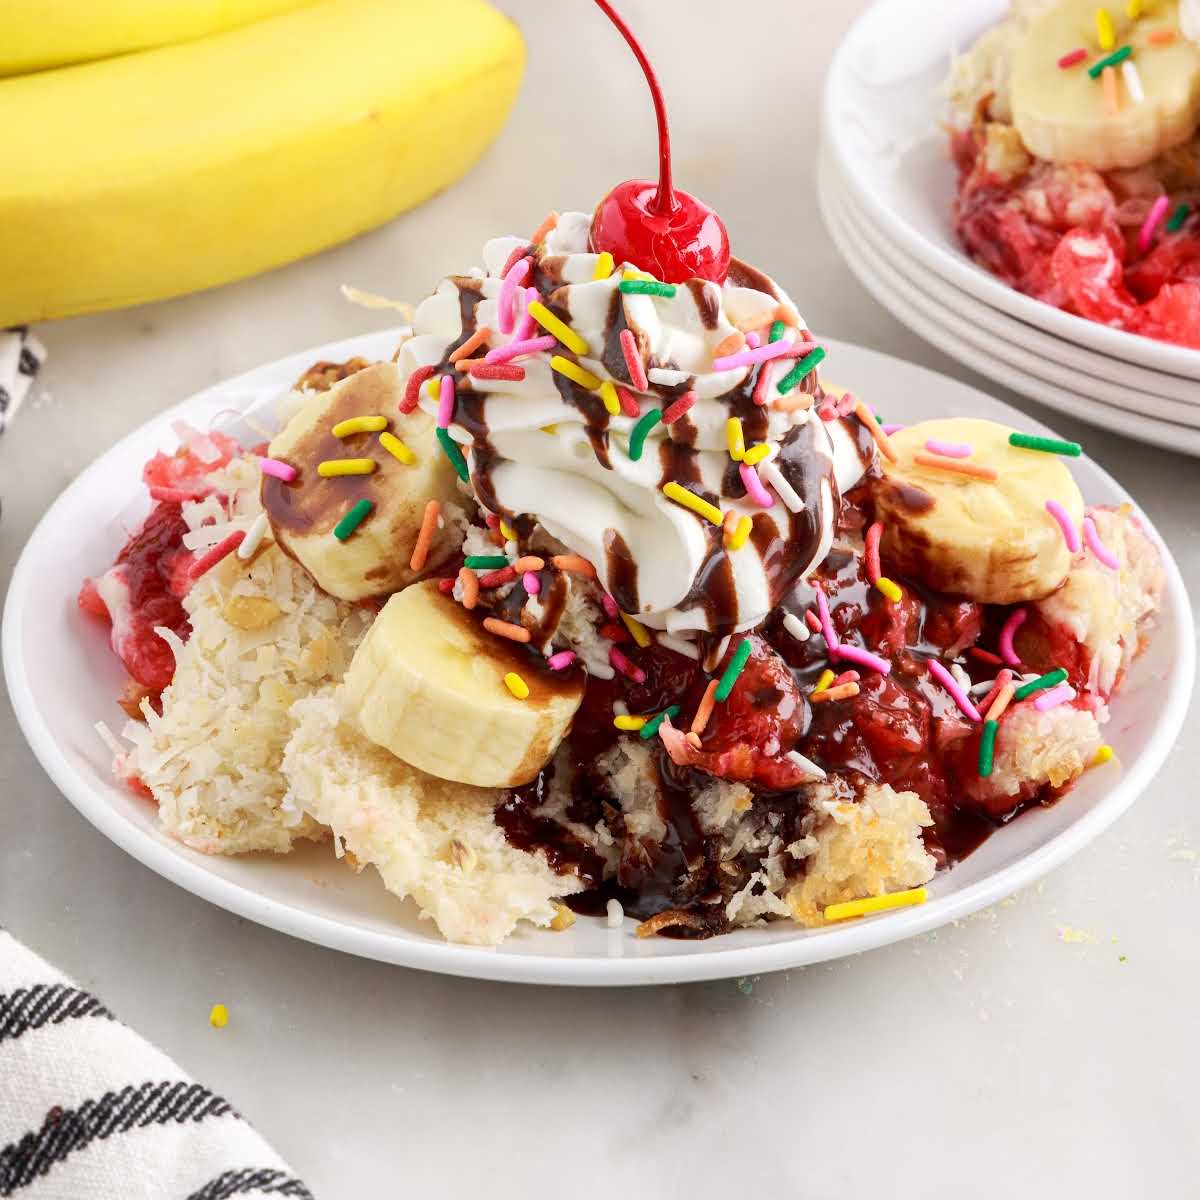
- Top with whipped cream, a cherry, and a drizzle of chocolate syrup for the ultimate banana split experience.
- Add a scoop of vanilla ice cream for an extra indulgent treat.
- Garnish with additional chopped nuts or a sprinkle of shredded coconut.
Tips:
- Use cold butter for the best results. It will slice more easily and create a crispier topping.
- Don’t overbake the cake, as it can become dry.
- Let the cake cool completely before slicing to prevent it from falling apart.
- Feel free to customize the recipe with your favorite toppings.
- For a richer flavor, use a yellow cake mix instead of white.
Prep Time: 10 minutes
Cook Time: 40 minutes
Total Time: 50 minutes
Nutritional Information: (Note: Nutritional information is an estimate and will vary based on specific ingredients and serving size)
- Calories: Approximately 350-450 per serving
- Protein: Approximately 5-7 grams per serving
- Sodium: Approximately 200-300mg per serving
Conclusion:
This Banana Split Dump Cake is more than just a dessert; it’s a delightful experience that brings back childhood memories of enjoying a classic banana split sundae. Its simplicity and incredible flavor make it a winner every time. Whether you’re a seasoned baker or just starting out, this recipe is sure to become a favorite. So go ahead, gather your ingredients, and prepare to enjoy a slice of pure happiness.
5 Questions and Answers About This Recipe:
Q1: Can I use a different type of pie filling?
A: Absolutely! While strawberry pie filling is traditional for a banana split, you can experiment with other flavors such as cherry, raspberry, or even blueberry. Each will add its own unique twist to the cake.
Q2: Can I use margarine instead of butter?
A: While margarine can be used as a substitute for butter, it may not provide the same rich flavor and crispy texture. For the best results, I recommend using real butter.
Q3: Can I make this cake ahead of time?
A: Yes, you can bake the cake ahead of time and store it covered in the refrigerator for up to 2 days. However, it’s best to add the banana slices just before serving to prevent them from browning.
Q4: Can I add chocolate chips to this recipe?
A: Definitely! Chocolate chips would be a delicious addition to this cake. You can sprinkle them on top of the cake mix before adding the butter, or even mix them into the pineapple and strawberry layers.
Q5: Can I use frozen bananas?
A: I do not recommend using frozen bananas. Fresh bananas are much easier to eat, thaw out, and will not change the flavor of your dessert in a way that frozen bananas might.