Description of this recipe
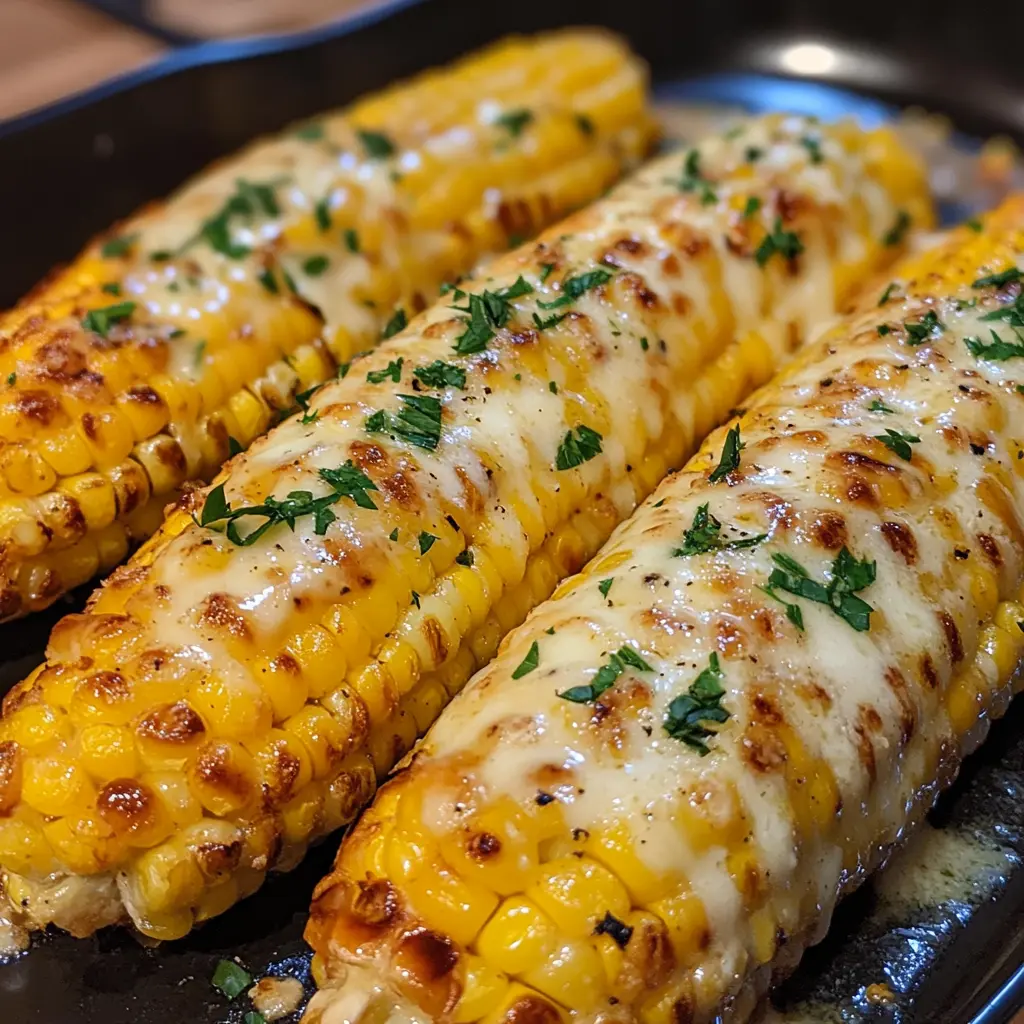
Cheesy Garlic Butter Corn on the Cob is a delightful twist on a classic summer side dish. This recipe combines the sweetness of fresh corn with a rich, buttery garlic sauce and a generous sprinkle of melted cheese. It’s perfect for barbecues, picnics, or simply as a comforting side to elevate any meal.
Why you will love this recipe
You will love this recipe because it captures the essence of summer with its vibrant flavors and satisfying textures. The creamy, garlicky butter enhances the natural sweetness of the corn, while the melted cheese adds a deliciously indulgent touch. It’s easy to prepare, making it a go-to dish for gatherings or family dinners. Plus, the combination of seasonings and the option to customize the cheese makes it versatile enough to please everyone at the table.
Introduction
Corn on the cob is a beloved staple, especially during the warm months when fresh corn is in abundance. This Cheesy Garlic Butter Corn on the Cob recipe takes this simple yet delicious vegetable to new heights. The addition of garlic butter and cheese transforms the humble ear of corn into a mouthwatering dish that can steal the show at any meal. Whether you’re hosting a summer barbecue or looking for an easy side to accompany your weeknight dinner, this recipe is sure to impress.
Ingredients:
- 4 ears of corn (husks removed)
- 1/4 cup unsalted butter (melted)
- 3 cloves garlic (minced)
- 1/2 tsp paprika
- 1/4 tsp chili powder (optional, for heat)
- 1 tbsp fresh parsley (chopped)
- Salt and pepper (to taste)
- 1 cup shredded cheese (cheddar, mozzarella, or a blend)
- 1/4 cup heavy cream or milk (optional, for extra creaminess)

Preparation:
Step 1: Preheat the Oven
Begin by preheating your oven to 400°F (200°C). If you prefer a smoky flavor, you can also prepare this dish on a grill or stovetop.
Step 2: Prepare the Garlic Butter
In a small mixing bowl, combine the melted butter with the minced garlic, paprika, chili powder (if you’re opting for a bit of heat), salt, and pepper. Whisk the mixture until well combined, then fold in the chopped parsley for a fresh burst of flavor.
Step 3: Coat the Corn
Take each ear of corn and brush it generously with the garlic butter mixture. Ensure that all sides are well-coated, allowing the flavors to penetrate the corn.
Step 4: Bake or Grill
For the oven method, place the coated corn on a baking sheet and bake for 20–25 minutes. Be sure to turn the corn halfway through the cooking time to ensure even roasting. If you choose to grill, place the corn over medium heat and grill for 10–15 minutes, turning often to achieve a nice char.
Step 5: Add the Cheese
During the last 5 minutes of cooking, sprinkle a generous amount of shredded cheese over each ear of corn. If you’re using the oven, turn on the broiler for 2–3 minutes to melt the cheese and give it a slightly golden brown finish. Once done, remove the corn from the heat and drizzle any remaining garlic butter over the top. Garnish with additional parsley if desired and serve hot.
Serving Suggestions:
Serve this Cheesy Garlic Butter Corn on the Cob alongside grilled meats, salads, or as part of a festive buffet. It pairs wonderfully with barbecued chicken, ribs, or even as a standalone treat during a summer picnic.
Tips:
- For a spicier kick, increase the amount of chili powder or add some diced jalapeños to the garlic butter mixture.
- Experiment with different types of cheese! A blend of cheddar and mozzarella gives a great flavor and texture, but feel free to use your favorite cheese.
- If you want to make the dish even creamier, consider adding the heavy cream or milk to the garlic butter mixture before brushing it onto the corn.
Prep Time: 10 minutes
Cook Time: 25 minutes
Total Time: 35 minutes
Nutritional Information (per serving):
- Calories: ~320
- Protein: ~8g
- Sodium: Varies based on added salt and cheese
Conclusion
Cheesy Garlic Butter Corn on the Cob is a delightful way to enjoy one of summer’s most cherished vegetables. With its rich, buttery flavor and melty cheese, this dish is sure to become a favorite at any gathering. It’s simple to prepare, customizable, and utterly delicious. So, the next time you find yourself with fresh corn, give this recipe a try and watch it disappear from the table in no time!
Questions and Answers:
- Can I use frozen corn for this recipe?
While fresh corn is recommended for the best flavor, you can use frozen corn. Just make sure to thaw and drain it before applying the garlic butter mixture. - What type of cheese works best?
Cheddar and mozzarella are excellent choices, but feel free to experiment with other cheeses like pepper jack for a spicy kick or parmesan for a sharper flavor. - Can I make this recipe ahead of time?
Yes! You can prepare the garlic butter in advance and coat the corn. Just store it in the refrigerator until you’re ready to cook it. - Is this recipe gluten-free?
Yes, all the ingredients in this recipe are gluten-free. Just ensure that any additional toppings or sides you serve are also gluten-free. - How can I store leftovers?
Store any leftover corn in an airtight container in the refrigerator for up to 3 days. Reheat in the oven or microwave before serving.