Description of this recipe
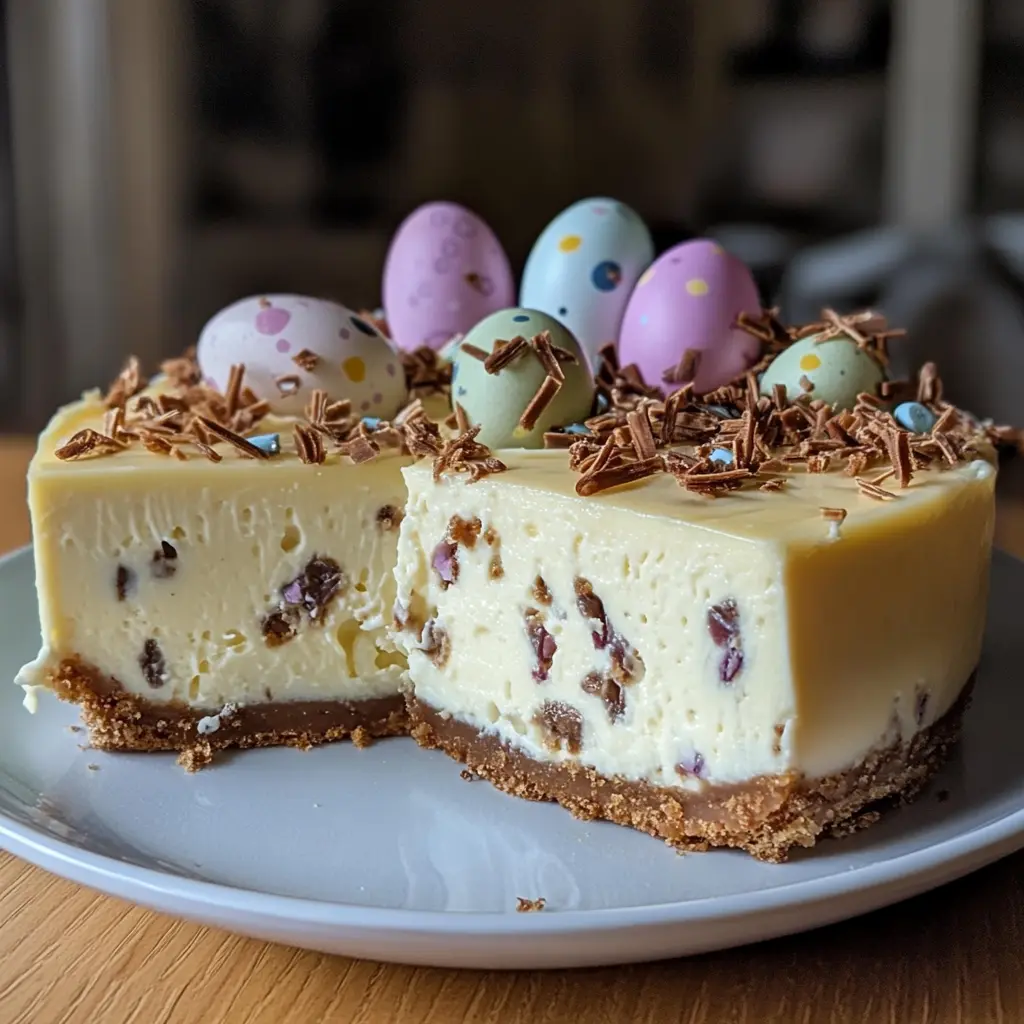
Indulge in the delightful flavors of spring with this Easter Egg Cheesecake. This no-bake dessert combines a rich and creamy filling with a crunchy biscuit base, all topped with colorful chocolate mini eggs. Perfect for celebrating the Easter holiday or any special occasion, this cheesecake is a showstopper that will impress your family and friends.
Why you will love this recipe
This Easter Egg Cheesecake is not only visually stunning, but it is also incredibly easy to make. With a delightful blend of creamy textures and sweet chocolate flavors, it captures the essence of Easter in every bite. The use of leftover Easter eggs makes it a fantastic way to repurpose holiday treats, and the no-bake aspect means you can prepare it ahead of time, freeing you up to enjoy your celebrations.
Introduction
Easter is a time for celebration, family gatherings, and of course, delicious food. As you plan your festive menu, consider adding this Easter Egg Cheesecake to your dessert table. With its creamy filling, crunchy biscuit base, and colorful chocolate topping, it’s a dessert that embodies the joy of the season. This cheesecake is not only a treat for the taste buds but also a feast for the eyes, making it the perfect centerpiece for your Easter festivities.
The best part? This cheesecake is incredibly easy to make, requiring no baking and minimal effort. With just a few simple ingredients, you can create a dessert that looks and tastes like it came from a professional bakery. So grab your springform pan, and let’s get started on this delightful Easter Egg Cheesecake!
Ingredients:
- Vegetable oil, for the tin
- 200g digestive biscuits
- 80g unsalted butter, melted
- 250g chocolate mini eggs or leftover Easter eggs
- 400g full-fat soft cheese
- 150g icing sugar
- 1 tsp vanilla bean paste
- 400g double cream

Preparation:
Step 1:
Begin by preparing your springform cake tin. Lightly oil a 20cm deep springform cake tin and line the base and sides with baking parchment. This will ensure that your cheesecake comes out easily once it’s set.
Step 2:
Next, crush the digestive biscuits. You can do this by placing them in a food bag and using a rolling pin to crush them into fine crumbs, or you can pulse them in a food processor. Once crushed, transfer the biscuit crumbs into a mixing bowl and pour in the melted unsalted butter. Mix until the crumbs are evenly coated with butter.
Step 3:
Press the biscuit mixture firmly into the base of the prepared cake tin, using the back of a spoon or your fingers to create an even layer. Once pressed down, place the tin in the refrigerator to chill for about 30 minutes. This will help the base set and hold its shape.
Step 4:
While the base is chilling, prepare the cheesecake filling. Roughly chop half of the chocolate mini eggs and set them aside. In a large mixing bowl, beat together the full-fat soft cheese, icing sugar, and vanilla bean paste using an electric whisk until just combined. Be careful not to overmix, as you want to keep the mixture light and fluffy.
Step 5:
In a separate bowl, whip the double cream to stiff peaks. This is crucial for achieving a light and airy cheesecake. Gently fold the whipped cream into the soft cheese mixture, being careful not to deflate the cream. Once combined, fold in the chopped chocolate mini eggs. Spoon the cheesecake mixture over the chilled biscuit base, smoothing the surface with a palette knife or spatula. Cover the cheesecake with plastic wrap and refrigerate overnight to allow it to set properly.
The next day, carefully release the cheesecake from the tin. If needed, run a knife around the edge to loosen it. To finish, decorate the top with the remaining whole chocolate mini eggs, arranging them in a festive pattern.
Serving Suggestions:
Slice the cheesecake into generous portions and serve chilled. It pairs wonderfully with a dollop of whipped cream or a drizzle of chocolate sauce. For an extra touch, consider serving it alongside fresh berries or a fruit compote for a burst of color and flavor.
Tips:
- For a richer flavor, consider using chocolate digestive biscuits instead of regular ones.
- If you don’t have chocolate mini eggs, any chocolate-covered candy or leftover Easter chocolate can be used.
- Make sure your cream cheese is at room temperature for easier mixing.
- If you want to add a bit of tanginess, consider adding a tablespoon of lemon juice to the filling.
- This cheesecake can be made up to two days in advance, making it a perfect make-ahead dessert.
Prep Time: 30 minutes
Cook Time: N/A (no baking required)
Total Time: 8 hours (including chilling)
Nutritional Information:
- Calories: Approximately 400 per slice (based on 12 servings)
- Protein: 5g
- Sodium: 200mg
Conclusion
This Easter Egg Cheesecake is a delightful addition to any spring celebration. Its creamy texture, combined with the crunch of the biscuit base and the sweetness of the chocolate mini eggs, creates a dessert that is sure to please everyone. Not only is it easy to make, but it also allows you to use up any leftover Easter treats, making it both practical and delicious. So, gather your ingredients, follow the steps, and get ready to impress your guests with this stunning cheesecake. Happy baking!
Questions and Answers:
1. Can I use different types of chocolate for this cheesecake?
Yes! Feel free to use any chocolate you prefer. Dark chocolate, milk chocolate, or even white chocolate can be used for the filling or as toppings.
2. How long does the cheesecake need to set in the fridge?
For the best results, it’s recommended to chill the cheesecake overnight. However, if you’re short on time, aim for at least 4-6 hours.
3. Can I freeze this cheesecake?
Yes, you can freeze the cheesecake. Wrap it tightly in plastic wrap and then in aluminum foil. It can be frozen for up to 2 months. Thaw it in the refrigerator before serving.
4. What can I substitute for the digestive biscuits?
Graham crackers or Oreo cookies can be great substitutes for digestive biscuits. Just make sure to adjust the amount of butter accordingly.
5. How can I make this cheesecake gluten-free?
To make a gluten-free version, use gluten-free digestive biscuits or any gluten-free cookie of your choice for the base. Ensure that all other ingredients are gluten-free as well.