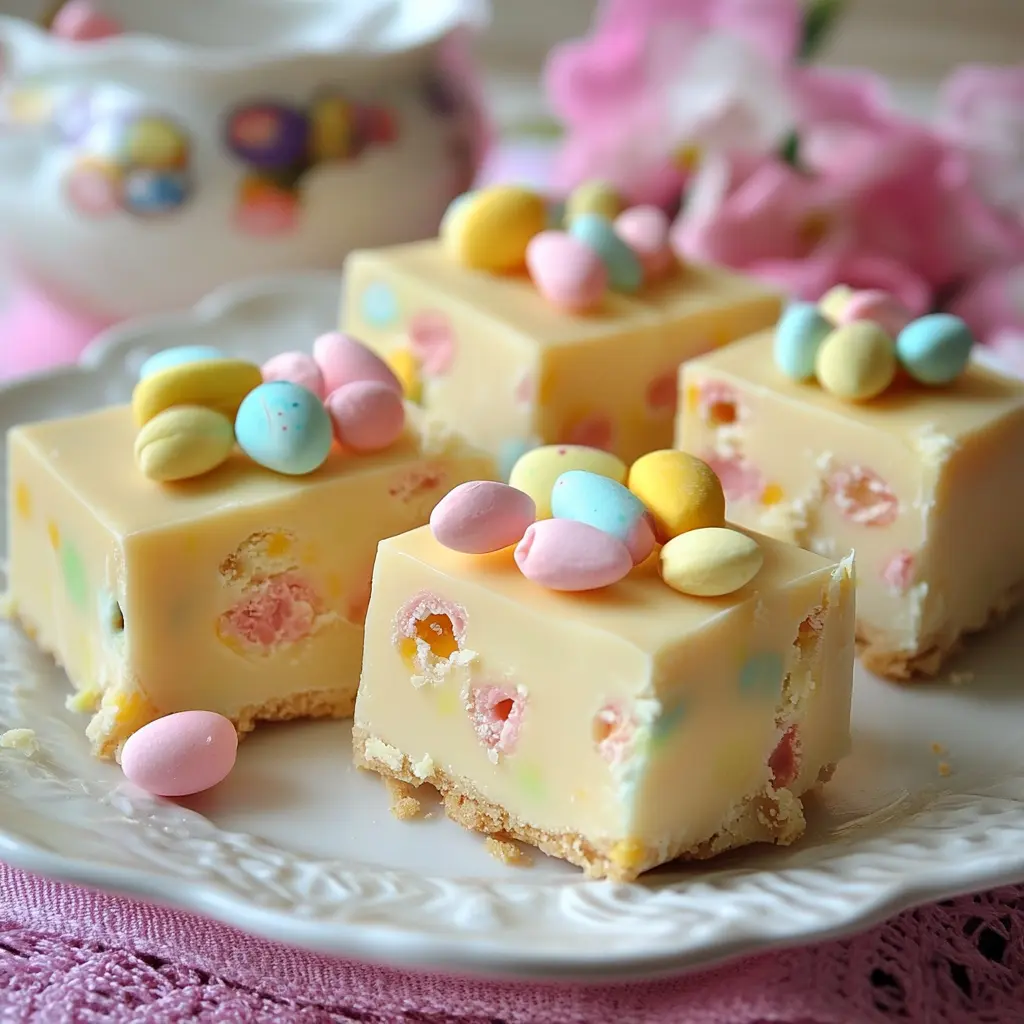
This Easter Fudge is a creamy, melt-in-your-mouth white chocolate treat, packed with pastel-colored candy-coated chocolates and festive sprinkles! With just four simple ingredients and no baking required, this recipe is quick, easy, and perfect for springtime celebrations.
Why You Will Love This Recipe
✔️ Quick & Easy – Only 4 ingredients and 10 minutes of prep!
✔️ No-Bake & Foolproof – Just melt, mix, and chill—great for beginners!
✔️ Creamy & Sweet – The perfect smooth texture with a candy crunch.
✔️ Festive & Customizable – Use any colors, sprinkles, or mix-ins you love!
✔️ Make-Ahead Friendly – Perfect for Easter parties, dessert tables, or edible gifts.
Introduction
As the days grow warmer and the flowers begin to bloom, it’s time to celebrate spring with delightful treats that capture the essence of the season. Easter is a time of joy, family gatherings, and, of course, delicious sweets! This Easter Fudge is not only a feast for the eyes with its vibrant colors, but it also offers a delightful combination of flavors and textures that will have everyone reaching for seconds. The creamy white chocolate base combined with crunchy candy-coated chocolates creates a perfect balance that melts in your mouth. Best of all, this recipe is incredibly simple and requires no baking, making it an ideal choice for novice cooks and busy parents alike. Let’s dive into the details of this scrumptious Easter Fudge!
Ingredients:
- 3 cups white chocolate chips
- 1 can (14 oz) sweetened condensed milk
- 1 teaspoon vanilla extract
- 1 cup pastel-colored candy-coated chocolates (like Mini Eggs or M&M’s)
- Pastel sprinkles (optional, for decoration)
Preparation:
Step 1: Prepare the Pan
Begin by lining an 8×8-inch baking dish with parchment paper. Ensure that you leave some overhang on the sides, which will make it easier to lift the fudge out once it has set.
Step 2: Melt the Chocolate
In a microwave-safe bowl, combine the white chocolate chips and sweetened condensed milk. Microwave the mixture in 30-second intervals, stirring in between until it is smooth and fully melted. Be careful not to overheat the chocolate, as it can seize and become grainy.
Step 3: Mix & Add the Candy
Once the chocolate is melted, stir in the vanilla extract for an added depth of flavor. Then, gently fold in half of the pastel-colored chocolates, ensuring they are evenly distributed throughout the mixture.
Step 4: Assemble & Chill
Pour the fudge mixture into the prepared baking dish and spread it evenly with a spatula. Sprinkle the remaining pastel-colored chocolates and pastel sprinkles on top, pressing them lightly into the fudge to ensure they adhere. Refrigerate the fudge for at least 2 hours, or until it is fully firm.
Step 5: Cut & Serve
Once the fudge has set, carefully lift it out of the baking dish using the parchment paper overhang. Use a sharp knife to cut it into 16 small squares. Your festive Easter treat is now ready to be enjoyed!
COOKING Rating:
⭐️⭐️⭐️⭐️⭐️ (5/5)
Serving Suggestions:
- Serve this colorful fudge on an Easter dessert table alongside cookies, cupcakes, and other sweet treats.
- Pair it with a warm cup of hot chocolate or coffee for a delightful afternoon snack.
- Wrap the fudge in cute pastel gift boxes or treat bags for adorable edible Easter gifts that friends and family will love!
Tips:
- For a different flavor profile, try adding a pinch of sea salt to the fudge mixture before chilling.
- If you want to make this fudge even more festive, consider using different types of candy-coated chocolates or adding in some crushed nuts or dried fruit for extra texture.
- Store any leftover fudge in an airtight container in the refrigerator for up to two weeks—if it lasts that long!
Prep Time: 10 minutes
Cook Time: 0 minutes (no baking required)
Total Time: 2 hours 10 minutes (including chilling time)
Nutritional Information (per serving, based on 16 servings):
Calories: 180
Protein: 2g
Sodium: 45mg
Conclusion
This Easter Fudge is a delightful treat that embodies the spirit of the season with its vibrant colors and sweet flavors. Whether you’re preparing it for a family gathering, gifting it to friends, or simply indulging in a sweet moment for yourself, this fudge is sure to bring joy to any occasion. With its easy preparation and no-bake nature, it’s a recipe you’ll want to keep in your collection for years to come. So gather your ingredients, get the kids involved, and create some sweet memories this Easter!
Questions and Answers about This Recipe
- Can I use chocolate other than white chocolate?
Yes! While this recipe is specifically for white chocolate fudge, you can experiment with milk chocolate or dark chocolate. Just keep in mind that the flavor and texture will change slightly. - How long does this fudge last?
When stored in an airtight container in the refrigerator, this fudge can last for up to two weeks. However, it’s so delicious that it may not last that long! - Can I freeze this fudge?
Absolutely! You can freeze the fudge for up to three months. Just make sure to wrap it tightly in plastic wrap and then place it in an airtight container to prevent freezer burn. - What if I can’t find pastel-colored candy-coated chocolates?
If pastel-colored chocolates are not available, feel free to use regular M&M’s or any other candy you prefer. You can even use chocolate chips for a different texture. - Can I add other mix-ins to the fudge?
Yes! This recipe is highly customizable. You can add crushed nuts, dried fruit, or even a swirl of peanut butter for added flavor. Just make sure not to add too many solid ingredients, as it may affect the fudge’s texture.