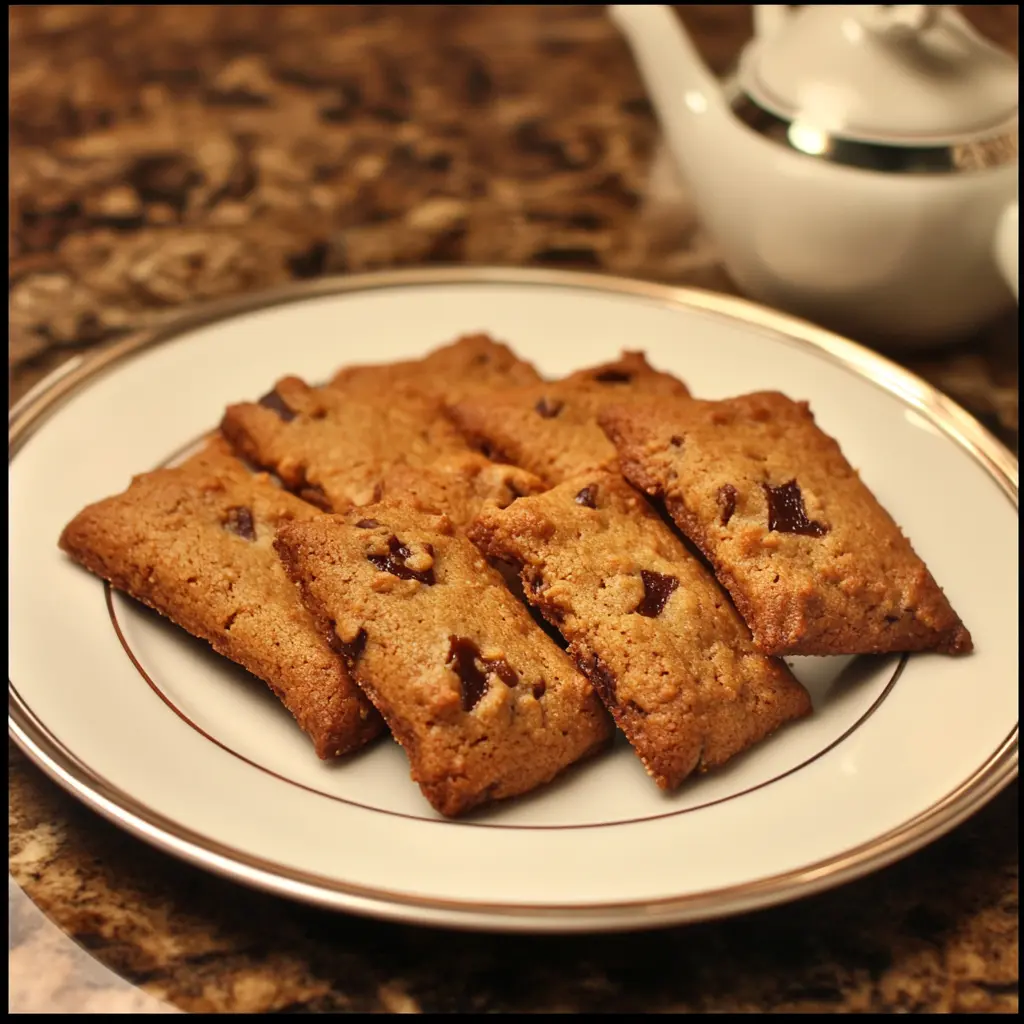
Description: These Hermit Cookies are a delightful blend of chewy textures, warm spices, and rich molasses flavor. A classic recipe that evokes feelings of comfort and simpler times, they’re perfect for a cozy afternoon treat or a festive holiday gathering.
Why You Will Love This Recipe:
- Unforgettable Flavor: The combination of ginger, cinnamon, and molasses creates a uniquely warm and inviting flavor profile that’s both comforting and satisfying.
- Chewy and Delicious Texture: These cookies have a wonderfully chewy texture that sets them apart from the average crispy cookie. The addition of walnuts and plump raisins adds even more textural interest.
- Easy to Make: Despite their complex flavor, Hermit Cookies are surprisingly easy to make with simple ingredients and straightforward instructions.
- Perfect for Sharing: These cookies are perfect for gifting or bringing to potlucks, as they are always a crowd-pleaser and a conversation starter.
- Nostalgia in Every Bite: Each bite of a Hermit Cookie is like a trip down memory lane, bringing back cherished memories of home-baked goodness.
Introduction
Hermit Cookies have a rich history, dating back to the early days of American baking. Their name, likely derived from their long shelf life and ability to be stored away for extended periods, hints at their practical origins. These cookies were a staple in households where ingredients were scarce and resourcefulness was key. Over time, the recipe has evolved, but the core elements of spice, molasses, and a chewy texture remain the same.
This recipe aims to capture the essence of the classic Hermit Cookie while incorporating modern techniques for consistent results. The key is to balance the spices, ensure proper hydration of the raisins, and avoid overbaking. Whether you’re a seasoned baker or just starting, this recipe is sure to become a favorite in your repertoire. Get ready to fill your kitchen with the warm and inviting aroma of Hermit Cookies!
Ingredients:
- 1/3 cup raisins
- 1 cup all-purpose flour
- 1/3 cup packed brown sugar
- 1/2 teaspoon baking powder
- 1/2 teaspoon ground ginger
- 1/2 teaspoon ground cinnamon
- 1/4 teaspoon salt
- 1/4 cup molasses
- 3 tablespoons unsalted butter, melted
- 1 large egg white (or 2 tablespoons egg substitute)
- 1 teaspoon vanilla extract
- 1/3 cup chopped walnuts
Preparation:
Step 1: Prepare the Raisins: Begin by hydrating the raisins. Place them in a small bowl and cover them with boiling water. Let them stand for 5 minutes. This process plumps the raisins, making them softer and more flavorful in the finished cookies. After 5 minutes, drain the raisins thoroughly and set them aside to cool slightly. The water softens the raisins, preventing them from being hard little nuggets in the final product and making them a juicy addition to your cookies.
Step 2: Combine Dry Ingredients: In a medium-sized bowl, whisk together the all-purpose flour, packed brown sugar, baking powder, ground ginger, ground cinnamon, and salt. Whisking ensures that the ingredients are evenly distributed, which is crucial for consistent baking. The brown sugar adds moisture and a caramel-like flavor, while the spices provide the characteristic warmth of Hermit Cookies. The baking powder helps the cookies rise slightly, giving them a tender crumb.
Step 3: Combine Wet Ingredients: In a separate, smaller bowl, combine the molasses, melted butter, egg white (or egg substitute), and vanilla extract. Whisk these ingredients together until they are well combined. The molasses is the key ingredient that gives Hermit Cookies their distinctive flavor and color. The melted butter adds richness and helps to create a tender texture. The egg white provides structure and helps bind the ingredients together. The vanilla extract enhances the overall flavor profile.
Step 4: Combine Wet and Dry Ingredients: Gradually add the wet ingredients to the dry ingredients, mixing until just moistened. Be careful not to overmix the batter. Overmixing can develop the gluten in the flour, resulting in tough cookies. The batter will be wet, which is normal for Hermit Cookies. The wet batter is what gives the cookies their signature chewy texture. Don’t try to get it perfectly smooth, just make sure the ingredients are generally incorporated.
Step 5: Fold in Nuts and Raisins: Gently fold in the chopped walnuts and plumped raisins into the batter. Distribute them evenly throughout. The walnuts add a delightful crunch and nutty flavor, complementing the spices and molasses. The raisins add a burst of sweetness and chewiness.
Step 6: Shape the Cookies: Preheat your oven to 375°F (190°C). Line a baking sheet with parchment paper. Dividing the batter in half is critical for proper baking and consistent cookie size. Spread each half of the batter onto the parchment-lined baking sheet, forming two rectangles that are approximately 12×2 inches in size. Leave about 2 inches of space between the rectangles. Because the batter is quite wet, you may find it helpful to wet your hands slightly to prevent the batter from sticking. This makes it easier to spread the batter evenly.
Step 7: Bake: Bake in the preheated oven for 10-15 minutes, or until the edges are lightly browned and set. Keep a close eye on the cookies to prevent them from burning. The baking time may vary depending on your oven. The cookies are done when they are slightly firm to the touch and the edges are golden brown.
Step 8: Cut into Bars: Remove the baking sheet from the oven and transfer the rectangles to a cutting board. While the cookies are still warm (but cool enough to handle), use a serrated knife to cut each rectangle diagonally into 1 1/2-inch bars. The serrated knife will help you cut through the cookies cleanly without tearing them.
Step 9: Cool: Transfer the cut bars to wire racks to cool completely. This allows the cookies to firm up and develop their characteristic chewy texture.
Step 10: Store: Once the cookies are completely cooled, store them in an airtight container at room temperature. They will keep for several days, making them a great option for making ahead.
COOKING Rating:
- Ease of Preparation: Intermediate
- Flavor Complexity: High
- Overall Satisfaction: Very High
Serving Suggestions:
- Enjoy them with a glass of milk or a cup of hot coffee or tea.
- Serve them as part of a dessert platter with other cookies and sweets.
- Package them in decorative tins for a thoughtful homemade gift.
- Crumble them over ice cream or yogurt for added flavor and texture.
- Pair them with a scoop of vanilla ice cream for a classic dessert combination.
Tips:
- Don’t Overmix: Overmixing the batter can result in tough cookies. Mix only until the ingredients are just combined.
- Use Fresh Spices: Freshly ground spices will provide the best flavor.
- Hydrate the Raisins: Soaking the raisins in hot water plumps them up, making them softer and more flavorful.
- Don’t Overbake: Overbaking can make the cookies dry. Bake until the edges are lightly browned and set.
- Cool Completely: Allow the cookies to cool completely before storing them. This will help them maintain their texture.
- Spice Customization: Feel free to adjust the spices to your liking. Add a pinch of nutmeg or cloves for a different flavor profile.
Prep Time: 20 minutes
Cook Time: 10-15 minutes
Total Time: 30-35 minutes
Nutritional Information: (Per Cookie, estimated)
Calories: Approximately 80-100 Protein: Approximately 1-2 grams Sodium: Approximately 30-40 mg
Conclusion
These Hermit Cookies are a testament to the power of simple ingredients and time-honored recipes. Their warm, spicy flavor and chewy texture make them a perfect treat for any occasion. Whether you’re baking them for your family, friends, or yourself, these cookies are sure to bring a smile to everyone’s face. So, gather your ingredients, preheat your oven, and get ready to experience the magic of Hermit Cookies. Happy baking!
Q&A: Your Hermit Cookie Questions Answered
Q1: Can I substitute the molasses with something else?
A: While molasses is a key ingredient in Hermit Cookies and contributes significantly to their unique flavor and color, you could try substituting it with dark corn syrup or honey in a pinch. However, be aware that the flavor and texture of the cookies will be slightly different. Dark corn syrup will provide a similar sweetness and viscosity, but it lacks the depth of flavor that molasses offers. Honey will add a distinct honey flavor, which may or may not complement the other spices. If using honey, consider reducing the amount slightly, as it tends to be sweeter than molasses. The best option is always to use molasses, but these alternatives can work in a pinch. I suggest using a dark brown sugar instead of light. It is a great flavor profile
Q2: Can I make these cookies ahead of time?
A: Absolutely! Hermit Cookies are actually a great make-ahead option. They tend to improve in flavor and texture as they sit, allowing the spices to meld together even more. You can bake the cookies a day or two in advance and store them in an airtight container at room temperature. They will stay fresh and delicious for several days. Alternatively, you can prepare the batter ahead of time and store it in the refrigerator for up to 24 hours. Just be sure to bring the batter to room temperature before baking, as cold batter may not spread evenly.
Q3: My batter is very wet. Is this normal?
A: Yes, a wet batter is perfectly normal for Hermit Cookies. The high moisture content is what gives these cookies their signature chewy texture. Don’t be tempted to add more flour to the batter, as this will result in dry, tough cookies. Instead, embrace the wetness and use wet hands to help spread the batter evenly on the baking sheet. The wet batter helps give them that moist bite.
Q4: Can I use different types of nuts?
A: Absolutely! While walnuts are a classic addition to Hermit Cookies, you can certainly substitute them with other types of nuts to suit your preferences. Pecans, almonds, or even hazelnuts would all be delicious options. Just be sure to chop the nuts into small pieces so that they are evenly distributed throughout the cookies. You can also experiment with toasting the nuts before adding them to the batter for a deeper, more intense flavor.
Q5: What’s the best way to prevent the cookies from spreading too much?
A: To prevent the cookies from spreading too much during baking, there are a few things you can try. First, make sure your oven is properly preheated to the correct temperature. Second, use parchment paper to line your baking sheet. This will help to prevent the cookies from sticking and spreading. Third, avoid using butter that is too soft or melted. The butter should be melted but not overly warm. Finally, chilling the batter for 30 minutes before baking can also help to prevent spreading. A combination of these techniques should help you achieve perfectly shaped Hermit Cookies.