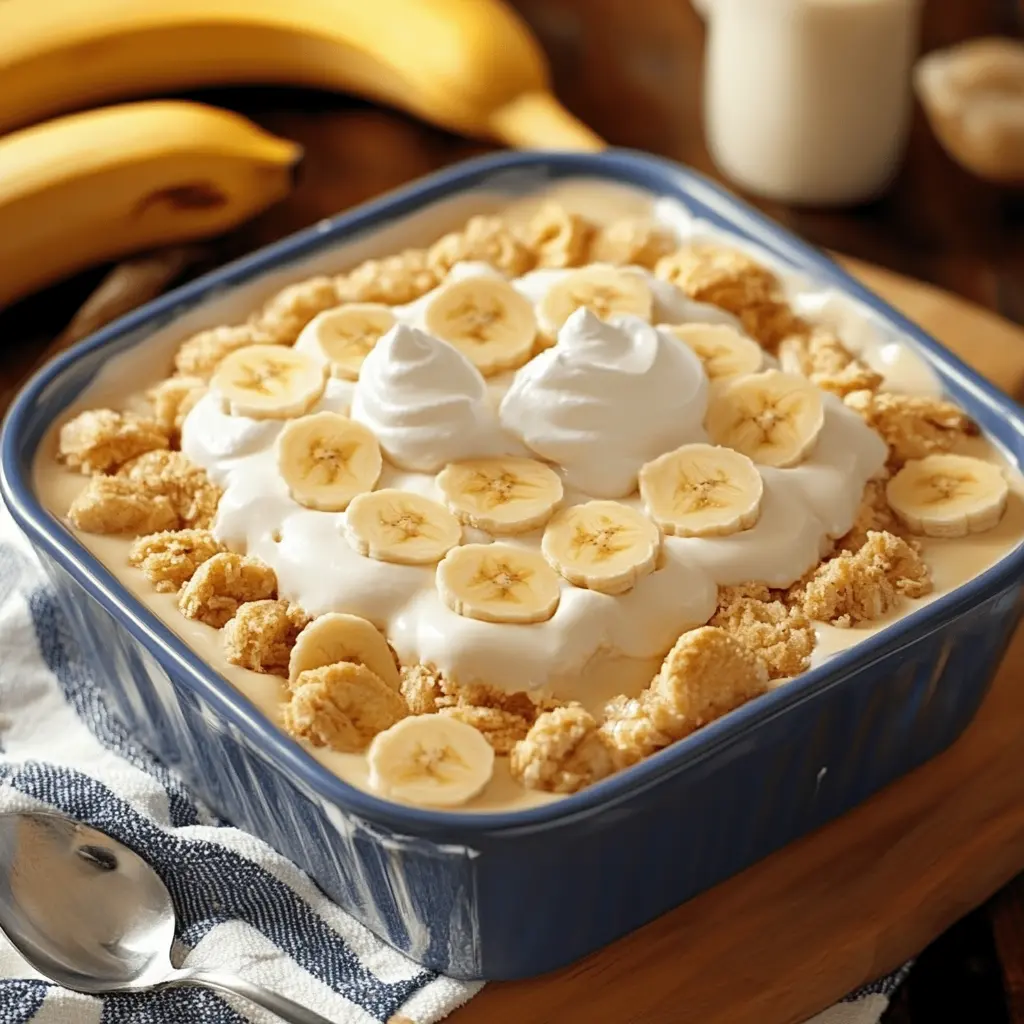
Description: This is not your grandma’s banana pudding – although it’s inspired by her timeless classic! This recipe elevates the beloved dessert with layers of creamy vanilla pudding, ripe bananas, crunchy vanilla wafers, and a homemade whipped cream that takes it completely over the top. The result is a symphony of textures and flavors that will transport you back to childhood while impressing even the most discerning palate.
Why You Will Love This Recipe:
- Unbelievably Creamy: The combination of instant pudding, sweetened condensed milk, and homemade whipped cream creates a texture that is unbelievably smooth and luxurious.
- Perfectly Balanced Flavors: The sweetness of the pudding is balanced by the natural sweetness of the bananas and the subtle vanilla notes throughout. The vanilla wafers provide a delightful crunch and a hint of buttery flavor.
- Easy to Make: Despite its impressive taste and presentation, this banana pudding is surprisingly easy to make, requiring no baking or complicated techniques.
- Make-Ahead Friendly: This dessert is best made ahead of time, allowing the flavors to meld together and the wafers to soften slightly. This makes it perfect for parties and gatherings.
- Crowd-Pleasing: Everyone loves banana pudding! It’s a classic comfort food that is guaranteed to be a hit with kids and adults alike.
Introduction
Banana pudding. The very words evoke feelings of warmth, nostalgia, and pure, unadulterated joy. It’s a dessert that transcends generations, a simple yet satisfying treat that is always welcome at picnics, potlucks, and family gatherings. While there are countless variations of banana pudding, this recipe aims to capture the essence of the classic while adding a few touches of homemade goodness to elevate it to a whole new level.
The secret to this Best Banana Pudding Ever lies in the combination of quality ingredients and careful layering. The instant vanilla pudding provides a smooth and creamy base, while the sweetened condensed milk adds richness and depth of flavor. But the real star of the show is the homemade whipped cream, which is light, airy, and perfectly sweet. When combined with ripe bananas and crisp vanilla wafers, the result is a dessert that is both comforting and indulgent.
Whether you’re looking for a dessert to impress your guests or simply a comforting treat to enjoy on a cozy evening, this Best Banana Pudding Ever is sure to satisfy. So, gather your ingredients, put on your favorite music, and prepare to indulge in a taste of pure happiness.
Ingredients:
- 1 (5 oz) box instant vanilla pudding mix
- 2 cups cold milk (whole milk is preferred for the richest flavor)
- 1 (14 oz) can sweetened condensed milk
- 1 cup heavy whipping cream
- 1 teaspoon vanilla extract
- 4–5 ripe bananas, sliced (slightly spotty is ideal for sweetness)
- 1 (12 oz) box vanilla wafer cookies (Nilla Wafers are the classic choice)
Preparation:
Step 1: Prepare the Pudding: In a large mixing bowl, whisk together the instant vanilla pudding mix and cold milk until it begins to thicken. Be sure to whisk vigorously to avoid any lumps. This usually takes about 2-3 minutes. The pudding should start to thicken visibly. Set this mixture aside. Allowing it to sit allows the pudding to thicken fully before incorporating the other ingredients. This step is crucial for achieving the right consistency.
Step 2: Make the Homemade Whipped Cream: In another bowl (preferably chilled for faster whipping), beat the heavy whipping cream and vanilla extract using an electric mixer (handheld or stand mixer) until stiff peaks form. Stiff peaks mean that when you lift the beaters, the whipped cream holds its shape and doesn’t droop. Be careful not to overwhip, as this can turn the cream into butter. The vanilla extract adds a subtle hint of flavor that complements the other ingredients beautifully.
Step 3: Combine the Pudding and Whipped Cream: Gently fold the whipped cream and sweetened condensed milk into the prepared pudding until smooth and fully combined. Use a rubber spatula and fold in a figure-eight motion to avoid deflating the whipped cream. This will keep the pudding light and airy. Make sure there are no streaks of sweetened condensed milk remaining. The mixture should be uniform in color and texture.
Step 4: Layer the Banana Pudding: In a 9×13-inch baking dish (or individual serving dishes), layer vanilla wafers to cover the bottom. Arrange the wafers in a single layer, overlapping slightly if necessary. This forms the foundation of the pudding. Add a layer of banana slices on top of the wafers, covering them evenly. The bananas should be ripe but not mushy. Then, spread half of the pudding mixture over the bananas, ensuring that the bananas are fully coated.
Step 5: Repeat and Chill: Repeat the layers with more vanilla wafers, banana slices, and the remaining pudding mixture. For the final touch, top with additional vanilla wafers if desired. Arrange them decoratively for a visually appealing presentation. Cover the baking dish tightly with plastic wrap or aluminum foil. Refrigerate for at least 2 hours (overnight is best) to allow the flavors to meld and the wafers to soften slightly. This chilling period is essential for the pudding to reach its optimal flavor and texture.
COOKING Rating:
- Ease of Preparation: Easy
- Time Commitment: Moderate (mostly chilling time)
- Skill Level: Beginner-Friendly
Serving Suggestions:
- Serve chilled straight from the refrigerator.
- Garnish with additional vanilla wafers, banana slices, or a sprinkle of cinnamon.
- Serve in individual cups or parfait glasses for an elegant presentation.
- Pair with a cup of coffee or tea for a delightful afternoon treat.
- Enjoy on its own or as part of a larger dessert spread.
Tips:
- Use ripe but firm bananas for the best texture and flavor.
- Don’t overmix the whipped cream, as it can become grainy.
- If you’re short on time, you can use store-bought whipped topping instead of making homemade whipped cream, but the homemade version is definitely worth the extra effort.
- For a more intense banana flavor, try adding a teaspoon of banana extract to the pudding mixture.
- To prevent the bananas from browning, you can toss them with a little lemon juice before layering them in the pudding.
- If you prefer a less sweet pudding, you can reduce the amount of sweetened condensed milk.
- Experiment with different variations, such as adding chocolate shavings, chopped nuts, or a drizzle of caramel sauce.
- Make sure to completely cover the dish to prevent a skin from forming on the pudding while it chills.
Prep Time:
- 20 minutes
Cook Time:
- 0 minutes (no cooking required)
Total Time:
- 2 hours 20 minutes (includes chilling time)
Nutritional Information: (estimated, per serving, varies based on portion size and ingredient brands)
- Calories: 350-450
- Protein: 5-7g
- Sodium: 200-300mg
Conclusion
This Best Banana Pudding Ever recipe is a testament to the enduring appeal of classic comfort food. With its creamy texture, balanced flavors, and easy preparation, it’s a dessert that is sure to delight everyone who tries it. Whether you’re looking for a simple treat to enjoy at home or a show-stopping dessert for a special occasion, this banana pudding is guaranteed to be a crowd-pleaser. So, gather your ingredients, follow the instructions, and prepare to experience the magic of banana pudding like never before. Enjoy!
Questions and Answers:
Q1: Can I use fat-free ingredients to make this banana pudding healthier?
A: Yes, you can definitely make some substitutions to lighten up this recipe. Using fat-free milk and fat-free sweetened condensed milk will reduce the fat content. You can also use light whipped topping instead of heavy cream, although the texture and flavor won’t be quite as rich. Keep in mind that using fat-free ingredients may slightly alter the overall taste and texture of the pudding, but it’s a great option if you’re looking to reduce calories and fat.
Q2: How can I prevent the bananas from browning in the pudding?
A: Browning bananas can be a common concern when making banana pudding. To prevent this, try tossing the banana slices with a little bit of lemon juice or pineapple juice before layering them in the pudding. The acidity in the juice will help to slow down the oxidation process. Also, make sure to assemble the pudding as close to serving time as possible. Refrigerating the pudding promptly after assembly will also help to keep the bananas looking fresh.
Q3: Can I make this banana pudding in individual serving cups instead of a large baking dish?
A: Absolutely! Making banana pudding in individual serving cups or parfait glasses is a great way to create an elegant presentation and control portion sizes. Simply layer the ingredients (vanilla wafers, banana slices, and pudding mixture) in the cups as you would in a large baking dish. This also makes it easy to customize each serving with different toppings or garnishes. This is perfect for parties or gatherings where you want to offer individual desserts.
Q4: How long does this banana pudding last in the refrigerator?
A: This banana pudding is best enjoyed within 2-3 days of making it. After that, the vanilla wafers may become too soggy, and the bananas may start to brown. Store the pudding covered tightly in the refrigerator to maintain its freshness and prevent it from absorbing any unwanted flavors from other foods. While it’s safe to eat after 3 days, the texture and taste might not be as optimal.
Q5: Can I add any other ingredients to customize this banana pudding?
A: Absolutely! One of the best things about banana pudding is that it’s easily customizable to suit your preferences. You can add a variety of ingredients to enhance the flavor and texture. Consider adding a layer of chocolate shavings, chopped nuts (like pecans or walnuts), a drizzle of caramel sauce, or a sprinkle of cinnamon. You can also experiment with different types of cookies, such as Chessmen cookies or shortbread cookies, instead of vanilla wafers. Get creative and have fun with it!