Description of this recipe
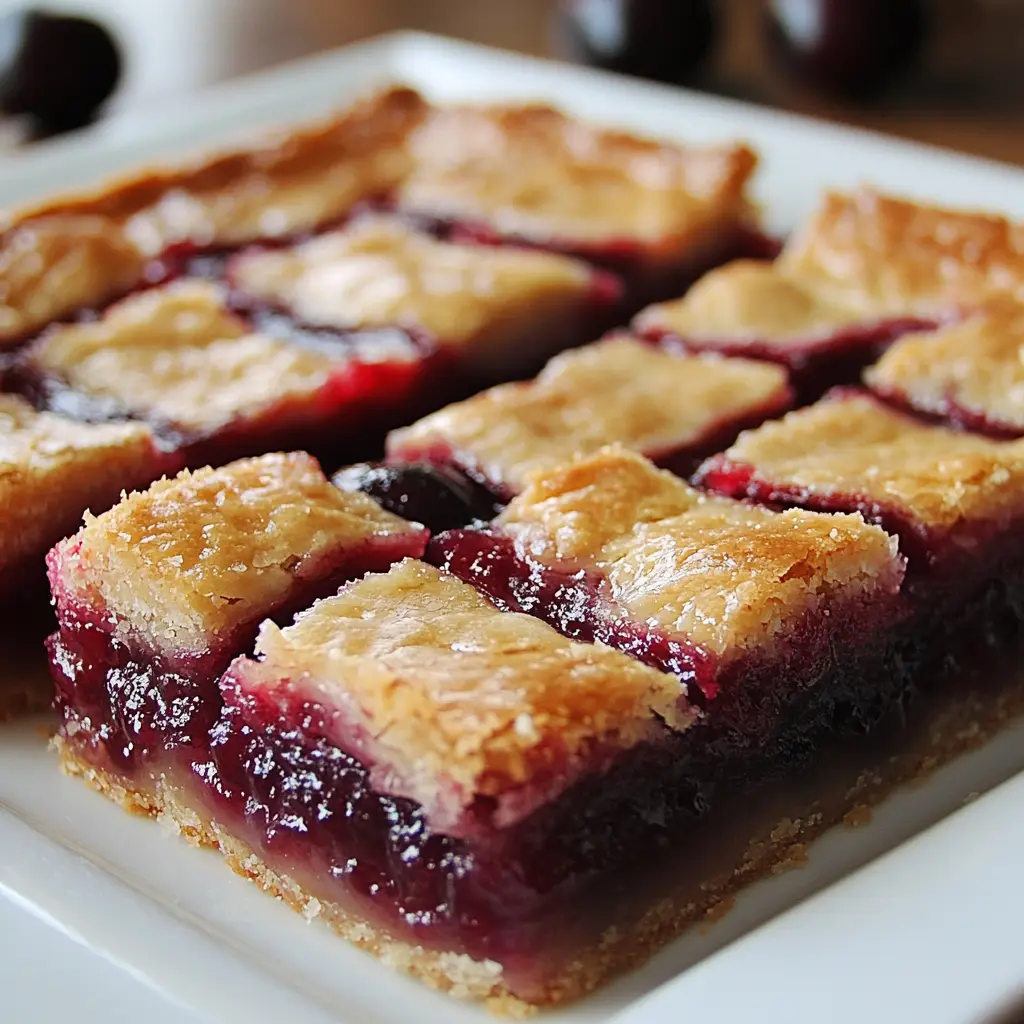
Cherry Pie Bars are a delightful, portable dessert that combines the classic flavors of cherry pie with the ease of a bar cookie. These bars feature a buttery, soft crust layered with sweet cherry filling and topped with a luscious glaze. They’re perfect for sharing at gatherings or enjoying as an afternoon treat with a cup of coffee.
Why you will love this recipe
You will love this recipe because it takes the beloved cherry pie and transforms it into a more convenient and shareable form. The bars are easy to make, require minimal equipment, and are sure to impress your family and friends. With a perfect balance of sweetness and a hint of almond flavor, these Cherry Pie Bars are not only visually appealing but also incredibly satisfying to eat.
Introduction
Cherry Pie Bars are the ultimate solution for those who crave the deliciousness of cherry pie but prefer a simpler, more accessible dessert. Whether you’re hosting a gathering, attending a potluck, or simply indulging in a sweet treat at home, these bars are a crowd-pleaser. The combination of buttery crust, luscious cherry filling, and a sweet glaze makes them irresistible. Plus, they are easy to cut into squares, making them perfect for serving. In this article, I will guide you through the process of making these delightful bars, sharing tips and tricks along the way to ensure your baking experience is a success.
Ingredients:
- 1 cup butter, softened
- 2 cups sugar
- 4 eggs
- 1 tsp vanilla extract
- ¼ tsp almond extract
- 3 cups all-purpose flour
- 1 tsp salt
- 2 cans (21 oz each) cherry pie filling
- 1 cup powdered sugar
- ½ tsp vanilla extract (for glaze)
- ½ tsp almond extract (for glaze)
- 2 tbsp milk

Preparation:
Step 1: Preheat the Oven
Preheat your oven to 350°F (175°C). This ensures that your Cherry Pie Bars bake evenly and achieve that perfect golden-brown crust. While the oven is heating, prepare your baking pan by spraying a 15x10x1-inch pan with non-stick spray. This will help prevent the bars from sticking and make for easier removal once they are baked.
Step 2: Cream Butter & Sugar
In a large mixing bowl, combine the softened butter and granulated sugar. Using an electric mixer, cream them together on medium speed until the mixture is light and fluffy. This step is crucial as it incorporates air into the batter, resulting in a tender texture. This typically takes about 3-5 minutes.
Step 3: Add Eggs and Extracts
Next, add the eggs to the creamed butter and sugar mixture, one at a time. Make sure to beat well after each addition to fully incorporate the eggs. This will help create a smooth batter. Then, stir in the vanilla extract and almond extract, which will enhance the flavor profile of your bars.
Step 4: Combine Dry Ingredients
In a separate bowl, whisk together the all-purpose flour and salt. Gradually add this dry mixture to the wet ingredients, mixing on low speed until just combined. Be careful not to overmix, as this can lead to dense bars. The batter should be thick and creamy.
Step 5: Assemble Bars
Spread 3 cups of the batter evenly across the bottom of the prepared pan, creating a nice base for the cherry filling. Next, open the cans of cherry pie filling and pour it over the batter, spreading it evenly across the surface. Finally, drop spoonfuls of the remaining batter over the cherry filling. It’s okay if some of the filling peeks through; this will create a beautiful, rustic look once baked.
Step 6: Bake
Place the pan in the preheated oven and bake for 30-35 minutes. To check for doneness, insert a toothpick into the center. If it comes out clean or with a few moist crumbs, your bars are ready. If you’re using a 9×13-inch pan, you may need to adjust the baking time, as they may take a bit longer.
Step 7: Cool and Prepare Glaze
Once baked, remove the pan from the oven and let the bars cool completely on a wire rack. While the bars are cooling, prepare the glaze. In a small bowl, whisk together the powdered sugar, vanilla extract, almond extract, and milk until smooth and creamy.
Step 8: Drizzle & Serve
After the bars have cooled, drizzle the glaze over the top. Allow the glaze to set for a few minutes before cutting the bars into squares. Serve them at room temperature and watch them disappear!
Serving Suggestions:
These Cherry Pie Bars are delightful on their own but can be enhanced with a scoop of vanilla ice cream or a dollop of whipped cream. They also pair wonderfully with a cup of coffee or tea, making them an excellent choice for afternoon gatherings or dessert after dinner.
Tips:
- For an extra touch, consider adding a sprinkle of chopped almonds or walnuts on top of the glaze before it sets.
- If you prefer a more intense cherry flavor, you can add a few tablespoons of cherry preserves to the filling.
- Store leftover bars in an airtight container at room temperature for up to three days or refrigerate for longer freshness.
Prep Time: 20 minutes
Cook Time: 35 minutes
Total Time: 55 minutes
Nutritional Information:
- Calories: 320 per bar
- Protein: 3g
- Sodium: 150mg
Conclusion
Cherry Pie Bars are a delightful twist on a classic dessert that everyone will love. They are easy to make, visually appealing, and deliciously sweet, making them perfect for any occasion. Whether you’re hosting a party, attending a potluck, or just want a sweet treat at home, these bars will not disappoint. So gather your ingredients and get ready to impress your family and friends with this scrumptious dessert!
Questions and Answers:
- Can I use fresh cherries instead of canned pie filling?
Yes, you can use fresh cherries! Just make sure to pit and slice them, and toss them with a bit of sugar to create a similar filling consistency. - How do I store leftover Cherry Pie Bars?
Store the bars in an airtight container at room temperature for up to three days or refrigerate them for up to a week to maintain freshness. - Can I freeze these bars?
Absolutely! Wrap individual bars in plastic wrap and place them in a freezer-safe container. They can be frozen for up to three months. Just thaw them at room temperature before serving. - What can I use instead of almond extract?
If you don’t have almond extract or prefer not to use it, you can simply omit it or substitute it with an equal amount of vanilla extract for a different flavor profile. - Can I make these bars gluten-free?
Yes! You can substitute the all-purpose flour with a gluten-free flour blend. Ensure that the blend is suitable for baking to achieve the best texture.