Description of this recipe
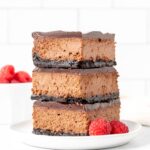
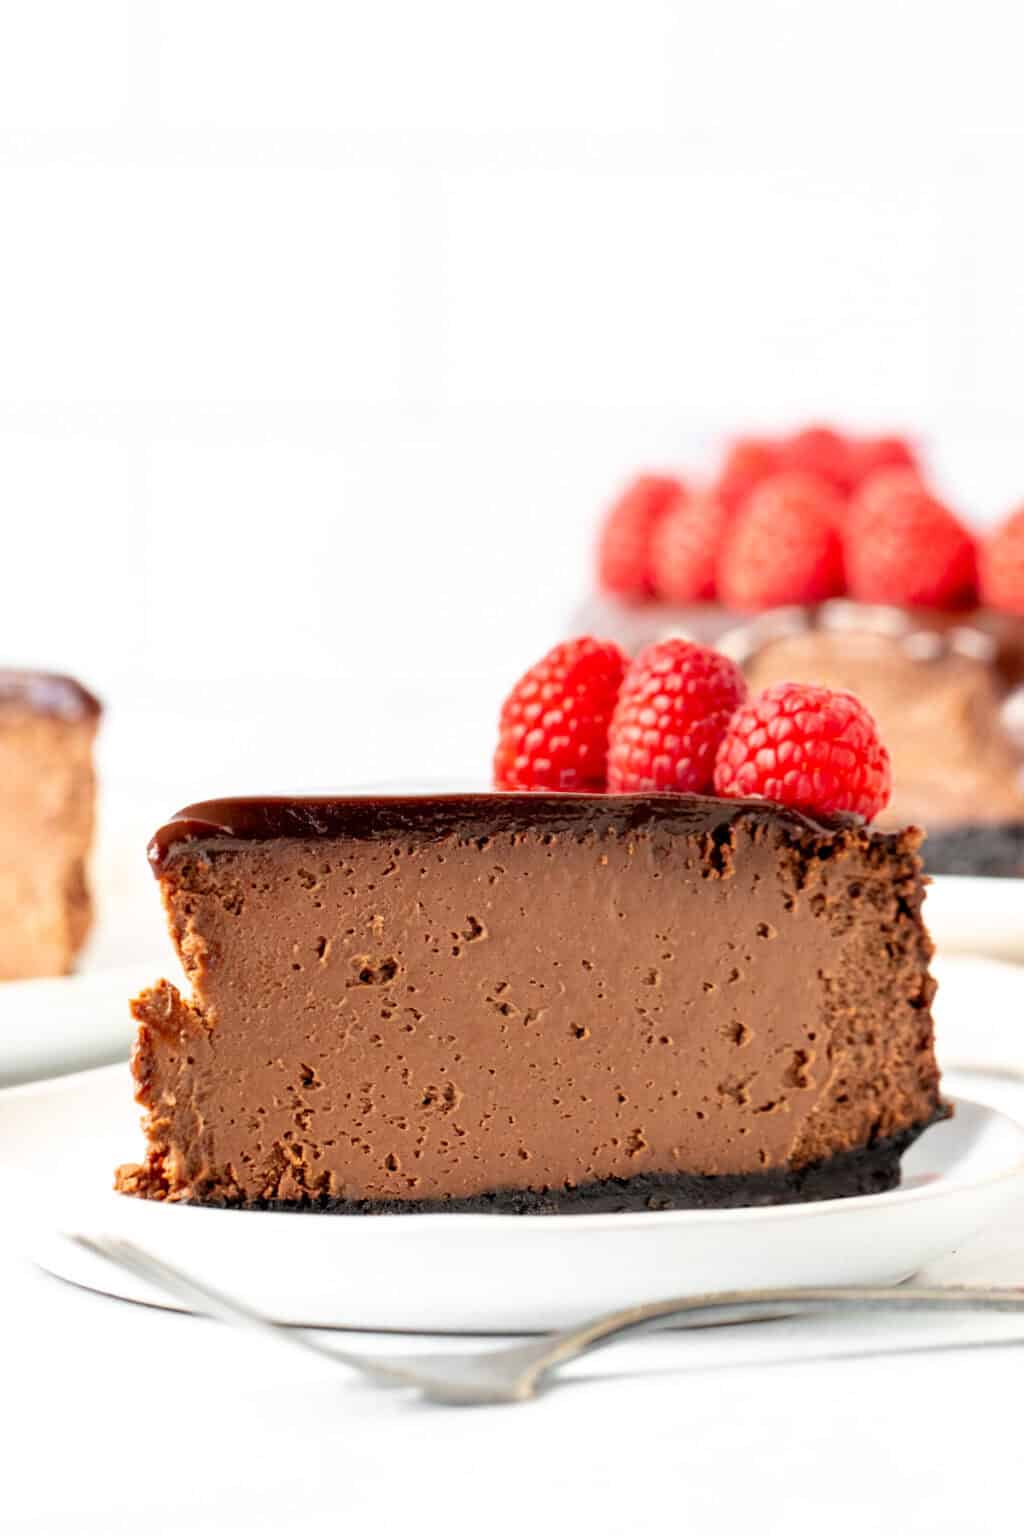
This Chocolate Cheesecake is an indulgent dessert that combines the rich flavors of dark chocolate with the creamy texture of a classic cheesecake. Featuring a decadent Oreo cookie crust, a smooth and intensely chocolatey cheesecake filling, and a glossy chocolate ganache topping, this dessert is perfect for special occasions or any time you crave a luxurious treat. The water bath baking method ensures a creamy, crack-free cheesecake every time.
Why you will love this recipe
This recipe is a chocolate lover’s dream come true! The combination of the crunchy Oreo crust, the velvety chocolate cheesecake filling, and the silky ganache topping creates a symphony of textures and flavors that will tantalize your taste buds. The water bath technique guarantees a perfectly smooth and creamy cheesecake, free from cracks and with an even bake. Plus, the detailed instructions make this recipe approachable for bakers of all skill levels, ensuring a show-stopping dessert that everyone will rave about. The addition of raspberries for decoration adds a touch of elegance and a burst of fresh flavor that complements the rich chocolate.
Ingredients:
Oreo Cookie Crust
- 30 Oreo cookies, wafers and filling
- 5 tablespoons unsalted butter (70 grams), melted
Chocolate Cheesecake
- 10 ounces 70% dark chocolate (280 grams)
- 24 ounces full-fat cream cheese (680 grams), brick style (not whipped, spreadable or light)
- 1 and 1/4 cup granulated sugar (250 grams)
- 1 tablespoon cornstarch, substitute with sifted cocoa powder for a richer chocolate flavor
- 3/4 cup sour cream (180 ml)
- 4 large eggs, room temperature
- 2 large egg yolks , in addition to the 4 large eggs
- Boiling water, for the water bath
Ganache
- 5 oz dark chocolate (142 grams)
- 1/2 cup heavy cream (120 ml)
- Raspberries, for decoration – optional
Preparation:
Step 1: Prepare the Oven and Pan
Preheat the oven to 325°F (160°C). Prepare a 9-inch springform pan by wrapping the outside with a disposable oven bag, securing it tightly with a key lock tie. Then, wrap the pan in aluminum foil at least 3-4 times, alternating the direction of the wraps to ensure complete coverage and prevent water from seeping in during the water bath. This is crucial for a perfect cheesecake.
Step 2: Make the Oreo Cookie Crust
Add the Oreo cookies (wafers and filling) to a food processor and pulse until they are reduced to fine crumbs. Alternatively, place the cookies in a freezer bag and crush them with a rolling pin until finely crushed. In a mixing bowl, combine the Oreo crumbs with the melted butter until well combined. Press the mixture firmly into the bottom of the prepared springform pan, creating a slight lip around the edge. Bake the crust in the preheated oven for 10 minutes. Remove from the oven (keeping the pan wrapped in foil) and set aside. Leave the oven turned on.
Step 3: Melt the Chocolate
Chop the dark chocolate into very small pieces and place them in a large heatproof bowl. Microwave the chocolate on medium power for 45-second intervals, stirring in between each interval until the chocolate is smooth and completely melted. Be careful not to overheat the chocolate, as it can seize. Alternatively, melt the chocolate in a double boiler, ensuring that the water in the saucepan underneath is gently simmering and not touching the bottom of the bowl containing the chocolate. Stir occasionally until the chocolate is smooth.
Step 4: Prepare the Cheesecake Filling
In a very large bowl, beat the full-fat cream cheese, granulated sugar, and cornstarch (or sifted cocoa powder) together until smooth and creamy. This may take about 3-5 minutes. Make sure to continually turn off the mixer and scrape down the bottom and sides of the bowl to ensure that all ingredients are fully incorporated and there are no lumps. In a separate small bowl, whisk together the 4 large eggs and the additional 2 egg yolks until lightly combined. This ensures even distribution of the eggs in the batter.
Step 5: Combine the Ingredients
Slowly whisk the eggs into the cream cheese mixture, adding about half at a time. I recommend doing this by hand to avoid overmixing. If using an electric mixer, do a few stirs by hand first, then mix on low speed. Stop mixing as soon as you no longer see pieces of egg. Gently fold in the melted chocolate and sour cream until just combined. Be careful not to overmix, as this can lead to a tough cheesecake.
Step 6: Assemble and Bake the Cheesecake
Pour the cheesecake batter over the prepared Oreo crust in the springform pan (which should still be wrapped in foil). Place the springform pan in the middle of a large roasting pan. Carefully pour about 1/2 to 1 inch (1-2 cm) of boiling water into the roasting pan, creating a water bath. The water bath helps to ensure even baking and prevents the cheesecake from cracking. Place the roasting pan (with the cheesecake inside) in the oven and bake for 55-70 minutes, or until the top looks just set and if you give the pan a gentle nudge, the cheesecake has a slight wobble – similar to a bowl of pudding or jelly.
Step 7: Cool the Cheesecake
Turn off the oven, open the oven door slightly, and cool the cheesecake in the oven with the door open for about 30 minutes. This gradual cooling helps prevent the cheesecake from cracking as it cools. Then, remove the roasting pan from the oven and cool the cheesecake (in the roasting pan) until it reaches room temperature. Once the cheesecake has reached room temperature, remove the springform pan from the roasting pan, cover it with aluminum foil, and place it in the fridge to chill for at least 6 hours, or preferably overnight. This allows the cheesecake to fully set and develop its flavor.
Step 8: Prepare the Chocolate Ganache
Chop the dark chocolate into very small pieces and place them in a heatproof bowl. Heat the heavy cream in a saucepan until it is almost boiling. Pour the hot cream over the chopped chocolate and let it sit for about 2-5 minutes to allow the chocolate to melt. Then, whisk the mixture until it is smooth and glossy.
Step 9: Assemble the Final Dessert
Remove the cheesecake from the fridge. Gently trace around the edge of the pan with a thin, sharp knife to loosen the cheesecake from the sides. Unclamp the outer ring of the springform pan. If there is any condensation on top of the cheesecake, blot it gently with a paper towel. Pour the chocolate ganache over the cheesecake, allowing it to drip over the edges. Optionally, sprinkle a few chocolate shavings on top and/or decorate with fresh raspberries for a touch of elegance and flavor.
Step 10: Chill and Serve
Place the cheesecake back in the fridge for another 30 minutes to allow the ganache to firm up slightly. To serve, cut the cheesecake into slices using a sharp, thin, non-serrated knife (do not use a table knife). Be sure to slice all the way through the Oreo crust. Serve chilled and enjoy!
COOKING Rating:
Intermediate
Serving Suggestions:
- Serve chilled as a standalone dessert.
- Pair with a scoop of vanilla ice cream or a dollop of whipped cream.
- Garnish with fresh berries, such as raspberries, strawberries, or blueberries.
- Drizzle with additional chocolate sauce or caramel sauce for extra indulgence.
- Serve with a cup of coffee or tea.
Tips:
- Use full-fat cream cheese for the best texture and flavor. Low-fat or whipped cream cheese will not work as well in this recipe.
- Ensure that all ingredients, especially the cream cheese and eggs, are at room temperature for a smoother batter.
- Do not overmix the cheesecake batter, as this can lead to a tough cheesecake.
- Use a water bath to prevent the cheesecake from cracking and to ensure even baking.
- Allow the cheesecake to cool gradually in the oven to prevent cracking.
- Chill the cheesecake for at least 6 hours, or preferably overnight, to allow it to fully set.
- Use a thin, sharp, non-serrated knife to slice the cheesecake for clean cuts.
- If the knife is sticking, dip it in hot water and wipe it clean between slices.
- Store leftover cheesecake in the refrigerator for up to 3-4 days.
Prep Time:
45 minutes
Cook Time:
55-70 minutes
Total Time:
At least 6 hours (including chilling time)
Nutritional Information:
(Note: The following values are estimates and may vary based on specific ingredients and serving sizes.)
Calories:
Approximately 550-650 per slice
Protein:
Approximately 8-10 grams per slice
Sodium:
Approximately 250-350 mg per slice
Conclusion
This Chocolate Cheesecake recipe is a true showstopper that is sure to impress your friends and family. With its rich chocolate flavor, creamy texture, and decadent ganache topping, it is the perfect dessert for any special occasion. While it requires some time and attention to detail, the results are well worth the effort. Follow the instructions carefully, and you will be rewarded with a perfectly baked, crack-free cheesecake that will have everyone coming back for seconds. Enjoy the process of creating this masterpiece and savor every bite of this luxurious treat!
Questions and Answers about this recipe
Q1: Can I use a different type of chocolate for the cheesecake filling and ganache?
A: Yes, you can experiment with different types of chocolate to suit your taste preferences. However, keep in mind that the type of chocolate you use will affect the flavor and sweetness of the cheesecake. For example, milk chocolate will result in a sweeter cheesecake, while semi-sweet chocolate will provide a more balanced flavor. I recommend using a high-quality chocolate with a cocoa content of at least 60% for the best results. For the ganache, you can use the same chocolate as the filling or opt for a slightly darker chocolate for a richer flavor.
Q2: Can I make this cheesecake ahead of time?
A: Absolutely! In fact, making this cheesecake ahead of time is highly recommended. The cheesecake needs to chill for at least 6 hours, or preferably overnight, to fully set and develop its flavor. You can bake the cheesecake up to 2 days in advance and store it in the refrigerator, tightly covered with plastic wrap or aluminum foil. Add the ganache topping just before serving to prevent it from becoming dull or cracking.
Q3: What can I do if my cheesecake cracks while baking?
A: Cracking is a common issue with cheesecakes, but there are several steps you can take to prevent it. First, make sure to use a water bath when baking the cheesecake. The steam from the water bath helps to keep the cheesecake moist and prevents it from drying out and cracking. Second, avoid overmixing the cheesecake batter, as this can incorporate too much air and cause the cheesecake to puff up and crack during baking. Third, cool the cheesecake gradually in the oven with the door ajar after baking. This allows the cheesecake to slowly adjust to the temperature change and reduces the risk of cracking. If your cheesecake does crack, don’t worry! It will still taste delicious. You can also cover the cracks with the ganache topping to hide them.
Q4: Can I freeze this cheesecake?
A: Yes, you can freeze this cheesecake for longer storage. Allow the cheesecake to cool completely, then wrap it tightly in plastic wrap, followed by a layer of aluminum foil. Freeze for up to 2-3 months. When ready to serve, thaw the cheesecake in the refrigerator overnight. Keep in mind that freezing may slightly alter the texture of the cheesecake, but it will still be delicious. It’s best to freeze the cheesecake without the ganache topping, adding it after thawing for the best results.
Q5: Can I substitute the Oreo cookie crust with another type of crust?
A: Yes, you can definitely substitute the Oreo cookie crust with another type of crust if you prefer. Graham cracker crust is a popular alternative and provides a similar texture and flavor. You can also use a shortbread crust, a chocolate wafer crust, or even a nut-based crust for a gluten-free option. Just make sure to adjust the baking time accordingly and ensure that the crust is firm and set before adding the cheesecake filling.