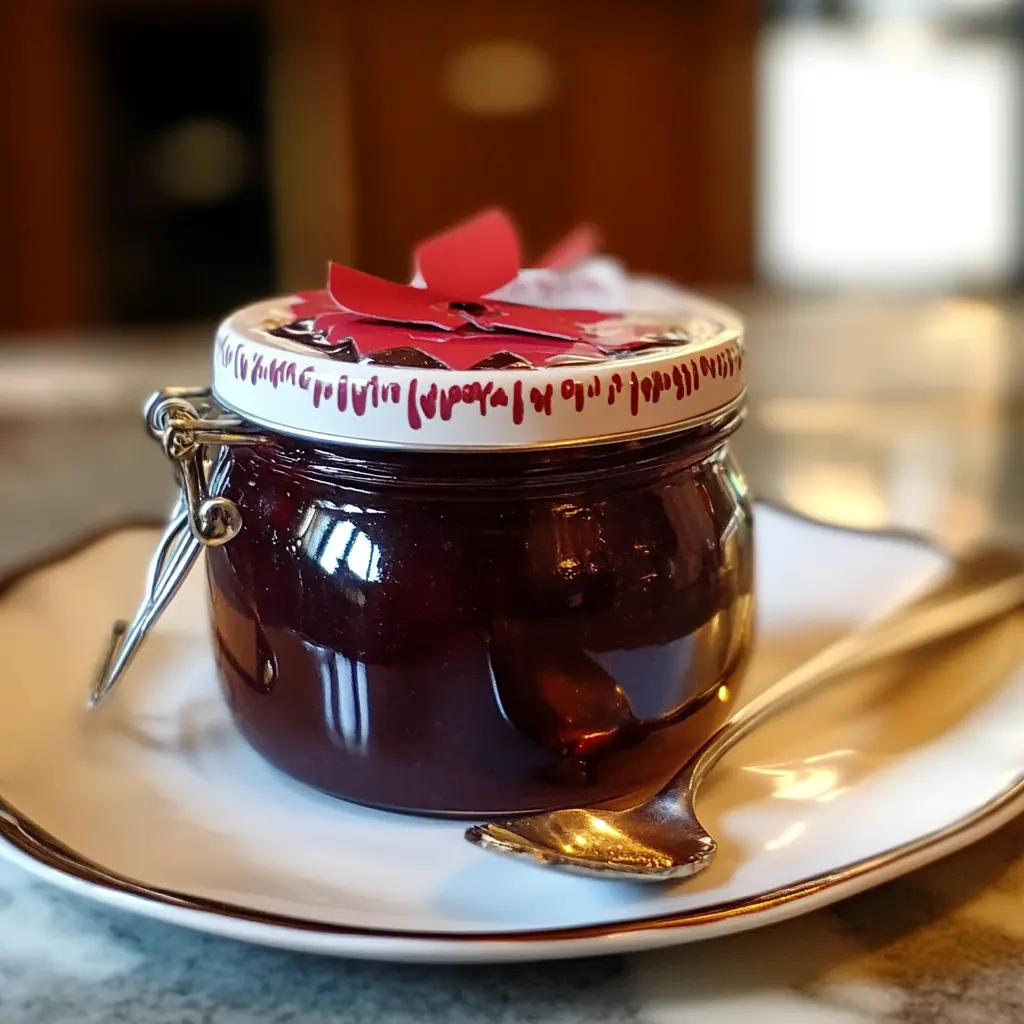
Description of this recipe: Christmas Jam is a vibrant and flavorful preserve that perfectly captures the essence of the holiday season. Combining the sweetness of strawberries with the tartness of cranberries, this homemade jam is a delightful addition to your breakfast table, festive appetizers, or as a thoughtful homemade gift.
Why you will love this recipe: This Christmas Jam recipe is not only delicious but also surprisingly easy to make, even for beginner canners. The bright red color and the blend of sweet and tart flavors are incredibly festive, instantly bringing a touch of holiday cheer to any occasion. Plus, making your own jam allows you to control the ingredients and avoid the preservatives often found in store-bought versions. Imagine the joy of gifting a jar of homemade Christmas Jam to friends and family, a testament to your love and care!
Introduction
The aroma of simmering fruit, the vibrant colors swirling in the pot – making Christmas Jam is more than just a recipe; it’s a tradition. It’s a sensory experience that evokes memories of cozy kitchens, crackling fireplaces, and the warmth of the holiday season. This particular recipe is a classic, passed down through generations, and perfected over time. It strikes the perfect balance between sweet and tart, creating a jam that’s both comforting and invigorating.
Beyond its delightful flavor, Christmas Jam is incredibly versatile. Spread it on warm toast, scones, or biscuits for a festive breakfast. Use it as a glaze for roasted meats, or as a filling for thumbprint cookies. Swirl it into yogurt or oatmeal for a touch of holiday sweetness. The possibilities are endless!
And the best part? Making your own jam is a rewarding experience. The feeling of accomplishment when you see those jars lined up, filled with homemade goodness, is truly satisfying. Plus, homemade jam makes a wonderful and thoughtful gift for friends, family, and neighbors. It’s a gift that comes from the heart, made with love and care. So, gather your ingredients, put on some Christmas music, and let’s get started!
Ingredients:
- 1 package (40 ounces) frozen unsweetened strawberries, thawed OR 2-1/2 quarts fresh strawberries, hulled
- 1 pound fresh or frozen cranberries, thawed
- 5 pounds granulated sugar
- 2 pouches (3 ounces each) liquid fruit pectin
Preparation:
Step 1: Prepare the Fruit
This step is crucial for achieving the right consistency and flavor in your jam. If using fresh strawberries, wash and hull them thoroughly. If using frozen strawberries, ensure they are completely thawed. Drain any excess liquid to prevent a watery jam. For cranberries, rinse them well, removing any stems or bruised berries. Whether fresh or frozen, ensure the cranberries are thawed before proceeding.
Step 2: Grind the Fruit
Using a food processor or grinder, process the strawberries and cranberries until they are finely chopped. You want a texture that’s not too smooth, but also not too chunky. The goal is to break down the fruit enough so that it releases its natural juices and flavors during the cooking process. You can also use a blender, but be careful not to over-process, as this can result in a puree.
Step 3: Combine Ingredients in Dutch Oven
Transfer the ground strawberries and cranberries to a large Dutch oven. A Dutch oven is ideal because it provides even heat distribution and has a heavy bottom, which helps prevent scorching. Add the sugar to the fruit mixture and stir well to combine. The sugar will help draw out the natural juices from the fruit, creating a syrupy base for the jam.
Step 4: Bring to a Rolling Boil
Place the Dutch oven over medium-high heat and bring the mixture to a full rolling boil. A full rolling boil is defined as a boil that continues to bubble vigorously even when stirred. This is essential for activating the pectin and ensuring that the jam sets properly. As the mixture heats up, stir it frequently to prevent sticking and scorching.
Step 5: Boil for 1 Minute
Once the mixture reaches a full rolling boil, continue to boil for exactly one minute, stirring constantly. This is a critical step for thickening the jam. Do not shorten or lengthen the boiling time, as it can affect the final consistency. Use a timer to ensure accuracy.
Step 6: Add Pectin
Remove the Dutch oven from the heat and stir in the liquid fruit pectin. Stir quickly and thoroughly to ensure the pectin is evenly distributed throughout the mixture. The pectin is what will help the jam to gel and set.
Step 7: Return to a Full Rolling Boil
Return the mixture to the stovetop and bring it back to a full rolling boil. Again, boil for one minute, stirring constantly. This second boiling ensures that the pectin is fully activated and that the jam will set properly.
Step 8: Remove from Heat and Cool
Remove the Dutch oven from the heat and let the jam cool for about 5 minutes. This allows the foam to rise to the surface, making it easier to skim off.
Step 9: Skim Off Foam
Using a large spoon or ladle, carefully skim off any foam that has formed on the surface of the jam. Removing the foam will result in a clearer and more visually appealing jam.
Step 10: Ladle into Jars and Process
Carefully ladle the hot jam into hot, sterilized half-pint jars, leaving a 1/4-inch headspace. Use a clean, damp cloth to wipe the rims of the jars to remove any drips or spills. Place sterilized lids on the jars and screw on the bands until fingertip tight. Process the jars in a boiling-water canner for 10 minutes.
COOKING Rating:
- Ease of Preparation: Medium (requires some canning knowledge)
- Flavor Profile: Sweet and Tart
- Festive Appeal: High
Serving Suggestions:
- Spread on toast, scones, or biscuits for breakfast or brunch.
- Serve with cream cheese and crackers as an appetizer.
- Use as a glaze for roasted chicken, pork, or ham.
- Fill thumbprint cookies or other holiday treats.
- Stir into yogurt or oatmeal for a festive touch.
- Serve alongside a cheese board for added flavor and color.
- Use as a topping for pancakes or waffles.
- Give as a homemade gift during the holiday season.
Tips:
- Use a candy thermometer to ensure the jam reaches the proper temperature for setting.
- Test the jam for set by placing a small spoonful on a chilled plate and refrigerating for a few minutes. If it gels, the jam is ready.
- Adjust the sugar to your liking, but keep in mind that sugar is necessary for preserving the jam.
- For a spicier jam, add a pinch of ground cinnamon, cloves, or nutmeg.
- If you don’t have a Dutch oven, you can use a large, heavy-bottomed saucepan.
- Always use sterilized jars and lids to prevent spoilage.
- Follow proper canning procedures to ensure the jam is safely preserved.
Prep Time:
- 20 minutes
Cook Time:
- 30 minutes
Total Time:
- 50 minutes
Nutritional Information:
- Note: Nutritional information is an estimate and will vary based on ingredient amounts.
Calories: Approximately 50 calories per tablespoon
Protein: Less than 1 gram per tablespoon
Sodium: Negligible
Conclusion
Christmas Jam is more than just a recipe; it’s a celebration of the holiday season. The vibrant colors, the festive flavors, and the joy of making something homemade all contribute to a truly special experience. Whether you’re spreading it on toast, using it as a glaze, or gifting it to loved ones, this jam is sure to bring a touch of holiday cheer to any occasion. So, embrace the tradition, gather your ingredients, and create a batch of Christmas Jam that will be cherished for years to come. Enjoy the process and savor the delicious results!
Frequently Asked Questions:
Q1: Can I use a different type of berry in this recipe?
A: While strawberries and cranberries are the traditional fruits used in Christmas Jam, you can experiment with other berries, such as raspberries or blackberries. Keep in mind that the flavor profile will change, and you may need to adjust the sugar accordingly. It is crucial to consider pectin levels when switching ingredients, as some fruit is naturally higher or lower, thus affecting the finished texture.
Q2: How do I know if my jam has set properly?
A: There are a few ways to test the set of your jam. One method is the “cold plate test.” Place a small spoonful of hot jam on a chilled plate and refrigerate it for a few minutes. If the jam wrinkles when you push it with your finger, it has set properly. Another method is to use a candy thermometer. The jam should reach a temperature of 220°F (104°C) for proper setting. If your jam doesn’t set properly, you can re-cook it with additional pectin.
Q3: Can I use less sugar in this recipe?
A: While you can reduce the sugar slightly, it’s important to remember that sugar plays a crucial role in preserving the jam. Reducing the sugar too much can affect the set and shelf life of the jam. If you want to use less sugar, consider using a low-sugar pectin, which is specifically designed for recipes with reduced sugar content.
Q4: How long will Christmas Jam last?
A: When properly canned and stored in a cool, dark place, Christmas Jam can last for up to two years. Once opened, store the jam in the refrigerator and use it within a few weeks. Always check for signs of spoilage, such as mold or an off odor, before consuming.
Q5: Can I make this recipe without canning?
A: Yes, you can make this recipe without canning, but the shelf life will be significantly shorter. If you choose not to can the jam, store it in the refrigerator and use it within a week or two. You can also freeze the jam in freezer-safe containers for longer storage. If freezing, leave space for expansion, to avoid cracking the container.