Description of this recipe:
This Classic Vanilla Custard recipe offers a rich, smooth, and utterly decadent dessert experience. It’s a versatile base that can be enjoyed on its own or used to elevate other sweet treats. This recipe delivers a perfect balance of creamy texture and delicate vanilla flavor. It’s surprisingly easy to make, using ingredients you likely already have in your kitchen. Whether you’re a seasoned baker or a novice cook, this custard recipe is sure to become a favorite.
Why you will love this recipe:
You’ll love this classic vanilla custard recipe for its simplicity, elegance, and unparalleled flavor. It’s incredibly versatile – perfect as a standalone dessert, a topping for cakes and pies, or a component in more elaborate creations. The smooth, velvety texture melts in your mouth, while the delicate vanilla aroma fills your senses with warmth and comfort. It’s also a great recipe for showcasing the quality of your ingredients. High-quality vanilla extract and fresh, creamy milk make all the difference. Plus, the recipe is adaptable. You can easily adjust the sweetness or infuse it with other flavors like citrus zest, spices, or even a hint of liqueur.
Ingredients:
- 1 cup heavy cream
- 1 cup whole milk
- 5 large egg yolks
- 2 tablespoons honey
- 2 teaspoons cornstarch, arrowroot powder, or tapioca flour
- 1 teaspoon vanilla extract
Preparation:
Step 1: Heat the cream. Add the heavy cream and milk to a medium saucepan over medium heat. Whisk occasionally until it just starts to simmer with bubbles along the edges. It is crucial to heat the cream slowly and carefully to prevent scorching. Keep a close eye on the mixture as it heats up. The goal is to bring it to a gentle simmer, not a rolling boil. The simmering point is when you see small bubbles forming around the edges of the pan, and steam begins to rise from the surface. Once it reaches this point, immediately remove the saucepan from the heat.
Step 2: Temper the eggs. In a medium bowl, whisk together the egg yolks, honey, cornstarch (or arrowroot powder/tapioca flour), and vanilla extract. Whisk vigorously until the mixture is smooth, pale yellow, and slightly thickened. This step is essential for preventing the eggs from curdling when added to the hot cream. The honey adds a subtle sweetness and complements the vanilla flavor, while the cornstarch acts as a stabilizer, ensuring a smooth and creamy texture. The vanilla extract enhances the overall flavor profile, lending a warm and aromatic note to the custard.
Step 3: Combine and cook. While continuously whisking the egg yolk mixture, very slowly pour half of the hot cream mixture into the bowl. This process is called tempering and is critical to prevent the eggs from cooking too quickly and scrambling. Pour the hot cream in a thin, steady stream, whisking constantly to ensure it is evenly distributed. The goal is to gradually raise the temperature of the egg yolks without cooking them. Once half of the hot cream has been incorporated, the tempered egg mixture can be safely added to the remaining hot cream in the saucepan.
Step 4: Stir together and thicken. Return the tempered egg mixture to the saucepan and place it over medium-low heat. Stir constantly with a spatula or wooden spoon, scraping the bottom and sides of the pan to prevent sticking. Cook for 1 to 3 minutes, or until the custard is slightly thickened. The custard is ready when it coats the back of a spoon and leaves a clear line when you run your finger through it. Be careful not to overcook the custard, as it will continue to thicken as it cools. It’s better to err on the side of slightly undercooked than overcooked. The consistency should be smooth, creamy, and pourable, not too thick or gloppy.
Step 5: Serve or chill. You can serve the custard warm, drizzled over cake, pie, or other desserts. The warm custard will add a luscious and comforting element to your favorite treats. Alternatively, you can chill it and serve it cold. If chilling, transfer the custard to a clean bowl. To prevent a skin from forming on the surface, gently press a piece of plastic wrap directly onto the surface of the custard, ensuring that it is touching the entire surface. This will create an airtight seal and prevent condensation from forming. Chill the custard in the refrigerator for at least 4 hours, or preferably overnight, to allow it to fully set and develop its flavor. Once chilled, spoon individual servings into glasses or bowls to serve.
COOKING Rating:
Easy
Serving Suggestions:
- Drizzle warm over fruit pies or cobblers.
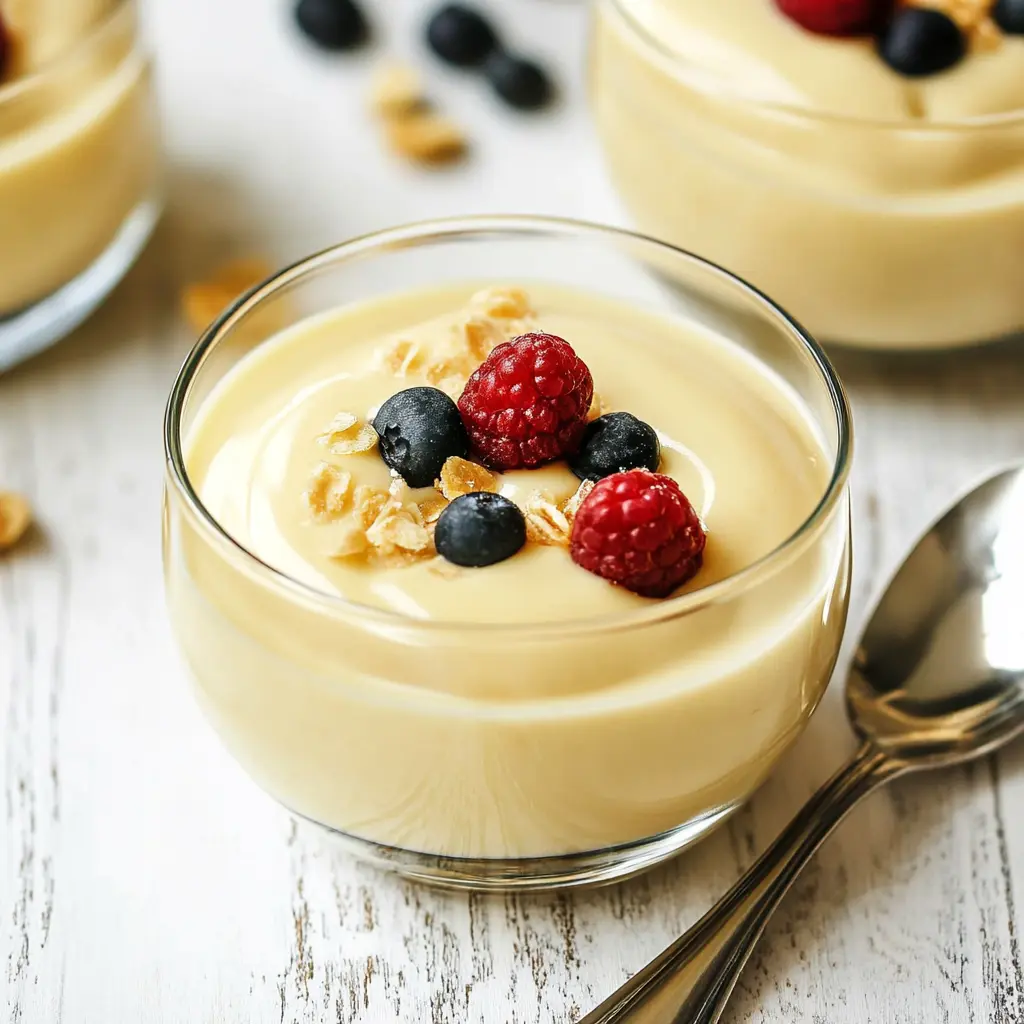
- Layer with berries and granola for a parfait.
- Use as a filling for cream puffs or eclairs.
- Serve alongside a slice of chocolate cake.
- Enjoy on its own as a simple and elegant dessert.
Tips:
- Use high-quality vanilla extract for the best flavor.
- Don’t overheat the cream; just bring it to a simmer.
- Temper the eggs slowly to prevent curdling.
- Stir constantly while cooking to avoid sticking.
- Chill the custard thoroughly for a smoother texture.
- For an extra layer of flavor, infuse the cream with citrus zest or a vanilla bean while heating.
- If the custard develops lumps, strain it through a fine-mesh sieve for a smoother texture.
- To prevent a skin from forming on the surface of the custard while chilling, press a piece of plastic wrap directly onto the surface.
Prep Time:
10 minutes
Cook Time:
5 minutes
Total Time:
15 minutes (plus chilling time)
Nutritional Information:
(Note: Nutritional information is approximate and may vary based on specific ingredients used.)
- Calories: 250
- Protein: 5g
- Sodium: 50mg
Conclusion:
This Classic Vanilla Custard recipe is a timeless dessert that offers endless possibilities. Its simple ingredients and straightforward preparation make it accessible to cooks of all skill levels. The creamy texture and delicate vanilla flavor create a truly memorable experience. Whether you’re looking for a comforting treat on a cold evening or an elegant dessert to impress your guests, this custard recipe is sure to deliver. Its versatility allows you to experiment with different flavors and toppings, making it a staple in your culinary repertoire. Enjoy the process of creating this classic dessert, and savor the delicious results!
Frequently Asked Questions:
- Q: Can I use a different type of milk?
- A: While whole milk provides the richest flavor and creamiest texture, you can substitute it with 2% milk or even non-dairy milk like almond or soy milk. However, keep in mind that the texture and flavor may be slightly different.
- Q: Can I use sugar instead of honey?
- A: Yes, you can substitute sugar for honey. Use 2 tablespoons of granulated sugar in place of the honey.
- Q: How do I know when the custard is thick enough?
- A: The custard is ready when it coats the back of a spoon and leaves a clear line when you run your finger through it. It should be thick enough to cling to the spoon but still pourable.
- Q: Can I make this recipe ahead of time?
- A: Absolutely! In fact, making the custard ahead of time allows the flavors to meld together and the texture to become even smoother. You can store the custard in the refrigerator for up to 3 days.
- Q: What can I do if my custard curdles?
- A: If your custard curdles, don’t panic! Immediately remove it from the heat and whisk vigorously. You can also try straining it through a fine-mesh sieve to remove any lumps. While it may not be perfectly smooth, it will still be delicious.