Description of this recipe: Indulge in the ultimate dessert mashup with these Cookies & Cream Red Velvet Brownies. Combining the rich, moist texture of red velvet brownies with the creamy tang of a cream cheese swirl and the delightful crunch of Oreo cookies, these brownies are a decadent treat that’s surprisingly easy to make. Perfect for parties, holidays, or simply satisfying your sweet tooth, this recipe will quickly become a favorite.
Why you will love this recipe: These brownies offer a harmonious blend of flavors and textures that create an irresistible dessert experience. The red velvet cake mix base provides a tender, slightly tangy foundation, while the cream cheese swirl adds a layer of smooth, creamy richness. The crushed Oreo topping not only adds a contrasting crunch but also elevates the visual appeal of the brownies. Plus, using a cake mix simplifies the process, making it a relatively quick and straightforward recipe, even for novice bakers.
Introduction
In the world of baking, the quest for the perfect dessert is an ongoing adventure. We’re constantly looking for ways to combine familiar flavors in exciting new ways. This recipe for Cookies & Cream Red Velvet Brownies is a testament to that spirit of innovation. It takes three beloved dessert components – red velvet cake, cream cheese frosting, and Oreo cookies – and melds them into a single, irresistible treat.
Red velvet, with its distinctive cocoa flavor and vibrant red hue, has long been a favorite for cakes and cupcakes. The addition of cream cheese frosting perfectly complements its tangy sweetness. Oreo cookies, with their iconic chocolate wafers and creamy filling, add a delightful textural contrast and a hint of nostalgia.
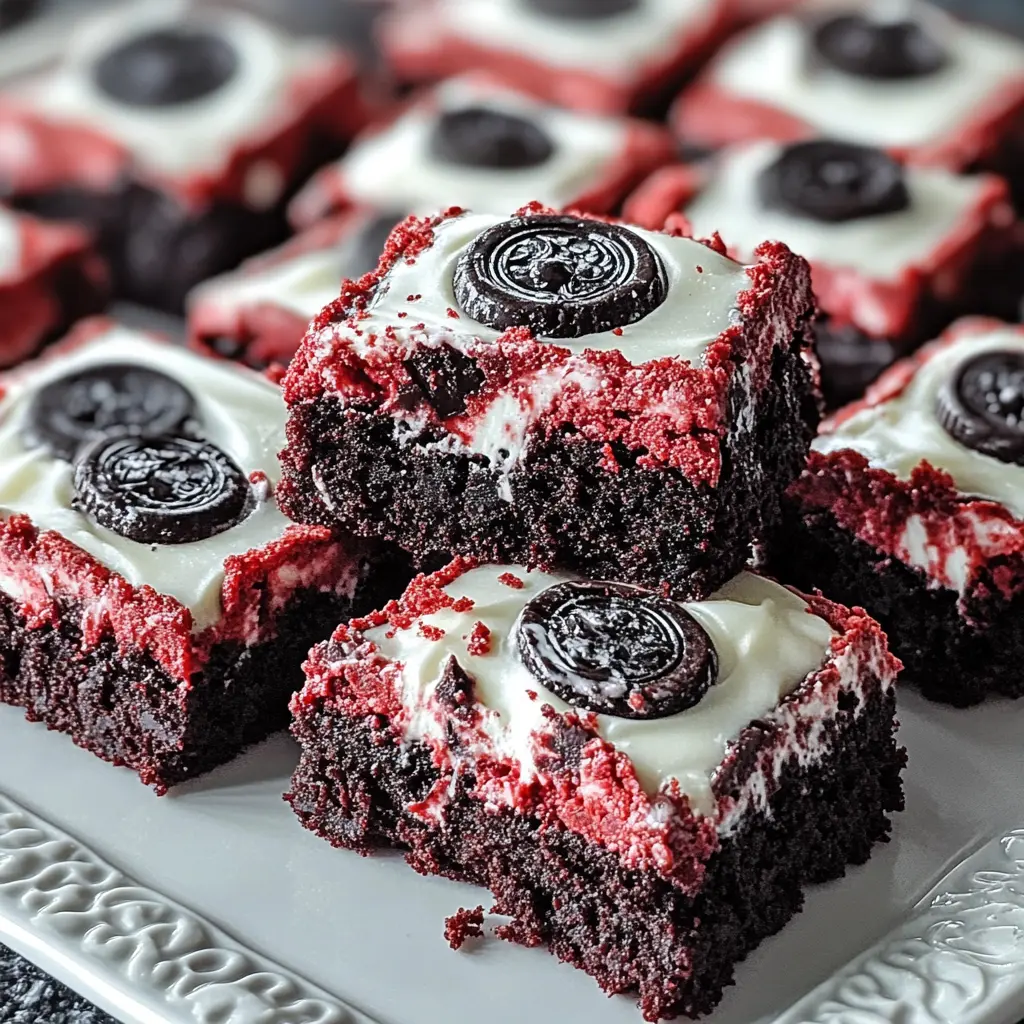
By combining these elements into a brownie form, we create a dessert that is both comforting and exciting. The brownies are rich and moist, with a tender crumb that practically melts in your mouth. The cream cheese swirl adds a tangy counterpoint to the sweetness of the red velvet, while the crushed Oreos provide a satisfying crunch that keeps you coming back for more.
This recipe is perfect for anyone who loves to bake but doesn’t want to spend hours in the kitchen. Using a red velvet cake mix as the base significantly simplifies the process, allowing you to focus on creating the perfect cream cheese swirl and Oreo topping. The result is a batch of homemade brownies that tastes like they came from a gourmet bakery.
Whether you’re baking for a special occasion or simply want to treat yourself to something delicious, these Cookies & Cream Red Velvet Brownies are sure to impress. So gather your ingredients, preheat your oven, and get ready to experience a dessert that is truly greater than the sum of its parts.
Ingredients:
Brownie Base:
- 1 box of red velvet cake mix
- 1/2 cup vegetable oil
- 2 large eggs
- 1/4 cup milk
- 1 teaspoon vanilla extract
Cream Cheese Swirl:
- 8 oz cream cheese, softened
- 1/2 cup powdered sugar
- 1/2 teaspoon vanilla extract
Topping:
- 10 Oreo cookies, crushed
Preparation:
Step 1: Preheat & Prep:
Begin by preheating your oven to 350°F (175°C). This ensures that the brownies will bake evenly and achieve the perfect texture. While the oven is preheating, prepare your baking pan. Grease an 8×8-inch baking pan with cooking spray or line it with parchment paper. Lining the pan with parchment paper makes it incredibly easy to remove the brownies once they’ve cooled, and it also helps prevent them from sticking. If you choose to grease the pan, make sure to coat it thoroughly, paying attention to the corners and edges.
Step 2: Make Brownie Batter:
In a large mixing bowl, combine the red velvet cake mix, vegetable oil, eggs, milk, and vanilla extract. Use an electric mixer or a sturdy whisk to mix the ingredients together until smooth. Be careful not to overmix the batter, as this can result in tough brownies. Mix just until the ingredients are fully incorporated and the batter is uniform in color and texture. Once the batter is ready, spread it evenly into the prepared baking pan. Use a spatula to ensure that the batter is distributed evenly, reaching all corners of the pan.
Step 3: Cream Cheese Swirl:
In a separate mixing bowl, combine the softened cream cheese, powdered sugar, and vanilla extract. Use an electric mixer to beat the ingredients together until smooth and creamy. It’s important to use softened cream cheese for this step, as it will incorporate more easily and create a smoother swirl. If your cream cheese is still cold, you can microwave it for a few seconds to soften it up. Be careful not to overheat it, as this can cause it to melt. Once the cream cheese mixture is smooth, set it aside.
Step 4: Create Swirls:
Drop spoonfuls of the cream cheese mixture randomly over the brownie batter in the pan. The amount of cream cheese mixture you use will depend on your personal preference, but aim for about 10-12 dollops. Once you’ve distributed the cream cheese, use a knife or skewer to swirl it into the brownie batter. Gently drag the knife or skewer through the cream cheese and brownie batter, creating a marbled effect. Be careful not to over-swirl, as this can muddy the colors and create a less defined swirl.
Step 5: Add Topping:
Sprinkle the crushed Oreo cookies evenly over the top of the cream cheese-swirled brownie batter. Gently press the crushed cookies into the batter to help them adhere. You can use pre-crushed Oreos, or you can crush them yourself by placing them in a resealable bag and using a rolling pin or mallet to crush them into small pieces. The amount of crushed Oreos you use will depend on your personal preference, but aim for a generous layer that covers most of the surface of the brownies.
Step 6: Bake:
Place the baking pan in the preheated oven and bake for 30-35 minutes, or until a toothpick inserted into the center of the brownies comes out with a few moist crumbs. The baking time may vary depending on your oven, so it’s important to check the brownies regularly. If the top of the brownies starts to brown too quickly, you can tent the pan with foil to prevent them from burning.
Step 7: Cool & Serve:
Once the brownies are done, remove them from the oven and let them cool completely in the pan before cutting them into squares. This is important because the brownies will continue to set as they cool, and cutting them while they’re still warm can result in messy slices. Once the brownies are completely cooled, use a sharp knife to cut them into squares and serve.
COOKING Rating:
- Ease of Preparation: Easy
- Taste: Excellent
- Visual Appeal: High
- Overall Rating: 5/5
Serving Suggestions:
- Serve the brownies chilled or at room temperature.
- Pair them with a scoop of vanilla ice cream or a dollop of whipped cream.
- Drizzle with chocolate sauce or caramel sauce for an extra touch of indulgence.
- Serve them with a glass of cold milk or a cup of hot coffee.
- Cut them into smaller squares and serve as part of a dessert platter.
Tips:
- Use high-quality red velvet cake mix for the best flavor.
- Make sure your cream cheese is fully softened before making the swirl.
- Don’t overmix the brownie batter, as this can result in tough brownies.
- Swirl the cream cheese gently to avoid muddying the colors.
- Press the crushed Oreos lightly into the batter to help them adhere.
- Let the brownies cool completely before cutting them into squares.
- Store the brownies in an airtight container at room temperature for up to 3 days.
Prep Time: 15 minutes
Cook Time: 30-35 minutes
Total Time: 45-50 minutes
Nutritional Information: (Per Serving, approximate)
Calories: 350
Protein: 4g
Sodium: 200mg
Conclusion:
These Cookies & Cream Red Velvet Brownies are a delightful fusion of flavors and textures that will leave you craving more. The combination of the rich red velvet base, the tangy cream cheese swirl, and the crunchy Oreo topping creates a dessert that is both comforting and exciting. With their easy preparation and impressive presentation, these brownies are perfect for any occasion, from casual gatherings to special celebrations. So go ahead, indulge in a batch of these decadent treats and experience the magic for yourself!
Questions and Answers:
Q1: Can I use a different size baking pan?
A: While an 8×8-inch baking pan is recommended for this recipe, you can use a different size pan if needed. If you use a larger pan, such as a 9×13-inch pan, the brownies will be thinner and may require a shorter baking time. Keep a close eye on them and adjust the baking time accordingly. Conversely, if you use a smaller pan, the brownies will be thicker and may require a longer baking time.
Q2: Can I use homemade red velvet cake instead of a cake mix?
A: Yes, you can definitely use homemade red velvet cake instead of a cake mix. If you choose to do so, you’ll need to find a reliable red velvet cake recipe and bake it according to the instructions. Once the cake is baked and cooled, crumble it into small pieces and use it as the base for the brownies, following the rest of the recipe as written. Keep in mind that using homemade cake will add more time and effort to the recipe, but it can also result in a more flavorful and customized dessert.
Q3: Can I substitute the Oreo cookies with another type of cookie?
A: Absolutely! While Oreo cookies are a classic choice for this recipe, you can substitute them with any type of cookie that you enjoy. Some popular alternatives include chocolate chip cookies, peanut butter cookies, or even shortbread cookies. The key is to choose a cookie that has a contrasting texture and flavor to the brownies, so that it adds a delightful element of surprise.
Q4: How do I prevent the cream cheese swirl from sinking into the brownie batter?
A: To prevent the cream cheese swirl from sinking into the brownie batter, make sure that your cream cheese is fully softened before you mix it with the powdered sugar and vanilla extract. Softened cream cheese will be easier to incorporate and will create a smoother, more stable swirl. Additionally, avoid over-swirling the cream cheese into the brownie batter, as this can weaken the structure of the swirl and cause it to sink.
Q5: Can I freeze these brownies?
A: Yes, these brownies can be frozen for up to 2-3 months. To freeze them, wrap them individually in plastic wrap or aluminum foil, and then place them in a freezer-safe container. When you’re ready to eat them, thaw them in the refrigerator overnight or at room temperature for a few hours. Frozen brownies may lose some of their moisture and texture, but they will still be delicious.