Description of this recipe: This recipe delivers restaurant-quality Crispy Chinese Honey Garlic Chicken in the comfort of your own home, and it’s ready in just 30 minutes! Tender chicken pieces are coated in a light, crispy batter and then tossed in a sweet and savory honey garlic sauce that’s utterly irresistible.
Why you will love this recipe: You’ll adore this recipe because it’s a fast, delicious, and healthier alternative to takeout. The crispy chicken is incredibly satisfying, and the honey garlic sauce offers a perfect balance of sweet, savory, and umami flavors. It’s also highly customizable – you can easily adjust the sweetness or spiciness to your liking. Plus, the relatively simple ingredients make it an accessible dish for cooks of all skill levels. Say goodbye to long wait times and mystery ingredients – this homemade version is a game-changer!
Introduction
Craving that crispy, sweet, and savory Chinese takeout favorite? You’re not alone! But what if I told you that you could recreate that incredible flavor and texture at home, in just about 30 minutes, with ingredients you probably already have in your pantry? This Crispy Chinese Honey Garlic Chicken recipe is your answer. Forget the greasy takeout and questionable ingredients. This version is made with fresh, simple components, allowing you to control exactly what goes into your meal.
The secret to this recipe lies in the double-duty approach: first, creating a light and crispy chicken coating, and second, crafting a sticky, flavorful honey garlic sauce that perfectly complements the crunch. Don’t be intimidated by the frying process; it’s easier than you think, and I’m here to walk you through every step. Whether you’re a seasoned home cook or just starting out, this recipe is guaranteed to become a weeknight staple.
Ingredients:
- 1.5 lbs boneless, skinless chicken thighs or breasts, cut into 1-inch pieces
- 2 large egg whites
- 1/4 cup cornstarch (or potato starch, or all-purpose flour as a last resort)
- Pinch of salt
- Vegetable oil or canola oil, for frying (about 3-4 cups)
- 1/4 cup honey
- 4 cloves garlic, minced
- 1/4 cup soy sauce (light or regular; tamari for gluten-free)
- 1/4 teaspoon black pepper
- Optional garnishes: sesame seeds, chopped green onions
Preparation:
Step 1: Marinate the Chicken
In a medium bowl, whisk together the egg whites, cornstarch, and a pinch of salt until well combined. This mixture forms the basis of our crispy coating, so ensure there are no lumps of cornstarch remaining. Add the bite-sized chicken pieces to the bowl and toss to coat evenly. Make sure every piece is well-covered with the mixture. This marinade helps the chicken to retain moisture during frying and also creates a perfect surface for the crispy coating to adhere to. Let the chicken marinate for at least 10-15 minutes while you prepare the oil for frying. A longer marinating time (up to 30 minutes) will allow the chicken to become even more tender.
Step 2: Heat the Oil
Pour the vegetable or canola oil into a deep skillet or wok. You’ll need enough oil to fully submerge the chicken pieces, typically about 3-4 cups. Heat the oil over medium-high heat. The ideal temperature is between 350-360°F (175-180°C). If you have a kitchen thermometer, use it to monitor the temperature. If you don’t have a thermometer, you can test the oil’s readiness by dropping a tiny piece of the chicken batter into the oil. If it sizzles immediately and floats to the top, the oil is hot enough. Be patient and allow the oil to heat up gradually; rushing this step can result in unevenly cooked and greasy chicken.
Step 3: Fry the Chicken
Once the oil is heated to the correct temperature, carefully add the marinated chicken pieces to the oil in batches. Avoid overcrowding the pan, as this will lower the oil temperature and result in soggy chicken. Fry the chicken for approximately 3-4 minutes per batch, turning occasionally, until golden brown and cooked through. The internal temperature of the chicken should reach 165°F (74°C). Use a slotted spoon to remove the fried chicken from the oil and place it on a wire rack lined with paper towels to drain excess oil. This helps the chicken retain its crispiness. Keep the fried chicken warm in a preheated oven (200°F/95°C) while you fry the remaining batches.
Step 4: Make the Honey Garlic Sauce
While the chicken is frying, prepare the honey garlic sauce. In a separate saucepan, combine the honey, minced garlic, soy sauce, and black pepper. Stir the mixture well to ensure the honey is evenly distributed. Place the saucepan over medium heat and bring the mixture to a gentle boil, stirring constantly. Continue to simmer for 1-2 minutes, or until the sauce thickens slightly and becomes glossy. Be careful not to overcook the sauce, as it can become too thick and sticky. If the sauce becomes too thick, add a tablespoon or two of water to thin it out to your desired consistency.
Step 5: Toss and Serve
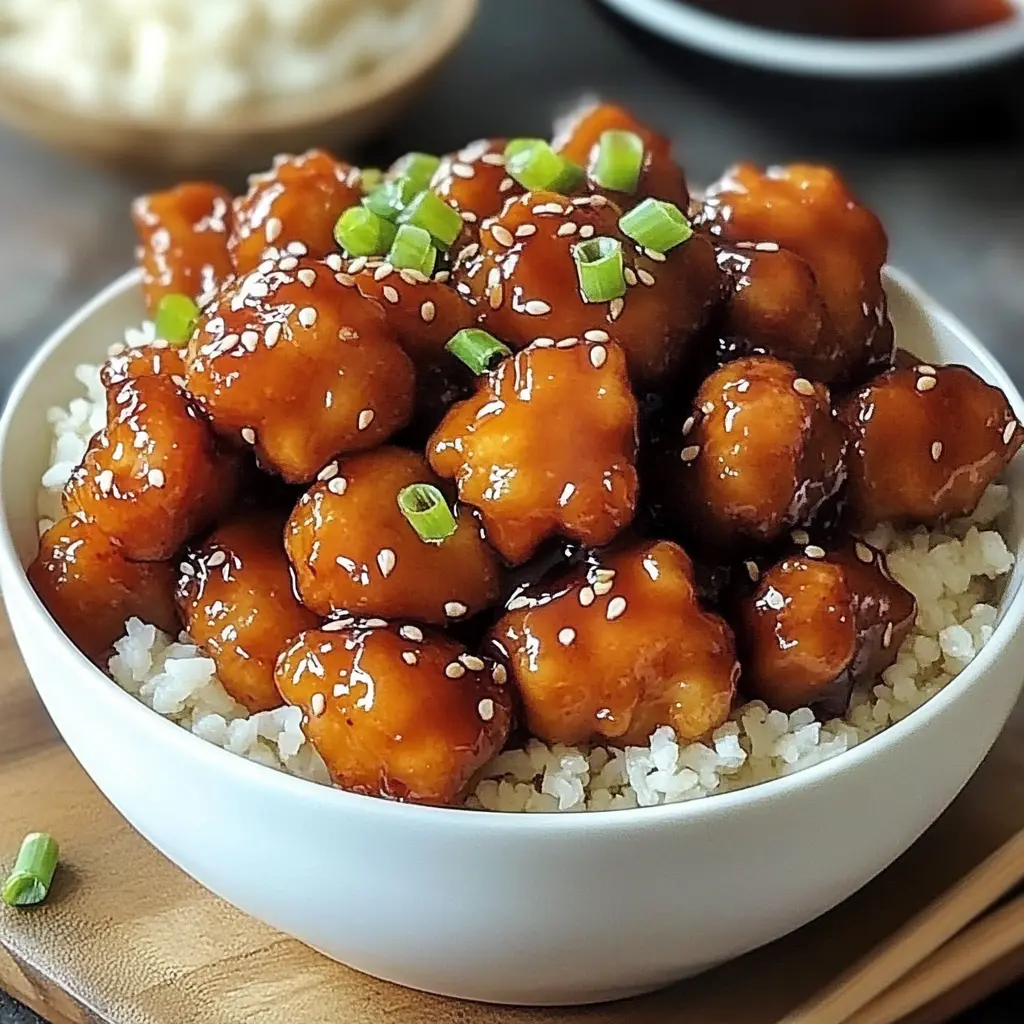
Once all the chicken is fried and the honey garlic sauce is ready, add the crispy chicken pieces to the saucepan with the sauce. Toss gently to coat the chicken evenly with the sauce. Make sure every piece is thoroughly covered in the glistening honey garlic glaze. Remove the chicken from the heat and transfer it to a serving platter. Garnish with sesame seeds and chopped green onions, if desired. Serve immediately and enjoy!
COOKING Rating:
- Ease of Preparation: 4/5 (Relatively straightforward, but requires attention during frying)
- Flavor Intensity: 5/5 (Bold, sweet, savory, and utterly delicious)
- Likelihood of Success: 4/5 (Follow the instructions carefully, and you’ll achieve crispy, flavorful chicken)
Serving Suggestions:
- Serve over steamed rice or noodles.
- Pair with stir-fried vegetables, such as broccoli, snap peas, or bok choy.
- Serve as an appetizer with dipping sauces like sweet chili sauce or sriracha mayo.
- Enjoy as part of a larger Chinese-inspired meal with other dishes like spring rolls or egg drop soup.
Tips:
- For extra crispy chicken, double-fry it. Fry the chicken once, let it cool slightly, and then fry it again for a minute or two before tossing it in the sauce.
- Adjust the sweetness and spiciness of the sauce to your liking. Add a pinch of red pepper flakes for heat.
- Don’t overcrowd the pan when frying the chicken, as this will lower the oil temperature and result in soggy chicken.
- Keep the fried chicken warm in a preheated oven (200°F/95°C) while you fry the remaining batches.
- If the honey garlic sauce becomes too thick, add a tablespoon or two of water to thin it out.
Prep Time: 15 minutes Cook Time: 15 minutes Total Time: 30 minutes
Nutritional Information: (Approximate, per serving) Calories: 450 Protein: 35g Sodium: 800mg
Conclusion
There you have it – a delectable Crispy Chinese Honey Garlic Chicken recipe that’s quick, easy, and incredibly satisfying. Say goodbye to takeout cravings and hello to a healthier, homemade alternative. This recipe is a true crowd-pleaser, perfect for weeknight dinners, family gatherings, or any occasion where you want to impress with minimal effort. So, gather your ingredients, roll up your sleeves, and get ready to experience the magic of homemade Chinese cuisine!
Q&A:
Q1: Can I bake the chicken instead of frying it to make it healthier?
A: Absolutely! Baking is a great option for a healthier version. Preheat your oven to 400°F (200°C). Place the marinated chicken pieces on a baking sheet lined with parchment paper and bake for 20-25 minutes, or until cooked through and slightly browned. While it won’t be quite as crispy as the fried version, it will still be delicious. For added crispiness, you can broil the chicken for the last few minutes, keeping a close eye on it to prevent burning.
Q2: I don’t have cornstarch. What can I substitute it with?
A: Cornstarch is the preferred choice for creating a light and crispy coating, but you can substitute it with potato starch or all-purpose flour. Potato starch will give you a similar level of crispiness, while all-purpose flour will result in a slightly denser coating. If using all-purpose flour, you may want to lightly coat the chicken in flour first before adding the egg white mixture to ensure it adheres well.
Q3: Can I add vegetables to this recipe?
A: Of course! Adding vegetables is a great way to make this dish even more nutritious and flavorful. Stir-fried broccoli, snap peas, bell peppers, or carrots would all be excellent additions. Simply stir-fry your favorite vegetables in a separate pan until tender-crisp, then add them to the honey garlic sauce along with the crispy chicken.
Q4: How long does the leftover chicken stay good in the refrigerator?
A: Leftover Crispy Chinese Honey Garlic Chicken can be stored in an airtight container in the refrigerator for up to 3-4 days. Keep in mind that the chicken may lose some of its crispiness as it sits in the sauce, but it will still be delicious. To reheat, you can microwave it, but for best results, reheat it in a skillet over medium heat or in the oven at 350°F (175°C) until warmed through.
Q5: Can I make this recipe gluten-free?
A: Yes, you can easily make this recipe gluten-free by using tamari instead of soy sauce. Tamari is a gluten-free soy sauce alternative that offers a similar flavor profile. Also, ensure that the cornstarch you use is certified gluten-free. With these simple substitutions, you can enjoy this delicious dish without any gluten concerns.