Description of this recipe
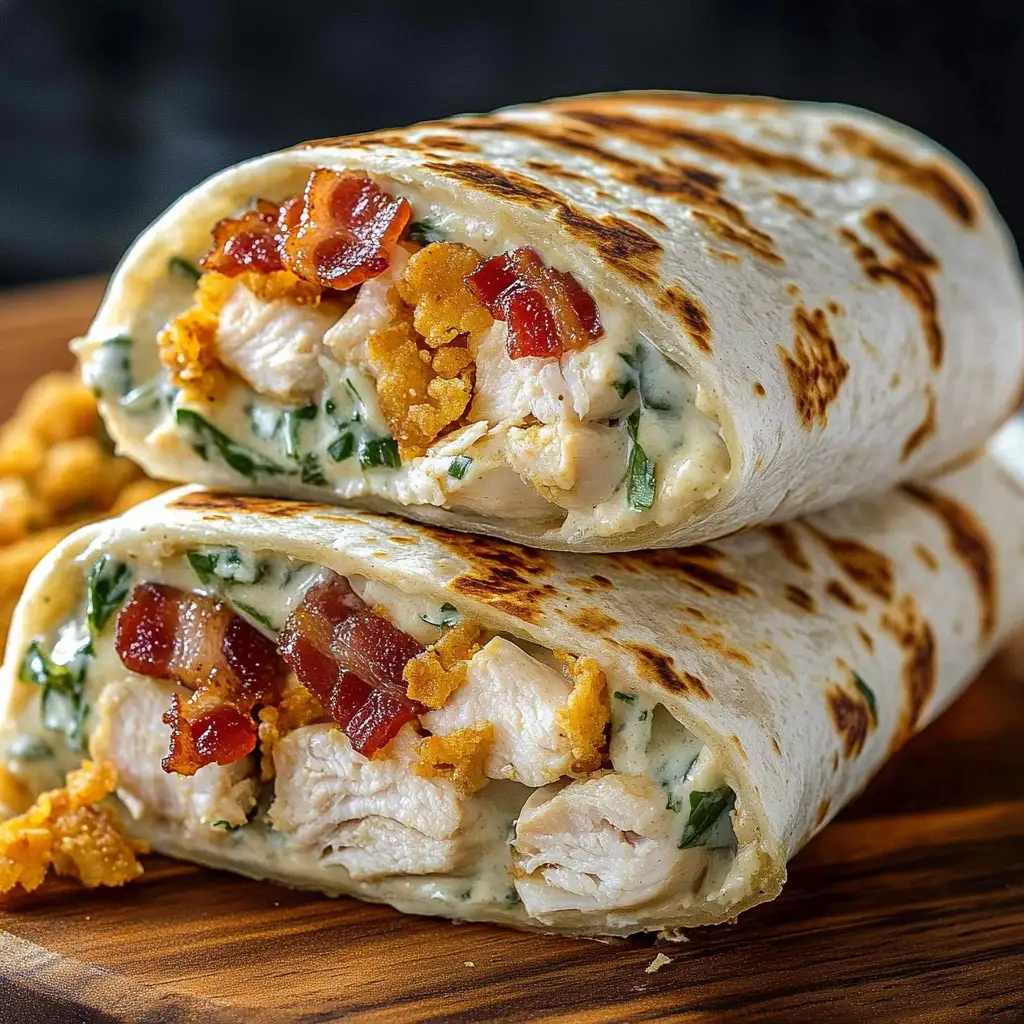
This Crunchy Bacon Chicken Ranch Wrap is a delightful and satisfying meal that combines the creamy richness of a homemade cheese sauce with the savory flavors of bacon and chicken, all wrapped in a crispy, golden-brown tortilla. It’s a perfect blend of comfort food and convenience, ideal for a quick lunch, a hearty snack, or a fun dinner.
Why you will love this recipe
You’ll love this recipe because it’s incredibly versatile and customizable. The combination of creamy, cheesy, and crunchy textures is irresistible. The homemade cheese sauce elevates the flavor profile, making it far superior to pre-made options. Plus, it’s a great way to use leftover chicken or bacon, making it both economical and delicious. The recipe is also easy to adapt to different dietary needs or preferences, such as using gluten-free tortillas or substituting the cheese.
Ingredients:
→ Wrap Filling
- 1/4 cup unsalted butter: Adds richness and flavor to the cheese sauce.
- 2 cloves garlic, minced: Provides a savory, aromatic base for the sauce.
- 1/4 cup all-purpose flour: Acts as a thickening agent for the cheese sauce.
- 1 cup whole milk: Contributes to the creamy consistency of the sauce.
- 1/2 cup heavy cream: Enhances the richness and creaminess of the sauce.
- 1 cup cheddar cheese, shredded: Melts beautifully into the sauce, adding a sharp, cheesy flavor.
- 1 cup cooked bacon, crumbled: Provides a salty, smoky crunch to the filling.
- 1/2 cup ranch dressing: Adds a tangy, creamy element that complements the other flavors.
- 2 green onions, chopped: Offers a fresh, mild onion flavor and a pop of color.
- 2 cups cooked chicken, shredded: The protein base of the filling, adding heartiness and flavor.
- Salt, to taste: Enhances the overall flavor of the filling.
- Black pepper, to taste: Adds a subtle spice and depth to the filling.
- Fresh parsley, chopped, to taste: Provides a fresh, herbaceous note and visual appeal.
→ Wraps
- 4 large flour tortillas: The vehicle for holding the delicious filling, providing a soft, pliable exterior.
Preparation:
Step 1: Melt butter in a medium saucepan over medium heat. Add minced garlic and sauté for 1 minute until fragrant. Sautéing the garlic in butter releases its aromatic oils, creating a flavorful foundation for the cheese sauce. Be careful not to burn the garlic, as it can become bitter.
Step 2: Stir in the flour and cook for an additional minute, whisking continuously to eliminate raw flour taste. This step is crucial for creating a smooth, non-lumpy cheese sauce. Cooking the flour with the butter creates a roux, which thickens the sauce as it cooks. Make sure to whisk constantly to prevent the flour from sticking to the bottom of the pan and burning.
Step 3: Gradually whisk in milk and heavy cream, stirring constantly for 3 to 4 minutes until the mixture thickens. Add shredded cheddar cheese, crumbled bacon, ranch dressing, green onions, salt, pepper, and parsley. Stir until the cheese is fully melted and the mixture is smooth. Adding the milk and cream gradually helps to prevent lumps from forming. The heavy cream adds extra richness and thickness to the sauce. Once the sauce has thickened, stir in the cheddar cheese, bacon, ranch dressing, green onions, salt, pepper, and parsley. These ingredients add flavor, texture, and visual appeal to the filling.
Step 4: Add shredded chicken to the saucepan. Mix until the chicken is evenly coated with the cheese sauce. Ensure that the chicken is shredded into bite-sized pieces for even distribution in the wraps. Mix well to ensure that the chicken is fully coated with the cheese sauce, which will help to keep it moist and flavorful.
Step 5: Evenly distribute the chicken filling in the center of each flour tortilla. Fold in the sides and roll up tightly to enclose the filling. Place the filling in a horizontal line across the center of each tortilla, leaving enough space on the sides to fold them in. Folding in the sides before rolling up the wrap will help to keep the filling from spilling out. Roll up the wraps tightly to create a compact, easy-to-handle package.
Step 6: Heat a nonstick skillet over medium heat. Place the wraps seam-side down and cook for 2 to 3 minutes per side until golden brown and crispy. Heating the skillet to medium heat will help to prevent the wraps from burning. Placing the wraps seam-side down first will help to seal them closed and prevent the filling from leaking out. Cook the wraps until they are golden brown and crispy on both sides. This will give them a satisfying crunch when you bite into them.
Step 7: Transfer wraps to a cutting board, slice each in half, and serve warm with extra ranch dressing if desired. Transfer the cooked wraps to a cutting board to cool slightly before slicing. Slicing the wraps in half makes them easier to eat and share. Serve the wraps warm with extra ranch dressing on the side for dipping.
COOKING Rating:
- Ease of Preparation: Medium
- Flavor Complexity: High
- Overall Enjoyment: High
Serving Suggestions:
- Serve warm with a side of extra ranch dressing for dipping.
- Pair with a fresh salad or coleslaw for a complete meal.
- Add a side of crispy sweet potato fries or onion rings for a more indulgent experience.
- Cut into smaller pieces and serve as appetizers for a party.
- Serve with a side of your favorite hot sauce for an extra kick.
Tips:
- Use leftover cooked chicken to save time and reduce waste.
- Cook the bacon ahead of time and store it in the refrigerator for easy access.
- Adjust the amount of ranch dressing to your personal preference.
- Add a pinch of red pepper flakes to the cheese sauce for a touch of heat.
- Experiment with different types of cheese, such as pepper jack or Monterey Jack.
- For a vegetarian option, substitute the chicken with black beans or grilled vegetables.
- Use gluten-free tortillas for a gluten-free version of the recipe.
- Make the cheese sauce ahead of time and store it in the refrigerator until ready to use.
- To prevent the wraps from getting soggy, assemble them just before cooking.
- If you don’t have a nonstick skillet, use a lightly oiled skillet instead.
- For extra flavor, brush the outside of the wraps with melted butter before cooking.
- If you want to make the wraps ahead of time, wrap them tightly in plastic wrap and store them in the refrigerator. Reheat them in a skillet or oven before serving.
Prep Time:
- 15 minutes
Cook Time:
- 20 minutes
Total Time:
- 35 minutes
Nutritional Information:
(Note: Nutritional information is approximate and can vary based on specific ingredients and serving sizes.)
Calories:
- Approximately 650-750 per wrap
Protein:
- Approximately 35-45 grams per wrap
Sodium:
- Approximately 800-1000 mg per wrap
Conclusion
The Crunchy Bacon Chicken Ranch Wrap is a crowd-pleasing recipe that is perfect for any occasion. Its combination of creamy, cheesy, and crunchy textures, along with its savory flavors, makes it an irresistible dish. Whether you’re looking for a quick and easy lunch, a satisfying snack, or a fun dinner, this recipe is sure to hit the spot. With its versatility and customizable nature, you can easily adapt it to your own dietary needs and preferences. So, gather your ingredients and get ready to enjoy a delicious and satisfying meal that everyone will love!
Questions and Answers About This Recipe:
Q1: Can I use pre-shredded cheese instead of shredding it myself?
A: Yes, you can definitely use pre-shredded cheese to save time. However, freshly shredded cheese tends to melt more smoothly and evenly in the sauce, resulting in a creamier texture. Pre-shredded cheese often contains cellulose, which can prevent it from melting as well.
Q2: Can I substitute the heavy cream with something else?
A: Yes, if you’re looking to reduce the fat content, you can substitute the heavy cream with half-and-half or even whole milk. However, keep in mind that the sauce may not be as thick and creamy. You can also use a tablespoon of cornstarch mixed with a tablespoon of cold water to help thicken the sauce if needed.
Q3: What’s the best way to prevent the wraps from getting soggy?
A: To prevent the wraps from getting soggy, make sure to assemble them just before cooking. Also, avoid overfilling the wraps, as this can cause them to leak and become soggy. Cooking them seam-side down first helps to seal them.
Q4: Can I add other vegetables to the filling?
A: Absolutely! Feel free to add other vegetables to the filling to customize it to your liking. Some great options include diced tomatoes, bell peppers, corn, black beans, or spinach. Just make sure to adjust the cooking time accordingly to ensure that the vegetables are cooked through.
Q5: Can I make these wraps ahead of time?
A: Yes, you can make the filling ahead of time and store it in the refrigerator for up to 3 days. When you’re ready to assemble the wraps, simply reheat the filling and proceed with the recipe. However, it’s best to assemble and cook the wraps just before serving to prevent them from getting soggy. If you do need to make them ahead of time, wrap them tightly in plastic wrap and store them in the refrigerator. Reheat them in a skillet or oven before serving.