Description of this recipe
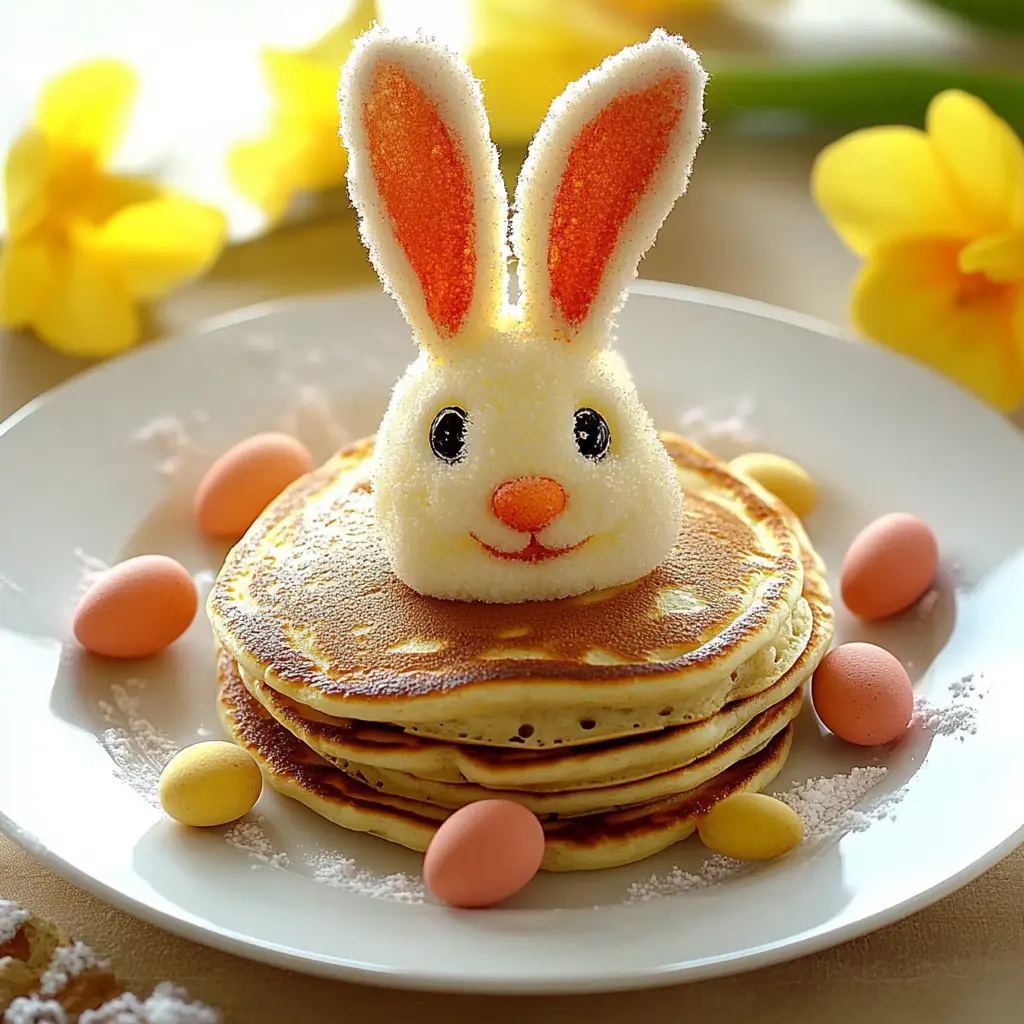
These Easter Bunny Pancakes are a delightful and whimsical way to celebrate the spring season! Soft, fluffy, and shaped like adorable bunnies, they’re guaranteed to bring smiles to faces of all ages. Perfect for a festive breakfast or brunch, these pancakes are easy to make and fun to decorate. This recipe is designed to be both delicious and engaging, making it a wonderful activity to share with family and friends. The light sweetness of the pancakes pairs beautifully with fresh fruit and creamy whipped toppings, creating a balanced and satisfying meal. Whether you’re hosting an Easter gathering or simply want to add a touch of holiday cheer to your morning, these pancakes are the perfect choice.
Why you will love this recipe
You’ll absolutely adore these Easter Bunny Pancakes for their unique combination of fun, flavor, and simplicity. First and foremost, they’re incredibly cute! The bunny shape is instantly appealing, making them a hit with kids and adults alike. Beyond their appearance, these pancakes are wonderfully fluffy and tender, providing a delightful texture that melts in your mouth. The subtle sweetness is perfectly balanced, allowing you to customize the flavor with a variety of toppings. What truly sets this recipe apart is its versatility. You can easily adapt it to suit dietary needs by using dairy-free milk or gluten-free flour. Plus, the decorating possibilities are endless! From fresh berries to chocolate chips and whipped cream, you can create a pancake masterpiece that’s as unique as your imagination. These pancakes transform an ordinary breakfast into a memorable celebration, making them a must-try for Easter and beyond.
Ingredients:
- 1 cup all-purpose flour
- 2 tsp baking powder
- 2 tbsp granulated sugar
- 1/4 tsp salt
- 1 cup milk (whole or dairy-free alternative)
- 1 large egg (room temperature)
- 2 tbsp melted unsalted butter
- Whipped cream and fruit toppings (e.g., strawberries, blueberries)
Preparation:
Step 1: Gather Your Equipment
Before you begin, make sure you have all the necessary equipment on hand. You will need a large mixing bowl, a whisk, a separate smaller bowl for the wet ingredients, a measuring cup and spoons, a non-stick skillet or griddle, a spatula, and a ladle or measuring cup for pouring the batter. Having everything prepped and ready to go will streamline the process and prevent any last-minute scrambling. Additionally, consider setting out your toppings in advance so they are easily accessible when the pancakes are ready to decorate.
Step 2: Mix the Dry Ingredients
In a large mixing bowl, combine the dry ingredients: 1 cup of all-purpose flour, 2 teaspoons of baking powder, 2 tablespoons of granulated sugar, and 1/4 teaspoon of salt. Use a whisk to thoroughly combine these ingredients. Whisking ensures that the baking powder is evenly distributed throughout the flour, which is crucial for achieving light and fluffy pancakes. This step also helps to eliminate any lumps in the flour, resulting in a smoother batter.
Step 3: Combine the Wet Ingredients
In a separate, smaller bowl, mix the wet ingredients: 1 cup of milk (either whole milk or a dairy-free alternative), 1 large egg at room temperature, and 2 tablespoons of melted unsalted butter. Whisk these ingredients together until they are well combined. Ensure that the egg is at room temperature, as this will help it incorporate more easily into the batter, resulting in a more uniform texture. Similarly, make sure the butter is melted but not too hot, as hot butter can cook the egg and create unwanted lumps.
Step 4: Combine Wet and Dry Ingredients
Gradually pour the wet mixture into the bowl with the dry ingredients, stirring gently until just combined. It’s important not to overmix the batter. Overmixing develops the gluten in the flour, which can result in tough, flat pancakes. A few lumps in the batter are perfectly acceptable. The goal is to achieve a batter that is just combined, with no large pockets of dry flour remaining. This step is crucial for creating tender and fluffy Easter Bunny Pancakes.
Step 5: Cook the Pancakes
Preheat a non-stick skillet or griddle over medium heat until hot. To test if the skillet is ready, sprinkle a few drops of water onto the surface. If the water sizzles and evaporates quickly, the skillet is hot enough. Lightly grease the skillet with butter or cooking spray. Pour the batter onto the hot skillet in bunny shapes: use two smaller circles for the ears and one larger circle for the body. Cook the pancakes until bubbles appear on the surface and the edges begin to set, about 2-3 minutes per side. Flip the pancakes carefully with a spatula and cook for another 1-2 minutes, or until they are golden brown on both sides.
Step 6: Serve and Decorate
Once the pancakes are cooked through, remove them from the skillet and serve them immediately. Stack the Easter Bunny Pancakes high on plates and let your creativity shine with the decorations. Top them with whipped cream, fresh strawberries, blueberries, chocolate chips, or any other toppings you desire. The possibilities are endless! Encourage everyone to personalize their own bunny pancakes, making this a fun and interactive activity for the whole family.
COOKING Rating: Easy
Serving Suggestions:
These Easter Bunny Pancakes are delightful on their own, but they can also be paired with a variety of accompaniments to create a complete and satisfying meal. Consider serving them with a side of crispy bacon or sausage for a savory contrast. Fresh fruit salads or yogurt parfaits also complement the pancakes nicely. For a truly decadent treat, drizzle them with maple syrup, chocolate sauce, or a homemade berry compote. If you’re serving a larger crowd, offer a toppings bar with a variety of options, allowing everyone to customize their pancakes to their liking. Hot coffee, tea, or a refreshing glass of orange juice are the perfect beverages to complete the Easter breakfast or brunch.
Tips:
- For extra fluffy pancakes, let the batter rest for 5-10 minutes before cooking. This allows the baking powder to fully activate, resulting in lighter, airier pancakes.
- If you don’t have a steady hand for pouring bunny shapes, use cookie cutters as a guide. Simply place the cookie cutter on the skillet and pour the batter inside.
- To keep the pancakes warm while you cook the remaining batter, place them on a baking sheet in a preheated oven at 200°F (93°C).
- For a healthier twist, substitute whole wheat flour for all-purpose flour, and use honey or agave nectar instead of granulated sugar.
- Don’t overmix the batter. Lumps are okay! Overmixing develops the gluten and makes for tough pancakes.
Prep Time: 10 minutes
Cook Time: 15 minutes
Total Time: 25 minutes
Nutritional Information:
(Note: Nutritional information is an estimate and may vary based on specific ingredients and portion sizes)
- Calories: Approximately 250-300 per serving (depending on toppings)
- Protein: 8-10 grams
- Sodium: 200-250 mg
Conclusion
Easter Bunny Pancakes are more than just a meal; they’re a festive tradition that brings joy and creativity to your holiday celebrations. This recipe is designed to be simple, delicious, and adaptable, making it perfect for cooks of all skill levels. Whether you’re making them for a cozy family breakfast or a grand Easter brunch, these pancakes are guaranteed to be a crowd-pleaser. So gather your ingredients, unleash your inner artist, and create a batch of these adorable bunny-shaped pancakes. They’re sure to become a cherished part of your Easter memories for years to come!
Frequently Asked Questions (FAQs):
Q1: Can I make these pancakes ahead of time?
A: While these pancakes are best served fresh, you can certainly make them ahead of time. Cook the pancakes as directed and let them cool completely. Store them in an airtight container in the refrigerator for up to 2 days. When you’re ready to serve, reheat them in the microwave or in a skillet until warmed through. Keep in mind that they may not be as fluffy as freshly made pancakes, but they will still be delicious.
Q2: Can I use a different type of flour?
A: Yes, you can experiment with different types of flour. Whole wheat flour will give the pancakes a slightly denser texture and a nuttier flavor. Gluten-free flour blends can also be used for those with dietary restrictions. Just be sure to follow the package instructions for gluten-free flour, as some blends may require additional liquid or binding agents.
Q3: What can I use if I don’t have baking powder?
A: If you don’t have baking powder on hand, you can substitute it with a mixture of baking soda and an acid, such as lemon juice or vinegar. For every teaspoon of baking powder, use 1/4 teaspoon of baking soda plus 1/2 teaspoon of lemon juice or vinegar. This will provide the necessary leavening for the pancakes.
Q4: How can I make the bunny shapes more defined?
A: To make the bunny shapes more defined, you can use a piping bag or a squeeze bottle to pour the batter onto the skillet. This will give you more control over the shape and prevent the batter from spreading too much. Alternatively, you can use cookie cutters as a guide. Simply place the cookie cutter on the skillet and pour the batter inside.
Q5: What are some other topping ideas?
A: The possibilities for toppings are endless! Besides whipped cream and fresh fruit, you can try chocolate chips, sprinkles, shredded coconut, chopped nuts, or a drizzle of maple syrup or chocolate sauce. For a more decadent treat, add a scoop of ice cream or a dollop of Nutella. Get creative and experiment with different flavors and textures to create your own unique pancake masterpiece!