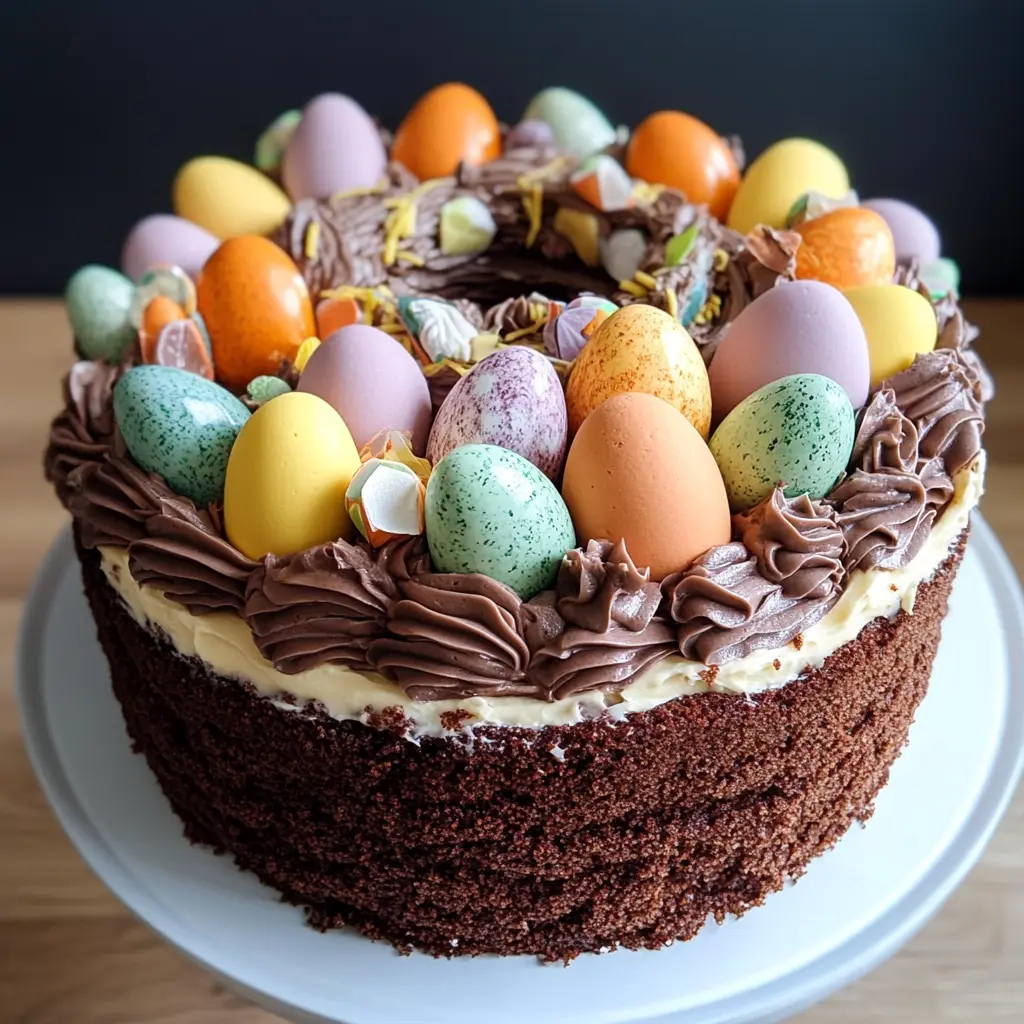
This delightful Easter Nest Cake is a whimsical and delicious treat that perfectly captures the spirit of springtime celebrations. With rich chocolate layers, a creamy icing, and a playful nest filled with chocolate eggs, this cake is sure to be a hit at any Easter gathering or festive occasion.
Why You Will Love This Recipe
You will love this recipe for its combination of textures and flavors. The moist chocolate cake layers are complemented by a creamy chocolate icing, while the crunchy nest made from marshmallows and pretzels adds an unexpected twist. Plus, the vibrant chocolate eggs nestled in the nest make for a stunning presentation that will impress your guests and delight children and adults alike. This cake not only tastes amazing but also brings a sense of joy and celebration to your table.
Introduction
Easter is a time for family, friends, and, of course, food! This Easter Nest Cake is the perfect centerpiece for your holiday feast. It combines the rich flavor of chocolate with the fun of Easter traditions, making it a memorable dessert that everyone will love. Whether you’re hosting an Easter brunch, a springtime gathering, or simply looking to indulge in a sweet treat, this cake will not disappoint. Let’s dive into the ingredients and steps needed to create this show-stopping dessert!
Ingredients:
- 200ml vegetable oil, plus extra for the tin
- 250g plain flour
- 6 tbsp cocoa powder
- 2 tsp baking powder
- 1 tsp bicarbonate of soda
- 280g soft light brown sugar
- 250ml buttermilk
- 2 tsp vanilla extract
- 3 large eggs
- 200g marshmallows
- 100g butter, chopped into chunks
- 2 tbsp cocoa powder
- 75g salted pretzels, crushed
- 4 shredded wheat biscuits, crushed
- Chocolate eggs, to decorate
- 150g slightly salted butter, softened
- 2 tbsp cocoa powder
- 300g icing sugar
- 4 tbsp milk

Preparation:
Step 1: Preheat your oven to 180°C (160°C fan) or gas mark 4. Grease and line two 20cm round cake tins with baking parchment to ensure easy removal after baking.
Step 2: In a large mixing bowl, combine the plain flour, cocoa powder, baking powder, bicarbonate of soda, soft light brown sugar, and a generous pinch of salt. Whisk the ingredients together until you achieve a fine, sandy mixture, ensuring that there are no large lumps of sugar.
Step 3: In a separate jug, whisk together the vegetable oil and buttermilk. Add the vanilla extract and eggs, mixing until well combined. Pour the wet ingredients into the bowl with the dry ingredients and stir until there are no visible streaks of flour. Be careful not to overmix; a few lumps are okay!
Step 4: Divide the batter evenly between the prepared cake tins and place them in the preheated oven. Bake for approximately 25 minutes, or until a skewer inserted into the center comes out clean. If the skewer has wet batter on it, return the cakes to the oven for an additional 5 minutes, then check again. Once baked, allow the cakes to cool in the tins for 15 minutes before transferring them to wire racks to cool completely.
Step 5: While the cakes are cooling, prepare the nest. Clean one of the cake tins and line it with oiled baking parchment. In a heatproof bowl, combine the marshmallows and chopped butter. Microwave on high for 1 minute, stirring halfway through. Continue microwaving in 20-second intervals until the mixture becomes runny. Stir in the cocoa powder, crushed pretzels, and crushed shredded wheat until everything is well coated. Pour this mixture into the lined tin and use the back of a spoon to shape it into a nest. Allow it to cool at room temperature for several hours, or place it in the fridge to set more quickly.
To make the icing: In a mixing bowl, beat together the softened butter, cocoa powder, icing sugar, and milk until smooth. If the mixture is too stiff, add a splash more milk to achieve your desired consistency.
Assembling the Cake: Once the cakes have cooled completely, stack the chocolate sponges with a layer of icing in between each layer. Spread more icing on top of the cake and carefully place the cooled nest on top. Fill the nest with chocolate eggs for decoration. For easier slicing, you may want to remove the nest before cutting the cake, then serve the nest pieces alongside.
Serving Suggestions:
Serve this Easter Nest Cake as the grand finale to your holiday meal. Pair it with a scoop of vanilla ice cream or a dollop of whipped cream for an extra indulgent treat. For a festive touch, consider garnishing each slice with additional chocolate eggs or edible flowers.
Tips:
- Ensure that all ingredients are at room temperature before starting for the best results.
- Store the cake in an airtight container at room temperature for up to five days to maintain its freshness.
- You can customize the nest filling with your favorite chocolate candies or even mini marshmallows for added texture and flavor.
Prep Time: 30 minutes
Cook Time: 25 minutes
Total Time: 1 hour 30 minutes (including cooling time)
Nutritional Information (per slice, serves 12):
Calories: Approximately 350
Protein: 4g
Sodium: 150mg
Conclusion
The Easter Nest Cake is more than just a dessert; it’s a celebration of flavors and traditions that brings people together. Its rich chocolate layers, creamy icing, and playful nest make it a standout choice for any Easter gathering. So gather your loved ones, roll up your sleeves, and create this delightful cake that is sure to be the highlight of your holiday festivities!
Frequently Asked Questions
- Can I use different types of chocolate for this recipe?
Yes! You can experiment with dark chocolate or milk chocolate to suit your taste preferences. - What can I substitute for buttermilk?
If you don’t have buttermilk, you can make a quick substitute by mixing 250ml of milk with 1 tablespoon of vinegar or lemon juice and letting it sit for 5-10 minutes. - How can I make this cake gluten-free?
You can substitute the plain flour with a gluten-free flour blend. Just ensure that all other ingredients are gluten-free as well. - Can I make this cake ahead of time?
Absolutely! You can bake the cake layers a day in advance and store them wrapped in plastic wrap at room temperature until you’re ready to assemble. - What other decorations can I use for the nest?
Feel free to get creative! You can use shredded coconut dyed green for “grass,” chocolate shavings, or any other candies that fit the Easter theme.