Description of this recipe
These delightful Easy Easter Biscuits are a charming blend of buttery goodness, zesty lemon, and a hint of nutmeg, perfect for celebrating the Easter season. With their crisp edges and soft centers, these biscuits are not only visually appealing but also a treat for the taste buds. Ideal for sharing with family and friends, they can be enjoyed as a sweet snack or served alongside tea or coffee.
Why you will love this recipe
You will love this recipe for its simplicity and the delightful flavors that come together effortlessly. The combination of golden caster sugar and fresh lemon zest creates a refreshing sweetness, while the nutmeg adds a warm, aromatic touch. These biscuits are easy to make, require minimal ingredients, and can be prepared in advance, making them a perfect addition to your Easter celebrations. Plus, they are versatile enough to be decorated with icing or sprinkles for a festive touch!
Introduction
Easter is a time of joy, renewal, and celebration, and what better way to mark the occasion than with a batch of delicious homemade biscuits? These Easy Easter Biscuits are a wonderful treat that can be enjoyed by all ages. With their buttery texture and subtle flavors, they are perfect for an afternoon tea or as a sweet snack during the holiday festivities. The recipe is straightforward, making it an excellent choice for both novice and experienced bakers. Gather your ingredients, roll up your sleeves, and let’s dive into this delightful baking adventure!
Ingredients:
- 250g unsalted butter, softened
- 140g golden caster sugar, plus extra for sprinkling
- 1 medium egg, separated and beaten
- Zest of 1 lemon
- Generous grating of nutmeg
- 300g plain flour, plus extra for dusting
- ½ tsp fine salt
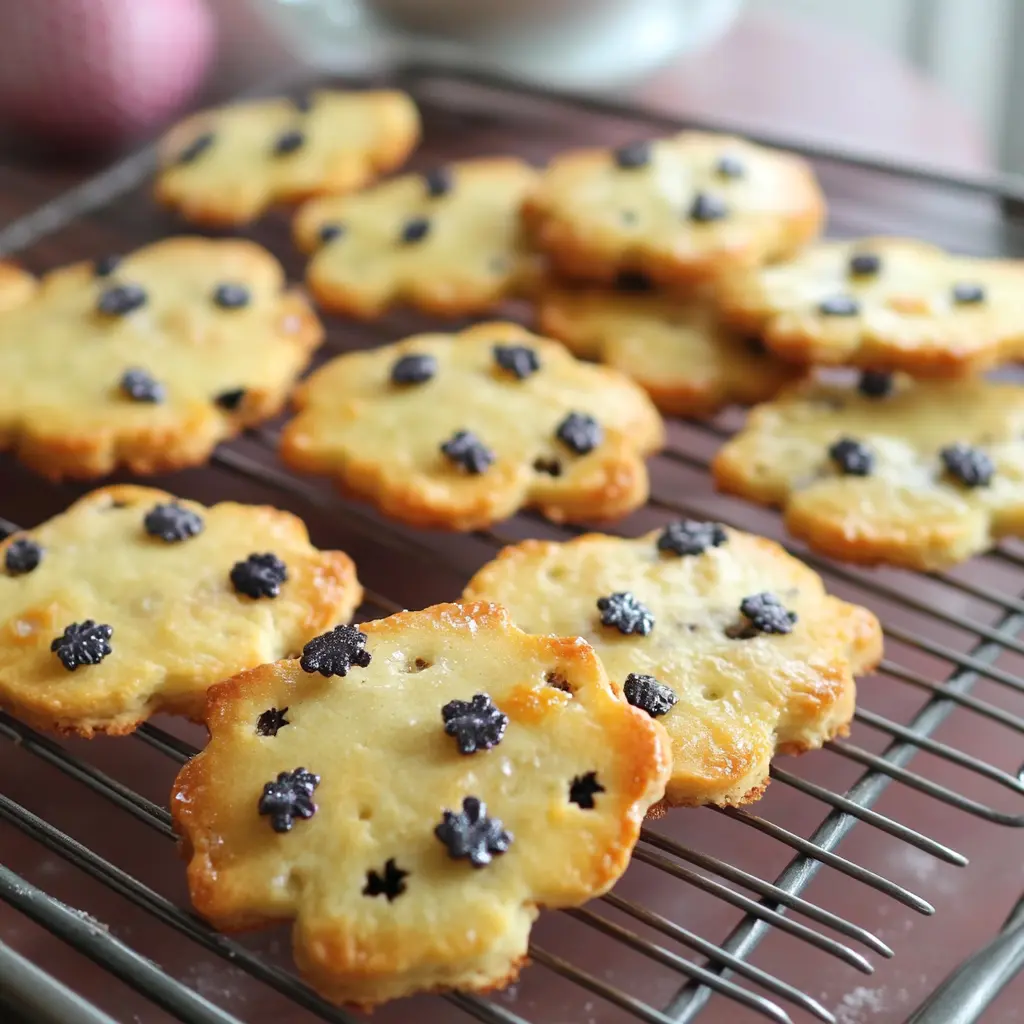
- 60g currants

Preparation:
Step 1:
Preheat your oven to 180°C (160°C for fan ovens) or gas mark 4. This ensures that your biscuits will bake evenly and achieve that perfect golden color.
Step 2:
In a large mixing bowl, combine the softened unsalted butter and golden caster sugar. Using a wooden spoon, beat them together until the mixture is light and fluffy. This step is crucial as it helps to incorporate air into the dough, giving your biscuits a lovely texture.
Step 3:
Add the egg yolk, lemon zest, and a generous grating of nutmeg to the butter and sugar mixture. Beat these ingredients together until well combined. The lemon zest will add a refreshing brightness to the biscuits, while the nutmeg will provide a warm, aromatic flavor.
Step 4:
Sift in the plain flour, fine salt, and add the currants. Mix everything together until a firm dough forms. If necessary, use your hands to bring the dough together. Once combined, shape the dough into a puck shape, wrap it in cling film, and chill in the refrigerator for 30 minutes. Chilling the dough helps to firm it up, making it easier to roll out.
Step 5:
After chilling, line two large baking sheets with baking parchment. Lightly dust your work surface with flour. Cut the chilled dough in half and roll out one half to a thickness of ½ cm. Use a 6cm fluted cutter to cut out biscuits, and carefully lift them onto one of the prepared baking sheets using a palette knife. Leave a little space between each biscuit to allow for spreading. Repeat this process with the remaining dough, re-rolling any off-cuts. Chill the cut biscuits for another 30 minutes.
Step 6:
Bake the biscuits in the preheated oven for 7 minutes. After this time, remove them from the oven, brush the tops with the beaten egg white, and sprinkle with extra sugar. Return them to the oven for an additional 7-8 minutes or until they are lightly golden brown. Once baked, allow the biscuits to cool on the trays for 5 minutes before transferring them to a wire rack to cool completely.
Serving Suggestions:
These Easy Easter Biscuits can be served on their own or paired with a cup of tea or coffee. For a festive twist, consider decorating them with icing or edible decorations. They also make a lovely gift when packaged in a decorative box or tin.
Tips:
- For added flavor, consider experimenting with different spices such as cinnamon or ginger.
- If you prefer a sweeter biscuit, you can increase the amount of golden caster sugar slightly.
- These biscuits can be stored in an airtight container for up to a week, making them perfect for preparing in advance.
- Feel free to substitute currants with other dried fruits like raisins or cranberries for a different taste.
Prep Time: 30 minutes
Cook Time: 15 minutes
Total Time: 45 minutes
Nutritional Information (per biscuit):
Calories: 120
Protein: 1.5g
Sodium: 50mg
Conclusion
These Easy Easter Biscuits are a wonderful way to celebrate the holiday season with family and friends. Their delightful flavors and simple preparation make them an ideal choice for bakers of all levels. Whether enjoyed plain or decorated, these biscuits are sure to bring joy to your Easter festivities. So gather your loved ones, bake a batch, and create sweet memories that will last a lifetime!
Questions and Answers about this recipe:
- Can I use salted butter instead of unsalted butter?
Yes, you can use salted butter, but it may alter the flavor slightly. If you do, consider reducing the amount of added salt in the recipe. - How can I make these biscuits more festive for Easter?
You can decorate the biscuits with colorful icing, sprinkles, or edible glitter. Using cookie cutters in Easter shapes, such as bunnies or eggs, is another fun way to make them festive. - What can I substitute for currants if I don’t have any?
You can substitute currants with raisins, chopped dried apricots, or even chocolate chips for a different flavor profile. - Can I freeze the dough for later use?
Absolutely! You can freeze the wrapped dough for up to three months. When ready to use, simply thaw it in the refrigerator overnight before rolling out and baking. - How do I know when the biscuits are done baking?
The biscuits should be lightly golden brown around the edges. Keep an eye on them during the last few minutes of baking to prevent over-baking.