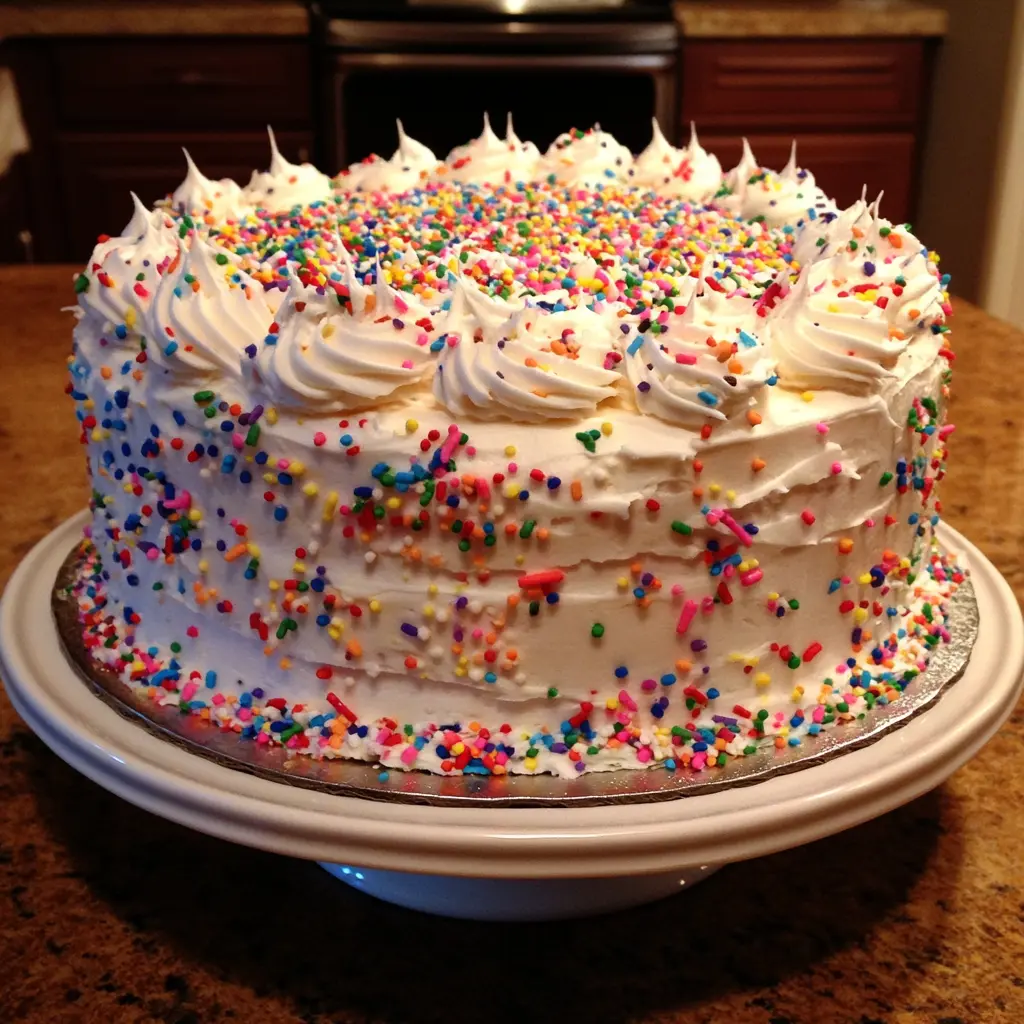
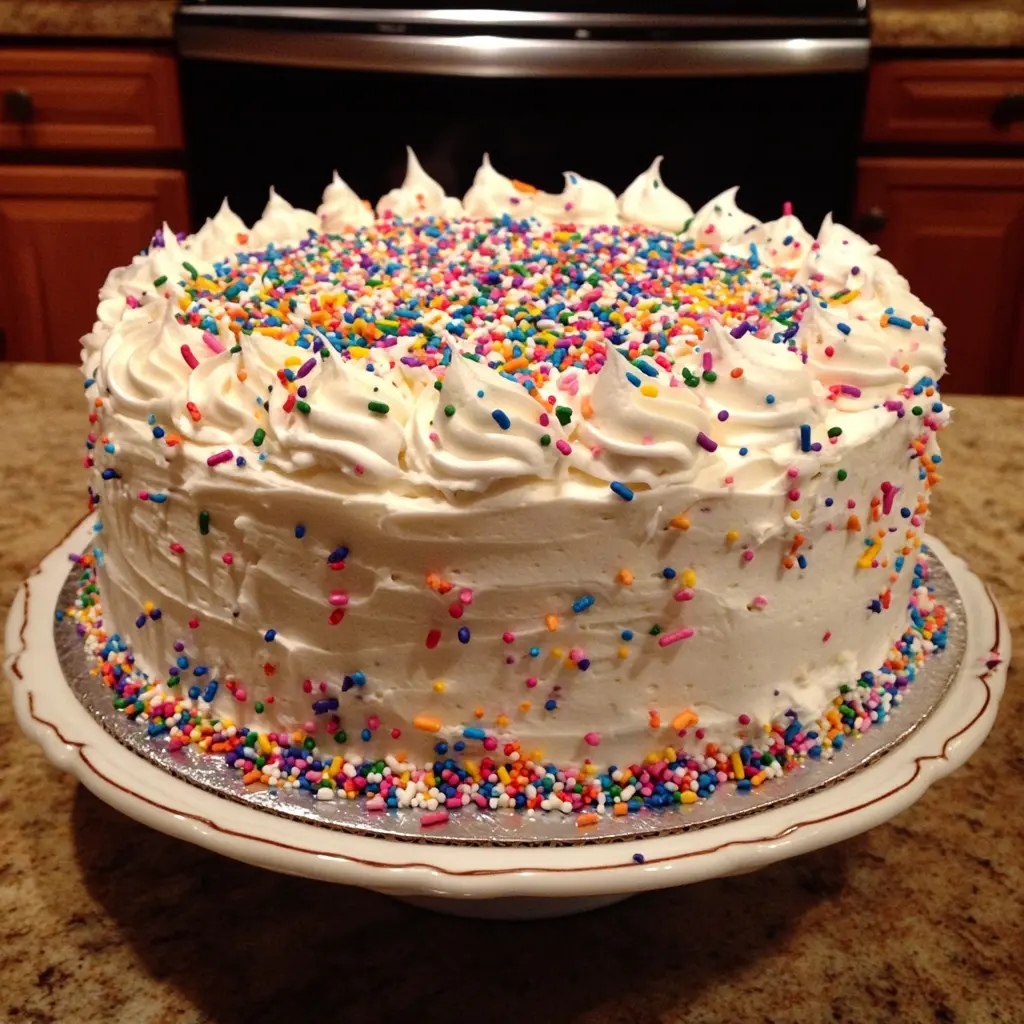
Funfetti cake is a delightful and colorful dessert that brings joy to any celebration. This whimsical cake, filled with vibrant rainbow sprinkles, has a soft and moist texture, making it a favorite for birthdays, anniversaries, or just a cheerful treat. The combination of buttery vanilla flavor and the crunch of sprinkles creates a delightful experience for both the eyes and the palate.
Why You Will Love This Recipe
This funfetti cake recipe is easy to follow, ensuring that even novice bakers can create a stunning dessert that looks as good as it tastes. The cake’s moistness comes from the addition of sour cream and buttermilk, which keeps it tender and flavorful. The colorful sprinkles add a festive touch that makes it perfect for any occasion. Plus, the homemade buttercream frosting is rich and creamy, providing the perfect finishing touch to this delightful cake.
Introduction
Baking a funfetti cake is more than just preparing a dessert; it’s about creating a moment of happiness. The vibrant colors of the sprinkles evoke feelings of joy and celebration, making this cake a beloved choice for gatherings. Whether you’re celebrating a special occasion or simply want to indulge in a sweet treat, this funfetti cake is sure to impress. In this recipe, I will guide you through each step, ensuring your cake turns out moist, fluffy, and bursting with flavor.
Ingredients:
Funfetti Cake
- 1 cup (220g) unsalted butter, room temperature
- 2 cups (400g) granulated sugar
- 1/2 cup (110ml) vegetable or canola oil
- 4 large eggs, room temperature
- 1 tbsp vanilla extract
- 3 1/4 cups (435g) all-purpose flour
- 2 1/2 tsp baking powder
- 1/2 tsp baking soda
- 1 tsp salt
- 1/2 cup (125g) full-fat sour cream, room temperature
- 1 cup (225ml) buttermilk*, room temperature
- 3/4 cup (140g) rainbow jimmies sprinkles
Buttercream
- 1 1/2 cups (330g) unsalted butter, room temperature
- 5 cups (600g) powdered sugar
- 1 tbsp vanilla extract
- 2–3 tbsp milk
- 1/2 cup (90g) sprinkles for decorating
Preparation:
Step 1:
Preheat your oven to 350°F (175°C). Grease and line the bottoms of three 9-inch cake pans with parchment paper. If you prefer using 8-inch pans, you will need to reserve about 1 cup of batter to avoid overfilling.
Step 2:
In a medium bowl, whisk together the all-purpose flour, baking powder, baking soda, and salt. Set aside.
Step 3:
In a large mixing bowl, use a hand or stand mixer to cream together the unsalted butter and granulated sugar on medium-high speed until light and fluffy, approximately 3-5 minutes.
Step 4:
With the mixer running on low, slowly pour in the vegetable oil. Scrape down the sides of the bowl and mix again. Add the eggs one at a time, mixing well after each addition, and then add the vanilla extract. Scrape down the bowl after every two eggs to ensure everything is well combined.
Step 5:
Mix in the sour cream until fully incorporated. Gradually add the dry ingredients and buttermilk to the batter, alternating between the two, starting and ending with the dry ingredients. Once combined, use a rubber spatula to fold in the rainbow sprinkles.
Pour the batter evenly into the prepared cake pans and spread it out smoothly. Bake for 30-35 minutes for 9-inch cakes or 35-40 minutes for 8-inch cakes, or until a toothpick inserted into the center comes out clean.
Baking Note:
Allow the cakes to cool in the pans for 30 minutes. Run a knife around the edges, then turn them out onto a cooling rack and peel off the parchment paper. If frosting the cake the same day, chill the cakes in the fridge for about an hour. If preparing the cakes a day ahead, wrap them in plastic wrap after cooling and refrigerate overnight.
Buttercream:
In a clean mixing bowl, beat the unsalted butter with a hand or stand mixer until smooth. Gradually add the powdered sugar, one cup at a time, mixing on low speed until incorporated. Add the vanilla extract and milk as needed to achieve your desired consistency. If the buttercream is too thick, add an additional tablespoon of milk.
Assemble:
Level off the chilled cakes if necessary. Spread a thin layer of buttercream between each layer of cake. Then, apply a thin crumb coat of buttercream around the entire cake to seal in crumbs. Refrigerate the cake for 20 minutes to set the crumb coat. Finally, frost the cake with the remaining buttercream and decorate with additional sprinkles.
Suggestions for Presentation:
Serve the funfetti cake on a decorative cake stand. For an extra festive touch, scatter additional rainbow sprinkles on top of the cake before serving. You can also add fresh fruit or edible flowers for a pop of color.
Tips:
- Ensure all your ingredients are at room temperature for better mixing and a smoother batter.
- To make your own buttermilk, mix 1 cup of milk with 1 tablespoon of white vinegar or lemon juice, and let it sit for 10 minutes before using.
- Experiment with different types of sprinkles for unique textures and colors.
Time Estimates:
- Prep Time: 2 hours
- Cook Time: 40 minutes
- Total Time: 2 hours 40 minutes
Nutritional Information (per slice, serves 12):
- Calories: Approximately 450
- Protein: 3g
- Sodium: 200mg
Conclusion
Baking a funfetti cake is not just about the delicious flavors; it’s about creating memories. This cake brings joy to any occasion, and its vibrant appearance makes it a showstopper at any gathering. With this detailed recipe, you can confidently bake a funfetti cake that will delight your family and friends.
Questions and Answers
1. Can I use different types of sprinkles?
Yes, you can use any type of sprinkles you like! Just ensure they are not too large, as this could affect the texture of the cake.
2. How should I store the leftover cake?
Store any leftover cake in an airtight container at room temperature for up to 3 days, or in the refrigerator for up to a week.
3. Can I make this cake gluten-free?
Yes, you can substitute all-purpose flour with a 1:1 gluten-free baking flour blend. Make sure to check that all other ingredients are gluten-free.
4. How can I make this cake dairy-free?
You can replace the butter with a dairy-free alternative, use non-dairy milk for the buttermilk, and use dairy-free sour cream.
5. Can I freeze this cake?
Absolutely! You can freeze the unfrosted cake layers wrapped in plastic wrap for up to 3 months. Thaw in the fridge overnight before frosting.

