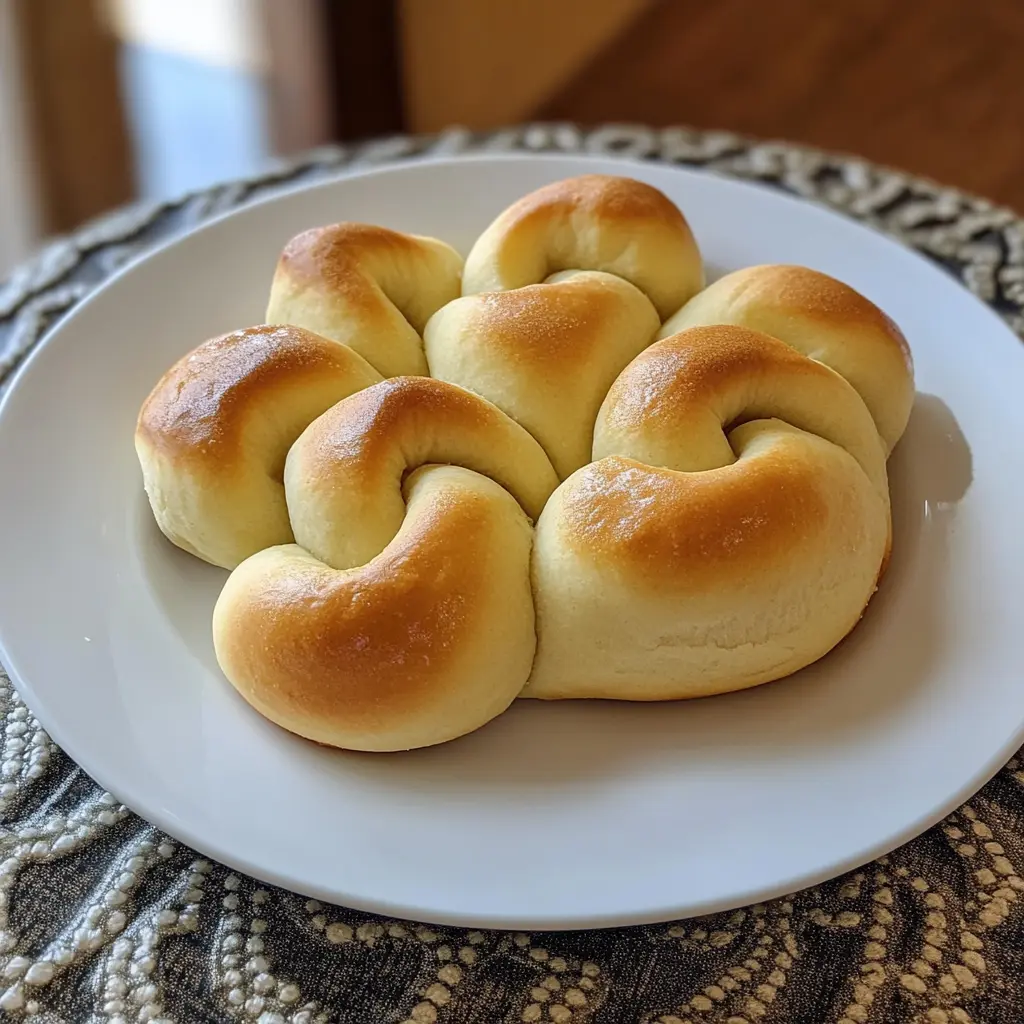
Description: These light, fluffy, and slightly sweet yeast rolls are a timeless classic. Inspired by Grandma’s treasured recipe, they bring the warmth and comfort of home to any meal. These aren’t your everyday store-bought rolls; they’re an invitation to experience the joy of homemade baking and the satisfaction of creating something truly special.
Why You’ll Love This Recipe:
- Nostalgic Flavor: These rolls capture the essence of homemade goodness, evoking memories of family gatherings and the comforting aroma of freshly baked bread. The hint of sweetness from the sugar and the subtle tang from the applesauce create a flavor profile that is both familiar and irresistible.
- Soft and Fluffy Texture: The secret to these rolls lies in the perfect balance of ingredients and the patient rising process. The result is a texture that is incredibly soft, airy, and melt-in-your-mouth delicious.
- Surprisingly Easy: While working with yeast can seem daunting, this recipe is designed to be approachable for bakers of all skill levels. The step-by-step instructions and clear explanations make the process straightforward and enjoyable.
- Versatile and Adaptable: These rolls are the perfect accompaniment to a wide variety of meals, from casual weeknight dinners to elegant holiday feasts. They can also be customized with different flavors and toppings to suit your personal preferences.
- Impress Your Friends and Family: Nothing says “I care” like a batch of homemade yeast rolls. These rolls are sure to impress your loved ones with their exceptional taste and quality. They are a guaranteed crowd-pleaser that will have everyone asking for seconds.
Introduction:
There’s something magical about the aroma of yeast rolls baking in the oven. It’s a scent that instantly transports you to a place of warmth, comfort, and happy memories. My grandmother, a woman whose kitchen was always filled with the comforting smells of home-baked goods, was the master of yeast rolls. Her recipe, passed down through generations, was the highlight of every holiday gathering and family dinner.
These rolls are more than just bread; they’re a symbol of love, connection, and the simple pleasures of life. I’ve taken my grandmother’s original recipe and adapted it slightly to make it even more accessible for today’s home baker. I’ve incorporated a touch of applesauce for added moisture and a hint of sweetness, and I’ve streamlined the instructions to make the process as straightforward as possible. The result is a yeast roll that is just as delicious and comforting as my grandmother’s, but with a modern twist.
This recipe is a celebration of the joy of baking and the power of food to bring people together. Whether you’re a seasoned baker or a complete beginner, I encourage you to give these rolls a try. You’ll be amazed at how easy they are to make, and you’ll be even more amazed at how delicious they taste. So, gather your ingredients, roll up your sleeves, and prepare to experience the magic of Grandma’s Yeast Rolls.
Ingredients:
- 1 package (1/4 ounce) active dry yeast: This is the key ingredient that will give your rolls their light and airy texture. Make sure your yeast is fresh and active for the best results. You can test the yeast by dissolving it in warm water with a pinch of sugar. If it foams up within a few minutes, it’s good to go.
- 1 cup 2% milk (110° to 115°F): Warm milk provides the perfect environment for the yeast to thrive. It should be warm to the touch, but not scalding hot, as this can kill the yeast. 2% milk adds richness and moisture to the rolls.
- 1/4 cup granulated sugar: Sugar not only adds sweetness to the rolls but also provides food for the yeast, helping it to activate and rise.
- 1/4 cup unsweetened applesauce: Applesauce adds moisture and a subtle sweetness to the rolls, creating a tender and flavorful crumb. It also acts as a natural tenderizer, keeping the rolls soft and fluffy.
- 2 large egg whites, room temperature, beaten: Egg whites add structure and lightness to the rolls. Beating them before adding them to the dough helps to incorporate air, resulting in a more airy and tender texture. Room temperature egg whites incorporate more easily into the dough.
- 1 teaspoon salt: Salt enhances the flavor of the rolls and helps to control the yeast’s activity.
- 3-1/2 to 4 cups all-purpose flour: Flour is the foundation of the rolls, providing structure and binding the ingredients together. Start with 3-1/2 cups and gradually add more until the dough forms a soft, slightly sticky ball. Be careful not to add too much flour, as this can make the rolls dense and dry.
- Cooking spray: Used to grease the bowl and baking sheets to prevent the dough from sticking.
Preparation:
Step 1: Activate the Yeast.
In a large bowl, dissolve the active dry yeast in the warm milk (110° to 115°F). Let it stand for 5-10 minutes until it becomes foamy and bubbly. This indicates that the yeast is alive and active. If the yeast doesn’t foam, it might be old or inactive, and you’ll need to start with a fresh batch.
Step 2: Combine the Wet Ingredients.
Add the sugar, unsweetened applesauce, beaten egg whites, and salt to the bowl with the yeast mixture. Use a whisk or a spoon to combine the ingredients until they are well blended. The sugar should dissolve completely.
Step 3: Incorporate the Flour.
Gradually add the flour to the wet ingredients. Begin by adding 2 cups of flour and beating the mixture with a spoon or an electric mixer until smooth. Then, gradually add the remaining flour, about 1/2 cup at a time, until a soft dough forms. The dough should be slightly sticky to the touch.
Step 4: Knead the Dough.
Turn the dough out onto a lightly floured surface. Knead the dough for 6-8 minutes, or until it becomes smooth and elastic. Kneading develops the gluten in the flour, which gives the rolls their structure and chewy texture. If the dough is too sticky, add a little more flour, one tablespoon at a time. If the dough is too dry, add a teaspoon of water.
Step 5: First Rise.
Place the kneaded dough in a large bowl that has been coated with cooking spray. Turn the dough over in the bowl to coat the top with the cooking spray. This will prevent the dough from drying out during the rising process. Cover the bowl with a clean kitchen towel or plastic wrap and let it rise in a warm place for about 1 hour, or until the dough has doubled in size. A warm place can be achieved by placing the bowl in a slightly warm oven (turned off) or on top of the refrigerator.
Step 6: Shape the Rolls.
Turn the risen dough out onto a lightly floured surface. Gently punch down the dough to release the air. Divide the dough into 24 equal pieces. Shape each piece into an 8-inch rope. Tie each rope into a knot and tuck the ends underneath to create a neat roll shape.
Step 7: Second Rise.
Place the shaped rolls on two baking sheets that have been coated with cooking spray. Cover the rolls with a clean kitchen towel or plastic wrap and let them rise for about 30 minutes, or until they have doubled in size. This second rise allows the rolls to become light and fluffy.
Step 8: Bake the Rolls.
Preheat your oven to 375°F (190°C). Bake the rolls for 12-16 minutes, or until they are golden brown. Keep a close eye on them to prevent them from burning.
Step 9: Cool and Enjoy.
Remove the baked rolls from the oven and transfer them to wire racks to cool slightly. Serve warm and enjoy!
COOKING Rating: Intermediate
Serving Suggestions:
- Serve warm with butter, jam, or honey.
- Use them as a base for mini sandwiches.
- Serve alongside soups, stews, or salads.
- Bring them to potlucks and holiday gatherings.
- Enjoy them as a simple and satisfying snack.
Tips:
- Make sure your yeast is fresh and active for the best results.
- Use warm milk (110° to 115°F) to activate the yeast.
- Don’t add too much flour, as this can make the rolls dense and dry.
- Knead the dough until it is smooth and elastic.
- Let the dough rise in a warm place for optimal results.
- Bake the rolls until they are golden brown.
- Serve the rolls warm for the best flavor and texture.
Prep Time: 30 minutes
Cook Time: 12-16 minutes
Total Time: Approximately 2 hours 15 minutes (including rising time)
Nutritional Information: (Per roll, approximate)
Calories: 120-150
Protein: 3-4g
Sodium: 100-150mg
Conclusion:
Grandma’s Yeast Rolls are more than just a recipe; they are a tradition. They represent the love, warmth, and connection that we share with our families and friends. This recipe is a tribute to the past, a celebration of the present, and a promise for the future. I hope you enjoy making these rolls as much as I do, and I hope they bring you as much joy and comfort as they have brought me over the years. Happy baking!
Questions and Answers:
Q1: Can I use a stand mixer instead of kneading by hand?
A: Absolutely! A stand mixer can be a great time-saver. Use the dough hook attachment and mix on low speed for about 8-10 minutes, or until the dough is smooth and elastic. Be sure to monitor the dough closely and add flour gradually until it pulls away from the sides of the bowl.
Q2: Can I make the dough ahead of time and bake the rolls later?
A: Yes, you can! After the first rise, punch down the dough, shape the rolls, and place them on the baking sheets. Cover them tightly with plastic wrap and refrigerate for up to 24 hours. When you’re ready to bake, remove the rolls from the refrigerator and let them rise at room temperature for about 30-60 minutes, or until they have doubled in size. Then, bake as directed. This is a great option for making rolls ahead of time for a holiday meal or special occasion.
Q3: Can I freeze the baked rolls?
A: Yes, you can freeze the baked rolls for up to 2-3 months. Let the rolls cool completely before wrapping them tightly in plastic wrap and then placing them in a freezer-safe bag or container. To thaw, remove the rolls from the freezer and let them thaw at room temperature for a few hours. You can reheat them in a warm oven (300°F) for a few minutes to restore their warmth and softness.
Q4: What if my yeast doesn’t foam when I add it to the warm milk?
A: If your yeast doesn’t foam after about 5-10 minutes, it’s likely that the yeast is old or inactive. It’s best to discard the yeast and start with a fresh package. Make sure the milk is also at the correct temperature (110° to 115°F). Milk that is too hot can kill the yeast, while milk that is too cold may not activate it properly.
Q5: Can I add herbs or spices to the dough?
A: Definitely! Feel free to customize the rolls with your favorite herbs and spices. Some great options include rosemary, thyme, garlic powder, or onion powder. Add about 1-2 teaspoons of dried herbs or spices to the dough along with the flour. You can also brush the tops of the rolls with melted butter and sprinkle them with herbs or spices before baking for an extra touch of flavor.