Short Description
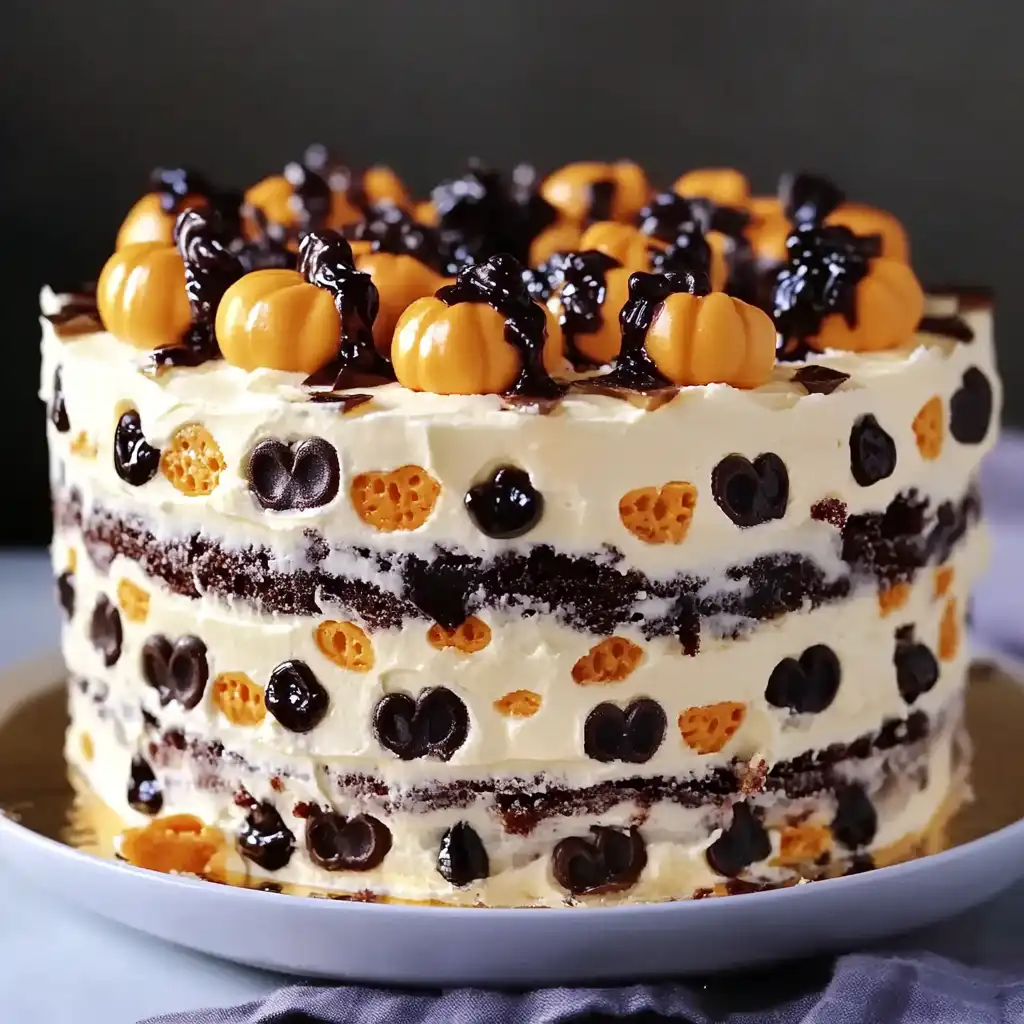
This Halloween Icebox Cake is a festive and easy-to-make dessert that requires no baking! Layers of chocolate sandwich cookies, creamy whipped cream, and rich chocolate ganache create a spooky and delicious treat perfect for Halloween parties.
Ingredients:
- 2 packages Oreo cookies (or other chocolate sandwich cookies)
- 4 cups heavy whipping cream, cold
- 1 cup powdered sugar
- 2 tsp vanilla extract
- 1 box vanilla or pound cake (sliced into layers, optional)
- 1 cup chocolate ganache (melted chocolate + cream)
- Halloween sprinkles
- Candy pumpkins or Halloween-themed candies for garnish
Preparation:
Step 1: Make the Whipped Cream: In a large bowl, beat the heavy cream, powdered sugar, and vanilla extract together using an electric mixer until stiff peaks form. Be careful not to overwhip. Once the whipped cream is ready, cover it and place it in the refrigerator to keep it chilled until you’re ready to assemble the cake.
Step 2: Prepare the Cookies: Open the packages of Oreo cookies. If you want smaller pieces or a variety of textures, crush some of the cookies into smaller pieces using a food processor or by placing them in a zip-top bag and crushing them with a rolling pin or mallet. Set aside.
Step 3: Assemble the Cake: Choose your vessel for assembling the icebox cake. A springform pan works great for a visually appealing cake with defined layers, but you can also use a trifle bowl or even a rectangular baking dish.
Step 4: Layer the Ingredients: Place a layer of sliced cake (if using) or a single layer of whole Oreo cookies at the bottom of the pan or dish. Spread a generous layer of the prepared whipped cream over the cake or cookies, ensuring an even coating. Sprinkle a layer of crumbled Oreos over the whipped cream. Repeat these layers (cake/cookies, whipped cream, crushed Oreos) until you’ve filled the pan or dish, finishing with a final layer of whipped cream on top.
Step 5: Add the Chocolate Ganache: Prepare the chocolate ganache by heating equal parts of chocolate and heavy cream until the chocolate is melted and smooth. Allow the ganache to cool slightly, then pour it over the top layer of whipped cream, letting it drip artfully down the sides of the cake.
Step 6: Decorate with Halloween Sprinkles and Candies: While the chocolate ganache is still slightly wet, generously sprinkle Halloween-themed sprinkles over the top. Arrange candy pumpkins and other Halloween candies around the top edge of the cake for an extra festive touch.
Step 7: Chill and Serve: Cover the assembled Halloween Icebox Cake with plastic wrap or a lid, and refrigerate for at least 6 hours, or preferably overnight. This chilling time allows the cookies to soften and the flavors to meld together, creating the perfect icebox cake texture. When ready to serve, carefully remove the cake from the springform pan or scoop it out of the trifle bowl/baking dish. Slice and serve chilled.
Why you’ll love this recipe:
- No-Bake: Perfect for when you don’t want to turn on the oven.
- Easy to Make: Simple steps and readily available ingredients.
- Customizable: Easily adaptable with your favorite cookies and candies.
- Festive: A fun and spooky treat for Halloween.
- Make-Ahead: Can be made a day in advance, making it ideal for entertaining.
Serving Suggestions:
- Serve chilled, straight from the refrigerator.
- Add a scoop of vanilla ice cream or a dollop of extra whipped cream on the side.
- Pair with a glass of cold milk, hot chocolate, or coffee.
Tips:
- For a richer flavor, use homemade chocolate ganache.
- Can be made a day in advance for convenience.
- Feel free to customize with your favorite Halloween candies.
- If you want the cookies to be softer, soak them in milk for a few seconds before layering.
- Use a springform pan for easy removal and a clean presentation.
Preparation Time: 20 minutes
Cook Time: 0 minutes
Total Time: 6 hours (including chilling time)
Nutrition Information: (Approximation, may vary based on specific ingredients used)
- Calories: 450-550 per serving
- Protein: 5-7 grams
- Sodium: 200-300mg
Conclusion:
This Halloween Icebox Cake is a delightful and stress-free dessert that’s sure to be a hit at any Halloween gathering. Its ease of preparation, combined with its customizable nature and festive presentation, makes it a go-to recipe for the spooky season. Enjoy the creamy layers of chocolate and vanilla, and let the Halloween spirit shine through with every bite!
Questions and Answers about this Recipe:
- Q: Can I use a different type of cookie?
- A: Absolutely! While Oreos are classic, you can use any chocolate sandwich cookie or even graham crackers for a different flavor profile.
- Q: Can I make this cake without the chocolate ganache?
- A: Yes, you can omit the ganache or substitute it with a different topping like caramel sauce or a simple chocolate drizzle.
- Q: How do I store leftovers?
- A: Store any leftover icebox cake in an airtight container in the refrigerator for up to 3 days.
- Q: Can I freeze this cake?
- A: While you can freeze icebox cake, the texture may change slightly upon thawing. The cookies may become a bit soggy. If you do freeze it, wrap it tightly in plastic wrap and then in foil.
- Q: Is there a way to make this recipe healthier?
- A: You can reduce the sugar content by using sugar-free cookies or a sugar substitute in the whipped cream. You can also use a lighter whipped topping instead of heavy cream.