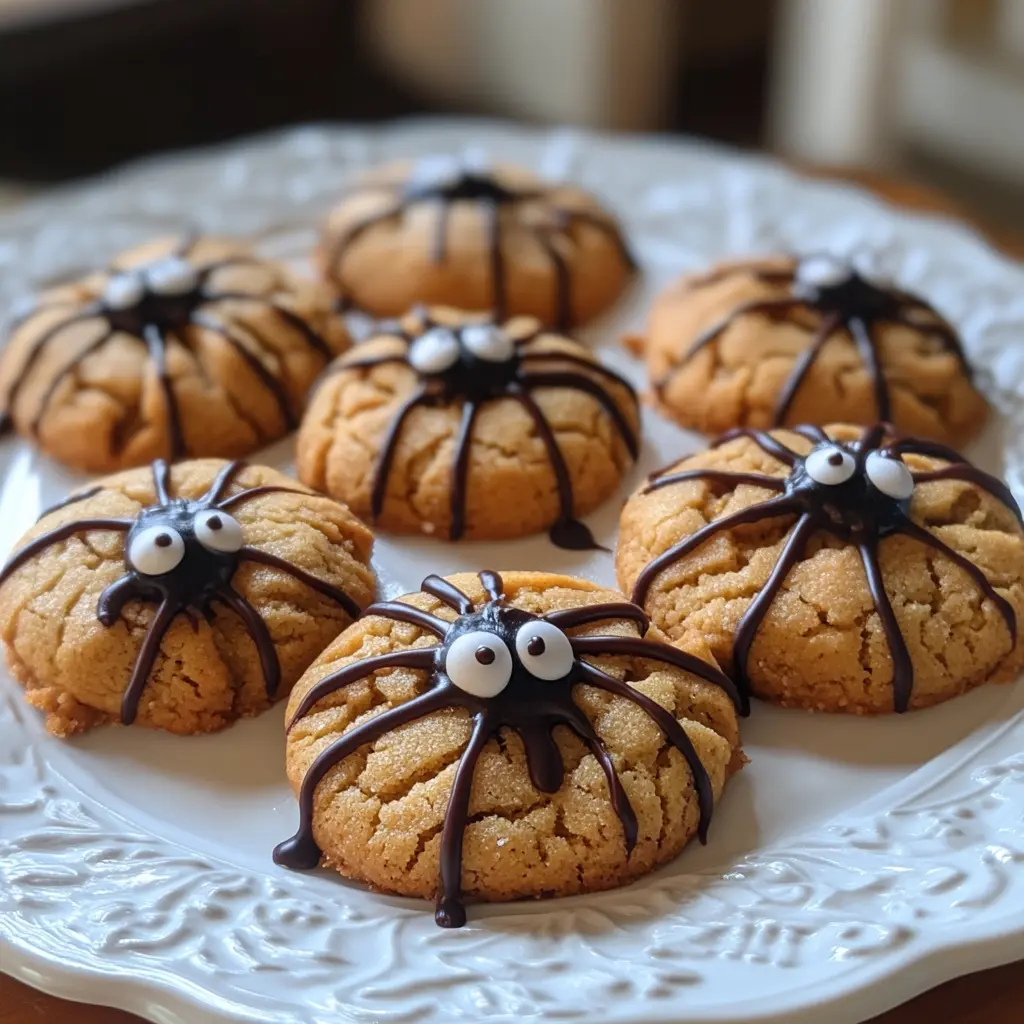
Get ready to spook your guests with these creepy yet cute cookies! Halloween Spider Cookies are not just a treat; they are a festive centerpiece that adds a touch of whimsy and fun to any Halloween celebration. With their soft texture and delicious peanut butter flavor, these cookies are bound to be a hit at any gathering.
Why You Will Love This Recipe
These Halloween Spider Cookies combine the rich, nutty flavor of peanut butter with the sweetness of chocolate, creating a delightful taste that both kids and adults will love. They are also incredibly easy to make, feature simple ingredients, and can be decorated in numerous ways. These cookies are an interactive treat to craft with family or friends, making your Halloween celebrations even more memorable. Furthermore, they are a charming way to engage children in the kitchen while creating delicious spooky treats.
Introduction
Halloween is a time for ghouls, goblins, and delightful treats that send a shiver down your spine. While candy is a traditional favorite, why not take a step further and bake something that embodies the fun and fright of this festive holiday? Halloween Spider Cookies are the ideal solution. They are tantalizingly tasty, easy to prepare, and scream Halloween fun! Imagine a plate filled with these adorable spider cookies at your Halloween party — they are sure to be the talk of the event! Not only are they scrumptious, but they can also be a fun activity to enjoy with friends and family. Let’s dive into the details of how you can create these fabulous treats!
Ingredients:
- 1 cup peanut butter
- 1/2 cup unsalted butter (softened)
- 1/2 cup sugar
- 1/2 cup brown sugar, packed
- 1 large egg
- 1 tsp vanilla extract
- 1 1/2 cups all-purpose flour
- 1 tsp baking soda
- 1/4 tsp salt
- 24 chocolate truffles or peanut butter cups (for the spiders)
- Melted chocolate (for spider legs and eyes)
Preparation:
Step 1: Begin by preheating your oven to 350°F (175°C). This is crucial to ensure even baking of your cookies.
Step 2: In a large mixing bowl, cream together the peanut butter, softened unsalted butter, sugar, and brown sugar. Beat this mixture until it achieves a light and fluffy consistency, which should take about 2-3 minutes.
Step 3: Add the large egg and vanilla extract to your creamed mixture. Mix until well incorporated, ensuring any streaks of egg or vanilla are fully blended into the batter.
Step 4: In a separate bowl, whisk together the all-purpose flour, baking soda, and salt. Gradually add this dry mixture to the wet ingredients, mixing until just combined. Be careful not to overmix; you want a soft dough that is not overly heavy.
Step 5: With clean hands, roll the dough into 1-inch balls and place them on a baking sheet lined with parchment paper. Make sure to leave enough space between each ball, as they will spread during baking.
Step 6: Bake in the preheated oven for 10-12 minutes. As soon as they come out, gently press a chocolate truffle or peanut butter cup into the center of each cookie while they are still warm — this will create the body of your spiders!
Step 7: Once the cookies are cool, use melted chocolate to pipe out spider legs and eyes onto each cookie. Allow the decorations to set before serving.
Cooking Note:
Make sure not to overbake your cookies; they should have a soft texture. They will firm up as they cool, so remove them from the oven when they still have a slight softness in the center.
Serving Suggestions:
To enhance the Halloween spirit, serve your Halloween Spider Cookies on a spooky platter adorned with fake spider webs and plastic spiders. Pair them with a glass of cold milk or hot apple cider to create a delicious fall treat experience. These cookies are also perfect for school bake sales or as treats for Halloween gatherings.
Tips:
- Store any leftover cookies in an airtight container at room temperature for up to a week.
- For added decoration, consider using edible eyes that can be found in baking supply stores for a more animated spider look.
- Explore different kinds of chocolate truffles or peanut butter cups — dark chocolate, milk chocolate, or even white chocolate, depending on your preference.
Preparation Time:
- Prep Time: 20 minutes
- Cook Time: 10-12 minutes
- Total Time: Approximately 35 minutes
Nutritional Information (per cookie):
- Calories: Approximately 180
- Protein: 4 grams
- Sodium: 120 mg
Conclusion
Halloween Spider Cookies are more than just edible treats; they are an experience! They bring out the creativity in baking while satisfying your sweet tooth. Perfect for parties, school events, or a creepy movie night at home, these cookies are guaranteed to delight both young and old. Your loved ones will appreciate the attention to detail, and you’ll relish every bite alongside the spooky ambiance that Halloween brings.
Questions and Answers
1. Can I make these cookies ahead of time?
Yes! You can prepare the dough ahead of time and refrigerate it for up to 3 days. Just roll and bake when you’re ready.
2. What can I substitute for peanut butter?
If you have a peanut allergy or want a different flavor, try using almond butter or sunflower seed butter as a substitute.
3. How can I make these cookies gluten-free?
You can substitute all-purpose flour with a 1:1 gluten-free flour blend, which will work perfectly in this recipe.
4. Are there any other decorations I can use for the spiders?
Definitely! You can use candy eyes or differently shaped candies to create varied spider designs.
5. Can these cookies be frozen?
Yes! Bake and cool the cookies, then freeze them in an airtight container. Thaw them at room temperature when you’re ready to serve.
These Halloween Spider Cookies are sure to bring joy and fun to your Halloween festivities! Enjoy baking and indulging in these delightful treats.

