Description of this recipe: This recipe guides you through creating your own fresh, creamy almond milk at home. Say goodbye to store-bought versions packed with additives and hello to a naturally delicious and healthy alternative.
Why you will love this recipe: You’ll adore this almond milk recipe because it’s incredibly simple, surprisingly versatile, and lets you control exactly what goes into your milk. The flavor is significantly fresher and more almond-forward than anything you’ll find on the shelf. Plus, it’s a fantastic way to reduce waste by skipping the Tetra Pak carton. Ditch the questionable ingredients and embrace the pure, wholesome goodness of homemade almond milk. It’s perfect for drinking straight, adding to smoothies, pouring over cereal, using in baking, or enjoying in your favorite latte. The possibilities are endless!
Introduction
Making almond milk at home might seem intimidating, but trust me, it’s surprisingly easy. It’s also incredibly rewarding. Store-bought almond milk often contains thickeners, stabilizers, and added sugars, diluting the true almond flavor and diminishing its nutritional benefits. By making it yourself, you bypass all those unnecessary additives and get to enjoy the pure, unadulterated taste of almonds.
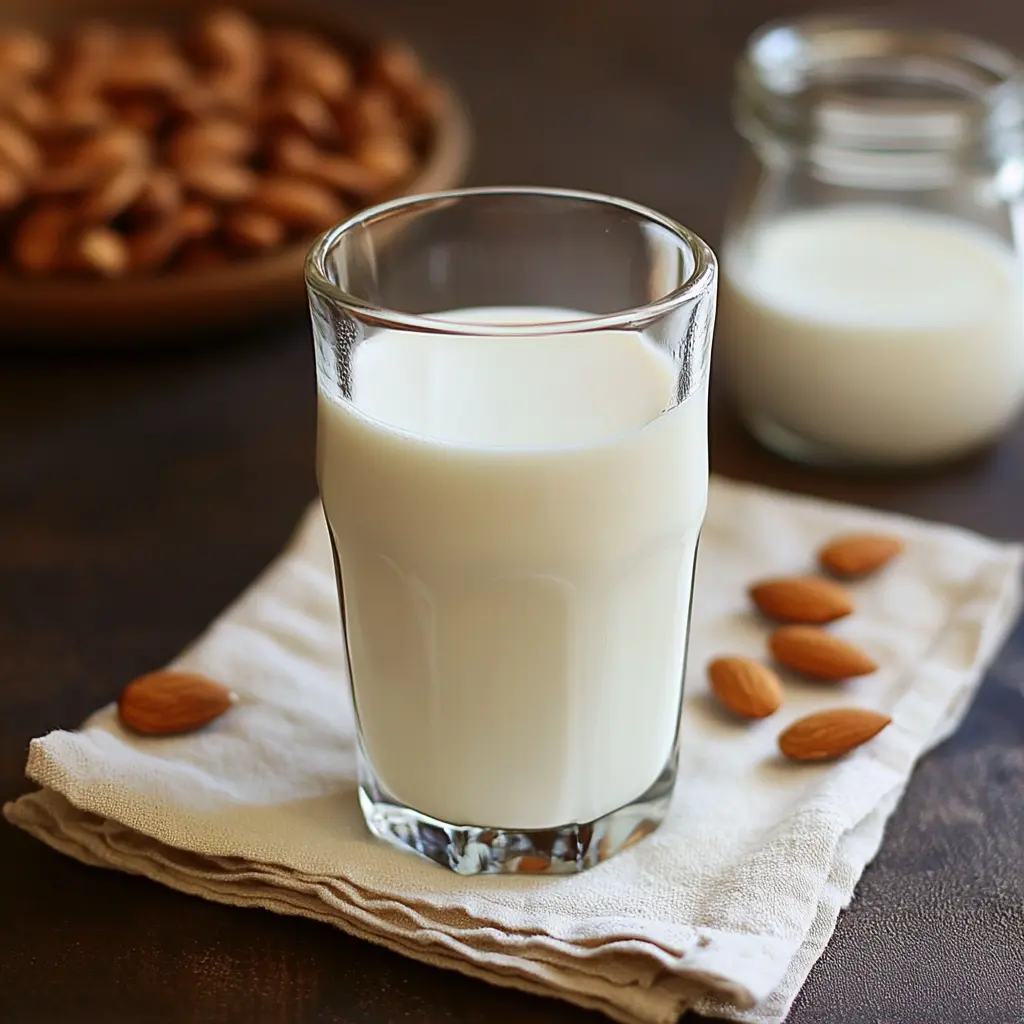
This recipe utilizes just two core ingredients: almonds and water. We’ll soak the almonds to soften them and release their natural oils, resulting in a smoother, creamier milk. Then, we’ll blend them with fresh water and strain the mixture through a nut milk bag (or muslin cloth) to separate the milk from the almond pulp. The process is straightforward, requires minimal equipment, and yields a deliciously nutritious beverage.
Beyond the taste, homemade almond milk is a fantastic way to incorporate healthy fats, vitamin E, and antioxidants into your diet. It’s naturally lactose-free and cholesterol-free, making it a great option for those with dietary restrictions. So, ditch the store-bought stuff and embark on this simple journey to create your own almond milk masterpiece. You won’t regret it! Also, by making your own Almond milk, you will be helping to reduce the waste of tons of carton in the planet.
Ingredients:
- 150g whole, raw almonds
- 750ml cold, filtered water
Preparation:
Step 1: Soak the Almonds
Place the almonds in a large bowl. Cover them completely with cool water, ensuring the water level is at least an inch above the almonds. Almonds expand as they soak, so be generous with the water. Cover the bowl with a lid or plastic wrap and let the almonds soak for at least 4 hours, or preferably overnight (8-12 hours). Soaking is crucial because it softens the almonds, making them easier to blend into a smooth milk. It also helps to release phytic acid, which can inhibit nutrient absorption. Soaking improves the digestibility of the almonds and enhances the creaminess of the final product. If you’re short on time, a 4-hour soak will suffice, but an overnight soak yields the best results. Remember to keep the almonds refrigerated if soaking for longer than 8 hours to prevent spoilage.
Step 2: Drain and Rinse the Almonds
After soaking, drain the almonds in a colander and rinse them thoroughly under cold, running water. This step removes any residue from the soaking process and ensures a clean, fresh flavor for your almond milk. Give them a good rinse, rubbing them gently to remove any loose skins (although you don’t need to peel them completely). Make sure to inspect the almonds for any signs of spoilage and discard any that look or smell off.
Step 3: Blend the Almonds and Water
Transfer the drained and rinsed almonds to a high-powered blender. Add the 750ml of cold, filtered water. Secure the lid tightly and blend on high speed for 1-2 minutes, or until the mixture is completely smooth and creamy. The blending time will depend on the power of your blender. You’re aiming for a consistency where the almonds are finely ground and evenly dispersed in the water. If your blender struggles with the initial blending, you can start with a lower speed and gradually increase it. Check the mixture periodically and scrape down the sides of the blender if necessary to ensure all the almonds are properly blended. Don’t over-blend, as this can heat up the mixture and affect the flavor.
Step 4: Strain the Almond Milk
Line a large bowl or pitcher with a nut milk bag, cheesecloth (folded several times), or a clean muslin cloth. Carefully pour the almond mixture into the lined bowl. Allow the milk to drip through the bag or cloth, using a spoon to gently stir the mixture and encourage the liquid to pass through. Once most of the milk has drained, gather the edges of the bag or cloth together and gently squeeze to extract the remaining milk. Squeeze firmly but avoid applying excessive pressure, which could cause the bag or cloth to tear. The resulting liquid is your freshly made almond milk. The remaining pulp in the bag is called almond meal, and you can save it for use in baking or other recipes.
Step 5: Store and Enjoy
Transfer the strained almond milk to an airtight container, such as a glass jar or bottle. Store in the refrigerator for up to 3-5 days. The almond milk may separate upon standing, so simply shake well before using. Enjoy your homemade almond milk in smoothies, over cereal, in coffee, or as a refreshing drink on its own!
COOKING Rating:
Easy
Serving Suggestions:
- Enjoy it straight from the fridge as a refreshing and healthy drink.
- Use it as a base for delicious and creamy smoothies.
- Pour it over your favorite breakfast cereal or granola.
- Add it to your coffee or tea for a dairy-free latte.
- Incorporate it into baking recipes as a milk substitute.
- Use it to make vegan sauces or soups.
- Freeze it into ice cubes for a quick and easy addition to smoothies or iced coffee.
Tips:
- Sweeten it up: If you prefer a sweeter almond milk, add a touch of honey, maple syrup, dates, or stevia to the blender along with the almonds and water. Start with a small amount and adjust to your liking.
- Add flavor: Enhance the flavor of your almond milk by adding a pinch of vanilla extract, a dash of cinnamon, or a small piece of ginger to the blender.
- Use high-quality almonds: The quality of the almonds will directly impact the taste of your almond milk. Opt for fresh, raw almonds from a reputable source.
- Don’t discard the almond pulp: The almond pulp (almond meal) is a valuable byproduct of making almond milk. Save it and use it in baking recipes like muffins, cookies, or bread. You can also dry it in a low oven and use it as almond flour.
- Adjust the water ratio: For a thicker, creamier almond milk, use less water. For a thinner milk, use more water. Experiment to find the consistency you prefer.
- Pasteurization: Homemade almond milk is not pasteurized, so it has a shorter shelf life than store-bought versions. Be sure to store it in the refrigerator and consume it within 3-5 days.
- Avoid Over-Blending: Over-blending the almonds can heat the mixture and lead to a slightly bitter taste. Blend only until the almonds are finely ground.
Prep Time:
5 minutes (plus soaking time)
Cook Time:
0 minutes
Total Time:
5 minutes (plus 4-12 hours soaking time)
Nutritional Information:
(Approximate, per 1 cup serving)
Calories: 40-60 (depending on almond-to-water ratio and sweeteners) Protein: 1-2 grams Sodium: 0-5 mg
Conclusion
Making homemade almond milk is a simple, rewarding, and healthy alternative to store-bought versions. You control the ingredients, avoid unnecessary additives, and enjoy a fresher, more delicious flavor. This recipe provides a basic foundation, and you can easily customize it to suit your taste preferences. So, gather your almonds, grab your blender, and start creating your own creamy, nutritious almond milk today! You’ll wonder why you didn’t try it sooner.
Questions and Answers about Homemade Almond Milk:
Q1: Can I use roasted almonds instead of raw almonds?
A: While you can use roasted almonds, the flavor of the almond milk will be different. Roasted almonds have a more intense, nutty flavor, which some may find overpowering in almond milk. Raw almonds provide a milder, cleaner taste that is generally preferred. Also, roasting can diminish some of the nutrients found in raw almonds. If you do use roasted almonds, be sure they are unsalted.
Q2: How long does homemade almond milk last in the refrigerator?
A: Homemade almond milk typically lasts for 3-5 days in the refrigerator when stored in an airtight container. Since it doesn’t contain the preservatives found in commercial almond milk, it will spoil more quickly. Always check for any signs of spoilage, such as an off odor or unusual texture, before consuming. If in doubt, it’s best to discard it.
Q3: What can I do with the leftover almond pulp (almond meal)?
A: The leftover almond pulp, also known as almond meal, is a valuable ingredient and shouldn’t be discarded. You can use it in a variety of ways. One popular option is to spread it out on a baking sheet and dry it in a low oven (around 170°F or 75°C) for a few hours until completely dry. Once dried, you can use it as almond flour in baking recipes like muffins, cookies, cakes, and bread. Almond meal can also be added to smoothies for extra fiber and nutrients, or used as a topping for yogurt or oatmeal. You can even use it as a breading for chicken or fish.
Q4: My almond milk is watery. How can I make it creamier?
A: If your almond milk is too watery, there are a few things you can try. First, use less water in the blending process. The recipe calls for 750ml of water, but you can reduce that to 600ml or even 500ml for a thicker consistency. Second, be sure to soak the almonds for a sufficient amount of time (at least 4 hours, preferably overnight). Soaking helps to soften the almonds and release their natural oils, resulting in a creamier milk. Finally, ensure you’re using a high-powered blender to thoroughly grind the almonds.
Q5: Can I freeze homemade almond milk?
A: Yes, you can freeze homemade almond milk, but the texture may change slightly upon thawing. It’s best to freeze it in an airtight container, leaving some headspace for expansion. When you’re ready to use it, thaw it in the refrigerator overnight. Be aware that the almond milk may separate after thawing, so give it a good shake before using. Frozen almond milk is best used in smoothies, baking, or cooking, rather than drinking straight.