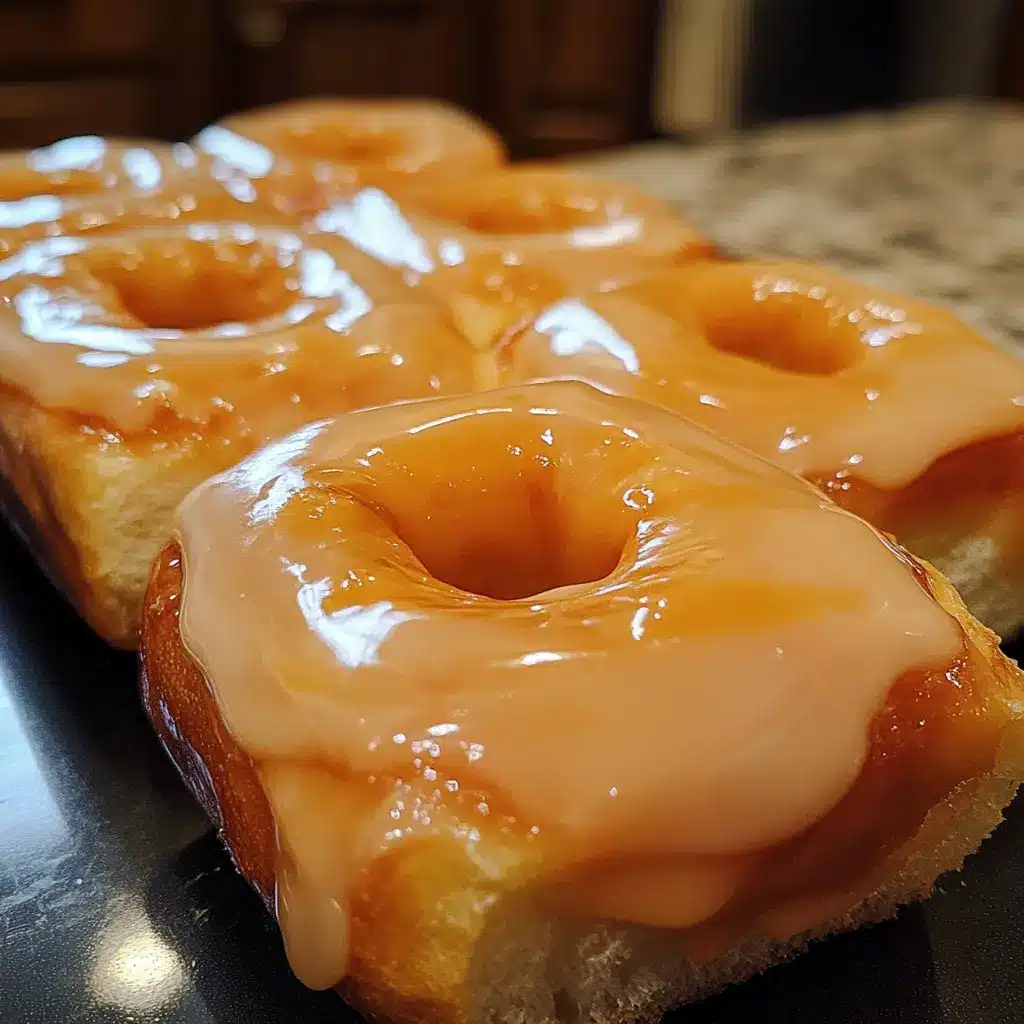
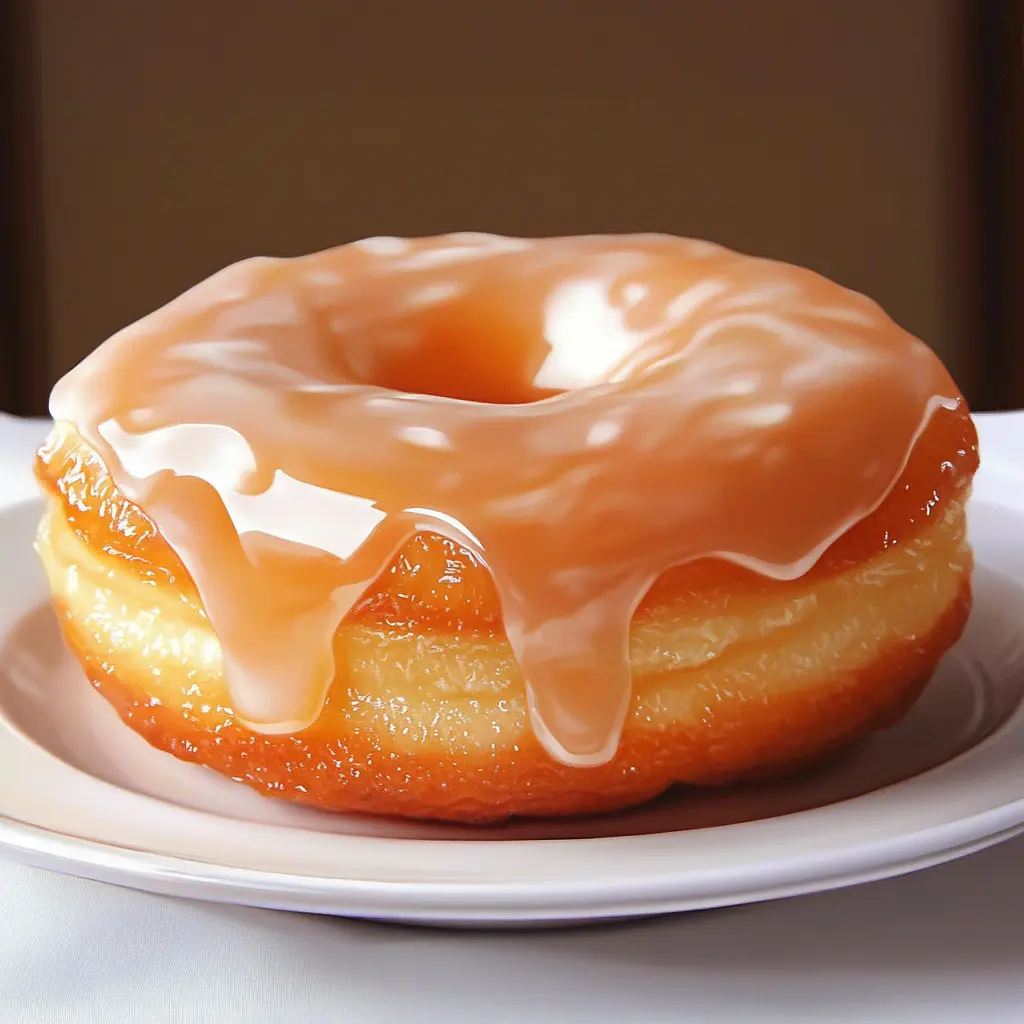
Description of this recipe
Indulge in the sweet, fluffy bliss of homemade Krispy Kreme doughnuts, where every bite transports you to a world of comfort and joy. This recipe captures the essence of the iconic doughnut shop, allowing you to recreate the beloved treat in your very own kitchen. With a soft and airy texture, perfectly complemented by a glossy glaze, these doughnuts are sure to impress family and friends alike.
Why you will love this recipe
You will love this recipe because it combines the nostalgia of classic doughnuts with the satisfaction of homemade baking. The doughnuts are light and airy, with a rich, sweet glaze that makes each bite irresistible. Plus, the process of making doughnuts from scratch is not only rewarding but also a fun activity to share with loved ones. Perfect for breakfast, brunch, or even a sweet afternoon snack, these doughnuts are versatile and can be customized with various toppings or fillings.
Introduction
Doughnuts have a special place in the hearts of many, often associated with warm memories of childhood, family gatherings, and cozy mornings. The allure of a freshly made Krispy Kreme doughnut is undeniable, with its signature glaze and melt-in-your-mouth texture. While it may seem daunting to make them at home, this recipe breaks down the process into manageable steps, ensuring that you can achieve doughnut perfection in your kitchen. Whether you’re a seasoned baker or a novice, you’ll find joy in creating these delectable treats from scratch.
Ingredients:
For the Doughnuts:
- 2 ¼ tsp active dry yeast
- 1 ¼ cups warm milk (110°F/45°C)
- ¼ cup granulated sugar
- ¼ cup vegetable shortening
- ½ tsp salt
- 2 large eggs
- 4 cups all-purpose flour
- Vegetable oil, for frying
For the Glaze:
- 2 cups powdered sugar
- ¼ cup milk
- ½ tsp vanilla extract
Preparation:
Step 1: Activate the Yeast
In a small bowl, dissolve the active dry yeast in warm milk. Let it sit for about 5 minutes until it becomes foamy. This step is crucial as it ensures that the yeast is alive and ready to help your dough rise.
Step 2: Mix the Dough
In a large mixing bowl, combine the granulated sugar, vegetable shortening, salt, and eggs. Mix until well combined. The sugar adds sweetness, while the shortening contributes to the dough’s tenderness.
Step 3: Add Yeast Mixture and Flour
Add the yeast mixture and 2 cups of flour to the bowl. Mix on medium speed until smooth. Gradually add the remaining flour, ½ cup at a time, mixing well after each addition until a soft dough forms. Be careful not to add too much flour at once, as the dough should remain soft and slightly sticky.
Step 4: Knead the Dough
Transfer the dough to a lightly floured surface and knead for about 5-7 minutes, until the dough is smooth and elastic. Kneading is essential for developing gluten, which gives the doughnuts their structure.
Step 5: First Rise
Place the dough in a greased bowl, cover with a clean towel or plastic wrap, and let it rise in a warm place for about 1 hour, or until doubled in size. This is where the magic happens, as the yeast works its wonders.
Step 6: Shape the Doughnuts
Once the dough has risen, transfer it to a lightly floured surface and roll it out to about ½ inch thickness. Use a doughnut cutter or two round cutters (one large and one small) to cut out the doughnuts. Re-roll the scraps and cut out more doughnuts.
Step 7: Second Rise
Place the cut doughnuts and doughnut holes on a baking sheet lined with parchment paper. Cover with a towel and let them rise for another 30 minutes. This second rise is important for achieving that light and airy texture.
Step 8: Frying the Doughnuts
Heat the Oil
In a large, deep skillet or Dutch oven, heat vegetable oil to 350°F (175°C). Use a thermometer to ensure the oil is at the right temperature for frying.
Fry the Doughnuts
Carefully add a few doughnuts to the hot oil, frying them for about 1-2 minutes on each side, or until golden brown. Use a slotted spoon to transfer the fried doughnuts to a wire rack lined with paper towels to drain excess oil.
Step 9: Prepare the Glaze
In a medium bowl, whisk together the powdered sugar, milk, and vanilla extract until smooth. The glaze should be thick yet pourable; adjust the consistency by adding more milk or powdered sugar as needed.
Step 10: Glaze the Doughnuts
While the doughnuts are still warm, dip each one into the glaze, ensuring it’s fully coated. Place the glazed doughnuts on a wire rack to allow the glaze to set. This step is where the doughnuts transform into the iconic Krispy Kreme style.
Serving Suggestions:
Serve these delightful doughnuts fresh out of the fryer for the best taste. Pair them with a hot cup of coffee or a glass of cold milk for a classic breakfast or snack. For added fun, consider topping them with sprinkles, chocolate glaze, or even a dusting of cinnamon sugar.
Tips:
- Ensure your yeast is fresh for optimal rising.
- If you don’t have a doughnut cutter, you can use two different-sized round cookie cutters.
- Frying in small batches helps maintain the oil temperature and ensures even cooking.
- Experiment with different glazes or fillings, such as chocolate or cream, to customize your doughnuts.
Prep Time:
30 minutes
Cook Time:
15 minutes
Rising Time:
1 hour 30 minutes
Total Time:
2 hours 15 minutes
Nutritional Information:
- Calories: Approximately 200 per doughnut
- Protein: 2g
- Sodium: 150mg
Conclusion
Making homemade Krispy Kreme doughnuts is a rewarding experience that brings joy to both the cook and the lucky recipients. With a few simple ingredients and some patience, you can create a batch of fluffy, glazed doughnuts that rival the originals. Whether enjoyed at breakfast, as a special treat, or shared with friends, these doughnuts are sure to be a hit. So roll up your sleeves, gather your ingredients, and get ready to create a delicious masterpiece that will leave everyone asking for seconds.
Questions and Answers About This Recipe
1. Can I use instant yeast instead of active dry yeast?
Yes, you can use instant yeast as a substitute. Simply skip the activation step and mix it directly with the dry ingredients.
2. How can I store leftover doughnuts?
Store leftover doughnuts in an airtight container at room temperature for up to 2 days. For longer storage, consider freezing them without glaze, then glazing after thawing.
3. What can I do if my dough doesn’t rise?
If your dough doesn’t rise, it may be due to inactive yeast or a cold environment. Ensure your yeast is fresh and try placing the dough in a warmer area to encourage rising.
4. Can I make these doughnuts ahead of time?
Yes, you can prepare the dough the night before and refrigerate it after the first rise. Let it come to room temperature before shaping and frying the next day.
5. What variations can I try with this doughnut recipe?
Feel free to experiment with different glazes, fillings, or toppings. You can add spices like cinnamon to the dough or fill the doughnuts with jam, cream, or custard for a delightful twist.

