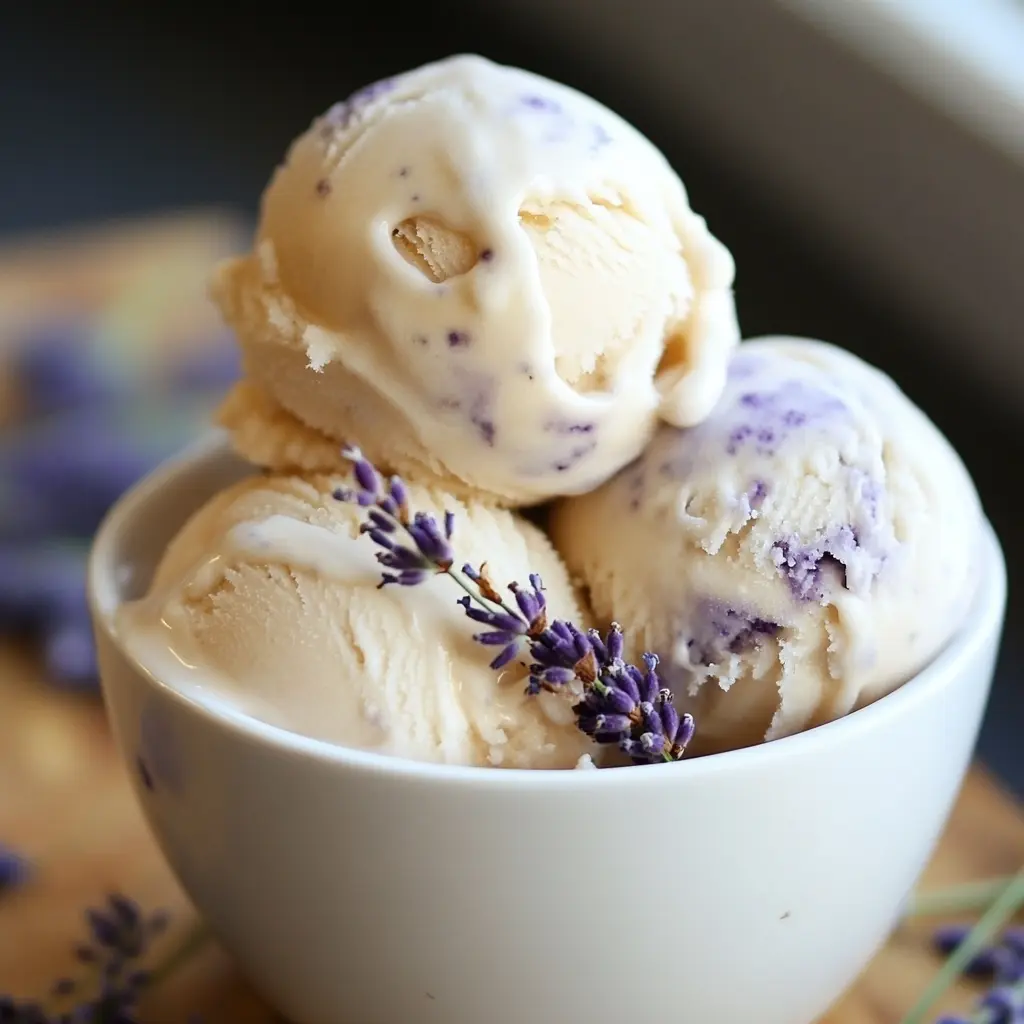
Description of this recipe: Indulge in the creamy, floral, and subtly sweet delight of homemade Honey Lavender Ice Cream. This recipe combines the soothing essence of lavender with the natural sweetness of honey, creating a unique and unforgettable flavor profile that’s perfect for a refreshing summer treat or a sophisticated dessert any time of year. This ice cream is more than just a sweet treat; it’s an experience.
Why you will love this recipe:
- Unique and Sophisticated Flavor: The combination of honey and lavender creates a sophisticated flavor that’s both floral and subtly sweet. It’s a departure from typical ice cream flavors and offers a refreshing change.
- Homemade Goodness: Nothing beats the taste of homemade ice cream, especially when you control the quality of ingredients. This recipe allows you to avoid artificial flavors and preservatives found in store-bought versions.
- Perfectly Creamy Texture: The custard base ensures a rich and creamy texture that melts in your mouth. The slow churning process creates a smooth and decadent ice cream.
- Relatively Simple to Make: While it requires a few steps and some patience, this recipe is surprisingly simple to make, especially if you have an ice cream maker.
- Impress Your Guests: This ice cream is sure to impress your friends and family. It’s a unique and memorable dessert that they won’ll soon forget.
- Customizable: You can adjust the sweetness by varying the amount of honey, or the lavender flavor by steeping it longer or shorter. You can also add other ingredients like chopped nuts or chocolate for added texture and flavor.
- Naturally Sweetened: This recipe relies on honey for sweetness, offering a more natural alternative to refined sugar. Honey adds a distinct flavor that complements the lavender beautifully.
- Aromatic Experience: The aroma of lavender infusing into the cream is incredibly relaxing and therapeutic, making the cooking process itself a delightful experience.
Introduction
Imagine the gentle hum of bees in a lavender field, the sun warming your skin, and the delicate scent of honey filling the air. That’s the inspiration behind this Honey Lavender Ice Cream. This recipe is an ode to simplicity, using just a few high-quality ingredients to create a dessert that’s both elegant and comforting.
This isn’t your average ice cream. We’re venturing into the realm of floral and herbal infusions, creating a flavor symphony that dances on your palate. The honey lends a natural sweetness and a subtle complexity, while the lavender adds a calming, aromatic note that lingers beautifully. The key to success lies in using culinary-grade lavender, which has a milder flavor than craft lavender.
This recipe is more than just a set of instructions; it’s a culinary journey. We’ll guide you through each step, from infusing the cream with lavender to churning it into a velvety smooth ice cream. Whether you’re a seasoned ice cream maker or a complete beginner, you’ll find this recipe accessible and rewarding.
Making ice cream from scratch is an act of love. It requires a bit of time and effort, but the result is well worth it. You’ll be rewarded with a dessert that’s far superior to anything you can buy in a store, both in terms of flavor and quality.
So, gather your ingredients, put on some relaxing music, and let’s embark on this delicious adventure together.
Ingredients:
- 2 cups heavy cream
- 1 cup whole milk
- 1/2 cup honey (preferably a mild-flavored honey like clover or wildflower)
- 2 tablespoons dried culinary lavender buds
- 5 large egg yolks
- 1 teaspoon vanilla extract
- Pinch of salt (optional, but enhances the flavors)
Preparation:
Step 1: Infuse the Cream
In a medium saucepan, combine the heavy cream, whole milk, honey, and dried lavender buds. Place the saucepan over medium heat and bring the mixture to a gentle simmer, stirring occasionally to prevent scorching. Be careful not to boil the mixture. Once it begins to simmer (small bubbles forming around the edges), remove the saucepan from the heat.
Cover the saucepan with a lid to trap the aromatic oils from the lavender. Let the mixture steep for 15-20 minutes. This allows the lavender flavor to fully infuse into the cream and milk. The longer you steep it, the stronger the lavender flavor will be. However, be careful not to over-steep, as the lavender flavor can become overpowering and slightly bitter. Taste the mixture after 15 minutes and decide if you want to steep it longer.
Step 2: Strain the Lavender
After the steeping process, it’s time to remove the lavender buds from the cream mixture. Strain the mixture through a fine-mesh sieve lined with cheesecloth (optional, but recommended for a smoother texture) into a clean bowl. Discard the lavender buds. They have already imparted their flavor and are no longer needed.
Pour the infused cream back into the saucepan. This is because it will make for an easier job in the next step. Reheat the infused cream over low heat until it is warm but not simmering. This will help the egg yolks temper properly in the next step.
Step 3: Prepare the Egg Yolks
While the cream mixture is reheating, prepare the egg yolks. In a separate medium bowl, whisk the egg yolks vigorously until they are light in color and slightly thickened. This process incorporates air into the yolks, which helps create a smoother and creamier custard.
The goal is to achieve a pale yellow color and a slightly frothy texture. This step typically takes about 2-3 minutes of continuous whisking. Having the yolks ready ensures that when you add the cream, it will temper quickly.
Step 4: Cook the Custard
This is a crucial step that requires patience and attention. Gradually drizzle the warm (not hot!) infused cream mixture into the whisked egg yolks, whisking constantly and vigorously. This is called tempering the eggs. Adding the hot cream gradually prevents the eggs from scrambling and creating a grainy texture.
Continue whisking until all of the cream mixture is incorporated into the egg yolks. Pour the entire mixture back into the saucepan. Place the saucepan over medium-low heat and cook, stirring constantly with a spatula or wooden spoon, until the custard thickens enough to coat the back of the spoon.
The custard is ready when you can run your finger across the back of the spoon and the line remains distinct. Be careful not to let the custard boil, as this will cause the eggs to curdle. The temperature should reach about 170-175°F (77-79°C). If you have a candy thermometer, use it to monitor the temperature.
Step 5: Chill the Custard
Remove the saucepan from the heat immediately once the custard has thickened. Stir in the vanilla extract. The vanilla enhances the overall flavor profile of the ice cream. Then, pour the custard through a fine-mesh sieve into a clean bowl. This step removes any small pieces of cooked egg that may have formed during the cooking process, resulting in a perfectly smooth custard.
Cover the bowl tightly with plastic wrap, pressing the plastic wrap directly onto the surface of the custard to prevent a skin from forming. Refrigerate the custard for at least 4 hours, or preferably overnight. This chilling period allows the flavors to meld and the custard to fully cool, which is essential for proper churning. The colder the custard, the smoother the ice cream will be.
Step 6: Churn the Ice Cream
Once the custard is thoroughly chilled, it’s time to churn it into ice cream. Pour the chilled custard into your ice cream maker and churn according to the manufacturer’s instructions. Churning time will vary depending on your ice cream maker, but it typically takes about 20-30 minutes.
The ice cream is ready when it has a soft-serve consistency. It should be thick and creamy, but still slightly soft.
Step 7: Freeze and Serve
Transfer the soft-serve ice cream to a lidded container (such as a freezer-safe container or a loaf pan). Press a piece of plastic wrap directly onto the surface of the ice cream to prevent ice crystals from forming. Freeze the ice cream for at least 2 hours to firm up. This final freezing period allows the ice cream to harden to a scoopable consistency.
Before serving, let the ice cream sit at room temperature for a few minutes to soften slightly. This will make it easier to scoop. Serve and enjoy the delicious, homemade Honey Lavender Ice Cream!
COOKING Rating:
Difficulty: Intermediate (requires some patience and attention to detail, particularly when cooking the custard)
Serving Suggestions:
- Classic Scoop: Serve a scoop or two in a bowl or cone for a simple and satisfying dessert.
- Affogato: Pour a shot of espresso over a scoop of Honey Lavender Ice Cream for a delightful affogato.
- Dessert Pairing: Serve alongside a slice of honey cake, lemon tart, or shortbread cookies for a complementary dessert experience.
- Ice Cream Sandwiches: Make ice cream sandwiches using homemade or store-bought cookies.
- Toppings: Drizzle with honey, sprinkle with chopped nuts, or add a few fresh lavender sprigs for garnish.
- Float: Create a refreshing ice cream float by topping ginger ale, sparkling water, or lemonade with a scoop of Honey Lavender Ice Cream.
Tips:
- Use High-Quality Ingredients: The quality of your ingredients will directly impact the flavor of the ice cream. Use fresh, high-quality heavy cream, whole milk, and honey.
- Culinary Lavender: Make sure to use culinary-grade lavender, which is specifically grown for cooking and has a milder flavor than craft lavender.
- Don’t Overcook the Custard: It’s crucial not to let the custard boil, as this will cause the eggs to curdle and the ice cream to become grainy.
- Chill the Custard Thoroughly: Chilling the custard for at least 4 hours, or preferably overnight, is essential for proper churning and a smooth texture.
- Salt: Do not add salt!
- Soften the Ice Cream Before Serving: Let the ice cream sit at room temperature for a few minutes before serving to soften it slightly and make it easier to scoop.
- Don’t Overfill: The container that you will use in the ice cream maker.
Prep Time:
20 minutes
Cook Time:
15 minutes (including steeping time)
Total Time:
At least 6 hours (including chilling and freezing time)
Nutritional Information:
(Note: Nutritional information is approximate and may vary based on specific ingredients used)
Calories: Approximately 300-350 per serving (1/2 cup)
Protein: 5-7 grams per serving
Sodium: 50-70 mg per serving
Conclusion
Honey Lavender Ice Cream is a delightful and sophisticated dessert that’s sure to impress. The combination of floral lavender and sweet honey creates a unique and unforgettable flavor profile. With a bit of patience and attention to detail, you can easily make this homemade ice cream and enjoy a truly special treat. So gather your ingredients, fire up your ice cream maker, and get ready to experience the magic of homemade Honey Lavender Ice Cream!
Questions and Answers about Honey Lavender Ice Cream:
Q1: Can I use lavender essential oil instead of dried lavender buds?
A: It’s not recommended to use lavender essential oil in this recipe, as it can be very potent and may result in an overly strong or even bitter flavor. Dried culinary lavender buds provide a more delicate and natural flavor. If you still wish to use essential oils, use a very small amount (less than 1/4 teaspoon) and whisk it in slowly, tasting frequently to make sure the taste does not become overwhelming.
Q2: What if I don’t have an ice cream maker? Can I still make this recipe?
A: While an ice cream maker is highly recommended for the best texture, you can still make this recipe without one, using the “no-churn” method. Pour the chilled custard into a freezer-safe container and freeze for about 30 minutes. Then, remove the container from the freezer and whisk the mixture vigorously to break up any ice crystals. Repeat this process every 30 minutes for the next 2-3 hours, then let the ice cream freeze completely. This method will result in a slightly icier texture than churned ice cream, but it’s still a delicious option.
Q3: Can I use a different type of honey for this recipe?
A: Yes, you can use a different type of honey, but keep in mind that the flavor of the honey will affect the overall taste of the ice cream. Mild-flavored honeys like clover or wildflower are generally recommended, as they won’t overpower the lavender flavor. Stronger-flavored honeys like buckwheat or manuka may be too intense for this recipe.
Q4: How long will this ice cream last in the freezer?
A: Homemade ice cream is best enjoyed within 1-2 weeks. After that, it may start to develop ice crystals and lose its creamy texture. Make sure to store the ice cream in an airtight container to prevent freezer burn.
Q5: Can I add other ingredients to this ice cream?
A: Absolutely! You can customize this recipe to your liking by adding other ingredients. Some popular additions include chopped nuts (like almonds or pecans), chocolate chips, or a swirl of honey or lavender syrup. Just be sure to add any solid ingredients after the ice cream has churned to the soft-serve stage.