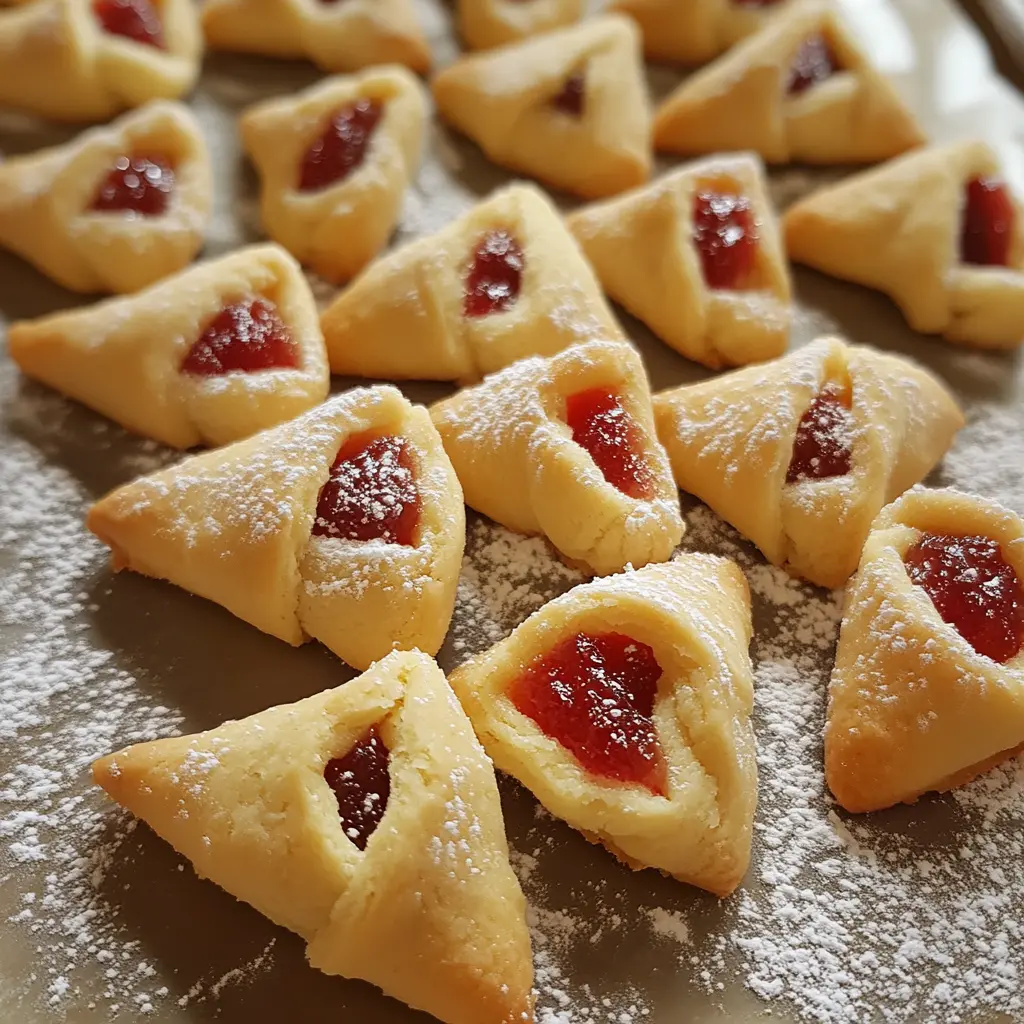
Description: These Italian Horn Cookies, also known as Cornetti in some regions, are a delightful treat that combines a flaky, buttery dough with a sweet and tangy cherry filling. They’re a perfect addition to any holiday cookie platter, a comforting snack with a cup of coffee, or a delightful gift for friends and family. This recipe simplifies the traditional process, making it accessible to bakers of all skill levels.
Why You’ll Love This Recipe:
- Simplicity: Forget complicated yeast doughs and lengthy rising times. This recipe uses softened ice cream to create a remarkably tender and flaky crust, streamlining the baking process without sacrificing flavor or texture.
- Flavorful Filling: The cherry cake and pastry filling provides a burst of sweet-tart flavor that complements the richness of the buttery dough perfectly. The contrast is simply irresistible.
- Versatility: While this recipe uses cherry filling, feel free to experiment with other fruit fillings like apricot, raspberry, or even a chocolate-hazelnut spread. Get creative and make them your own!
- Nostalgia: These cookies evoke a sense of warmth and nostalgia, reminiscent of family gatherings and cherished traditions. They’re a taste of home, no matter where you are.
- Impressive Yet Easy: These cookies look elegant and sophisticated, yet they’re surprisingly easy to make. They’re sure to impress your friends and family without requiring hours in the kitchen.
Introduction
Italian Horn Cookies, or Cornetti, are more than just a sweet treat; they’re a symbol of tradition and family. Passed down through generations, these cookies often hold a special place in holiday celebrations and family gatherings. While traditional recipes can be complex, this simplified version captures the essence of the original while making it accessible to home bakers. The secret ingredient? Ice cream! This unexpected addition creates a tender and flaky crust that melts in your mouth, providing the perfect balance to the sweet and tangy cherry filling. Get ready to experience a taste of Italy, right in your own kitchen!
Ingredients:
- 1 cup (2 sticks) cold unsalted butter, cubed (ensure butter is cold for optimal flakiness)
- 4 cups all-purpose flour, plus more for dusting
- 2 cups vanilla ice cream, softened (let it soften at room temperature for about 30 minutes, but don’t let it melt)
- 1 can (12 ounces) cherry cake and pastry filling (high-quality filling makes a difference!)
- Granulated sugar, for sprinkling
- Confectioners’ sugar, for dusting (optional, but adds a lovely finishing touch)
Preparation:
Step 1: Prepare the Dough
- In a large mixing bowl, combine the cold, cubed butter and all-purpose flour.
- Using a pastry blender or your fingertips, cut the butter into the flour until the mixture resembles coarse crumbs. The smaller the butter pieces, the flakier the crust will be. Be careful not to overwork the dough, as this can result in a tough crust.
- Stir in the softened vanilla ice cream. Mix until just combined. The dough will be slightly sticky, but that’s okay. Don’t overmix!
Step 2: Divide and Chill the Dough
- Divide the dough into 4 equal portions. This makes it easier to work with.
- Wrap each portion tightly in plastic wrap.
- Refrigerate the dough for at least 2 hours. This allows the gluten to relax, making the dough easier to roll out and preventing it from shrinking during baking. Chilling also helps the butter solidify, which contributes to the flakiness of the crust.
Step 3: Preheat the Oven and Prepare Baking Sheets
- Preheat your oven to 350°F (175°C).
- Line two baking sheets with parchment paper. This will prevent the cookies from sticking and make cleanup a breeze.
Step 4: Roll Out and Fill the Dough
- On a lightly floured surface, roll out one portion of the chilled dough to approximately 1/8-inch thickness. Be sure to flour your surface well to prevent sticking. Work quickly and efficiently to keep the dough cold.
- Using a pastry cutter or a sharp knife, cut the rolled-out dough into 2-inch squares. Try to make the squares as uniform as possible for a more aesthetically pleasing result.
- Place about 1/2 teaspoon of cherry cake and pastry filling in the center of each square. Be careful not to overfill the squares, as the filling may leak out during baking.
Step 5: Shape and Bake the Cookies
- Overlap two opposite corners of the dough square over the filling and gently pinch to seal. The goal is to create a horn-like shape. Ensure the edges are well-sealed to prevent the filling from escaping.
- Sprinkle the tops of the shaped cookies lightly with granulated sugar. This will add a touch of sweetness and create a beautiful caramelized crust.
- Place the shaped cookies on the prepared baking sheets, leaving about 1 inch of space between each cookie.
- Bake for 10-12 minutes, or until the bottoms are light brown. Keep a close eye on the cookies to prevent them from burning.
Step 6: Cool and Dust (Optional)
- Remove the baking sheets from the oven and let the cookies cool on the baking sheets for a few minutes before transferring them to wire racks to cool completely.
- Once the cookies are completely cool, dust them with confectioners’ sugar, if desired. This adds a lovely finishing touch and enhances their visual appeal.
COOKING Rating:
- Ease: Medium (the dough requires some patience and chilling)
- Flavor: Excellent (sweet, tart, and buttery)
- Appearance: Beautiful (especially with a dusting of confectioners’ sugar)
Serving Suggestions:
- Serve these cookies warm or at room temperature.
- Enjoy them with a cup of coffee, tea, or hot chocolate.
- Add them to a holiday cookie platter.
- Package them as a thoughtful homemade gift.
- Serve them as a dessert after an Italian meal.
Tips:
- Keep the butter and dough cold: This is crucial for achieving a flaky crust. If the dough becomes too warm, it will be difficult to work with.
- Don’t overmix the dough: Overmixing will develop the gluten and result in a tough crust. Mix until just combined.
- Use high-quality filling: The quality of the filling will significantly impact the flavor of the cookies.
- Bake until the bottoms are light brown: This ensures that the cookies are cooked through and have a crispy base.
- Experiment with different fillings: Try apricot, raspberry, chocolate-hazelnut spread, or any other filling that you enjoy.
Prep Time:
- 20 minutes
Cook Time:
- 10-12 minutes
Total Time:
- 2 hours 30 minutes (includes chilling time)
Nutritional Information:
(Note: Nutritional information is an estimate and may vary depending on specific ingredients and serving size.)
- Calories: Approximately 150-200 per cookie
- Protein: Approximately 2-3 grams per cookie
- Sodium: Approximately 50-75 milligrams per cookie
Conclusion
These Italian Horn Cookies are a truly special treat that’s perfect for any occasion. The combination of the flaky, buttery dough and the sweet-tart cherry filling is simply divine. With this simplified recipe, you can easily create these delicious cookies at home and share them with your loved ones. Embrace the tradition, enjoy the process, and savor the flavors of Italy!
Questions and Answers About This Recipe:
Q1: Can I use a different type of ice cream in this recipe?
A: Absolutely! While vanilla ice cream is a classic choice and provides a neutral base for the other flavors, feel free to experiment with other flavors. A complementary flavor like almond, pistachio, or even a cherry-flavored ice cream could work beautifully. Just keep in mind that the flavor of the ice cream will subtly influence the overall taste of the cookies. Avoid ice creams with large chunks or mix-ins, as they may interfere with the dough’s texture.
Q2: What if I don’t have cherry cake and pastry filling? Can I substitute it with something else?
A: Yes, you can definitely substitute the cherry cake and pastry filling. You could use any other fruit-based pie filling that you enjoy, such as apricot, raspberry, blueberry, or even apple. Alternatively, you could use a nutella or other chocolate hazelnut spread for a richer, more decadent cookie. If you’re feeling adventurous, you could even make your own filling using fresh or frozen fruit, sugar, and a touch of lemon juice. Just be sure to cook the fruit down until it’s thick and jammy before using it as a filling.
Q3: The dough is too sticky to roll out. What can I do?
A: If the dough is too sticky, it likely means it hasn’t been chilled long enough. Place the dough back in the refrigerator for another 30 minutes to an hour. You can also try lightly flouring your rolling pin and work surface more generously. Be careful not to add too much flour, as this can make the dough tough. If the dough is still sticky after chilling, you can try rolling it out between two sheets of parchment paper to prevent it from sticking.
Q4: Can I freeze the unbaked cookies?
A: Yes, you can freeze the unbaked cookies for up to 2-3 months. To freeze, place the shaped cookies on a baking sheet lined with parchment paper and freeze until solid. Once frozen, transfer the cookies to a freezer-safe bag or container. When ready to bake, simply place the frozen cookies on a baking sheet and bake as directed, adding a few extra minutes to the baking time.
Q5: My cookies are browning too quickly on the bottom. How can I prevent this?
A: If your cookies are browning too quickly on the bottom, it could be due to a few factors. First, make sure your oven temperature is accurate. You can use an oven thermometer to check. Second, try placing a baking sheet on the rack below the cookies to deflect some of the heat. You can also try using a lighter-colored baking sheet, as dark-colored baking sheets tend to absorb more heat. Finally, if all else fails, you can slightly lower the oven temperature and bake the cookies for a few extra minutes.