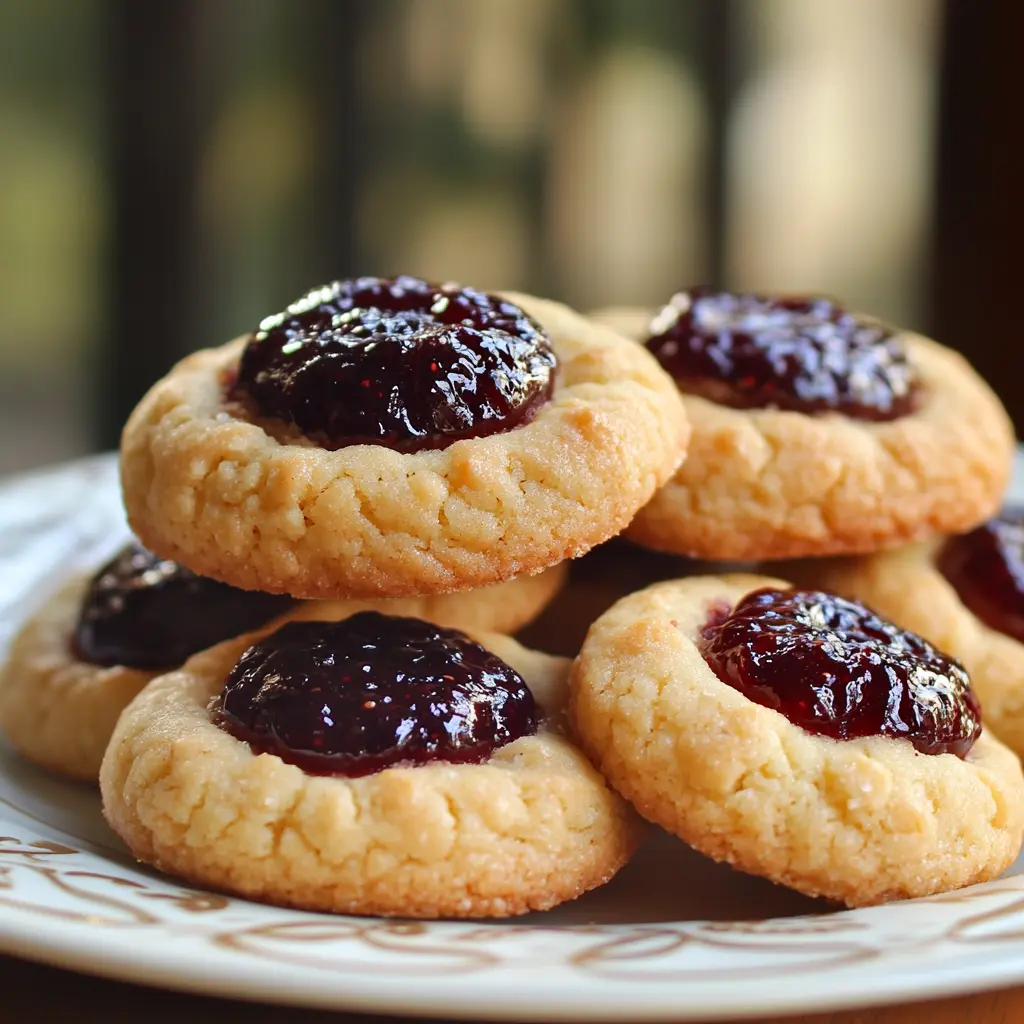
These delightful cookies feature a buttery, crumbly base with a sweet and fruity jam filling, making them a perfect treat for any occasion. With a beautiful appearance and delicious taste, they’re sure to impress.
Why You Will Love This Recipe
Jam Thumbprint Cookies are not only visually appealing but also incredibly easy to make. They strike the perfect balance between sweet and savory, delighting your palate with the rich buttery flavor of the cookie and the vibrant burst of jam. They’re perfect for holiday gatherings, tea parties, or just an indulgent snack at home. And the best part is, you can customize them with your favorite jams!
Introduction
There’s something magical about cookies that bring comfort and joy into our lives. Jam Thumbprint Cookies are a classic treat that evokes feelings of nostalgia while offering a delightful flavor experience. With their unique thumbprint design, they invite you to enjoy not only their aesthetics but also the delicious assortment of flavors they represent. In this recipe, you’ll learn how to craft these delectable cookies from scratch, using simple ingredients that yield fantastic results. Whether you enjoy them with a cup of tea or serve them at your next gathering, these cookies are bound to disappear quickly!
Ingredients:
- 1 cup unsalted butter, softened
- 1/2 cup granulated sugar
- 1/4 cup brown sugar, packed
- 1 egg
- 1 1/2 teaspoons vanilla extract
- 2 1/2 cups all-purpose flour
- 1/4 teaspoon baking soda
- 1/4 teaspoon salt
- 1/2 cup jam (your choice)
- Powdered sugar for dusting
Preparation:
Step 1: Cream the Butter and Sugars
In a large mixing bowl, combine the softened butter, granulated sugar, and brown sugar. Using either a handheld mixer or a stand mixer, beat the mixture on medium speed until it becomes light and fluffy, approximately 2-3 minutes.
Step 2: Incorporate the Egg and Vanilla
Once the butter and sugars are well-creamed, add the egg and vanilla extract to the bowl. Continue to mix for an additional couple of minutes until everything is thoroughly combined and smooth.
Step 3: Add Dry Ingredients
In a separate bowl, whisk together the all-purpose flour, baking soda, and salt. Gradually add this dry mixture to the wet ingredients in the mixing bowl. Beat until well blended, ensuring there are no pockets of flour remaining.
Step 4: Chill the Dough
Transfer the dough to a large piece of plastic wrap and shape it into a disk. Wrap it tightly in the plastic wrap and refrigerate for at least one hour, or up to three days if you want to plan ahead.
Step 5: Shape and Prepare for Baking
Ten minutes before you’re ready to bake, remove the dough from the refrigerator to allow it to soften slightly. Preheat your oven to 375°F (190°C). Roll the chilled dough into 1-inch balls and place them three inches apart on two baking sheets lined with silicone baking mats or parchment paper. Using your thumb, make an indentation in the center of each cookie, being careful not to crack the edges. Fill each thumbprint with about 1/2 teaspoon of your chosen jam.
Baking Note:
Once you’ve shaped the cookies, place the baking sheets in the freezer for 10-15 minutes to firm up the cookies. This helps to retain their shape during baking.
Suggestions for Presentation:
Once baked and cooled, lightly dust the cookies with powdered sugar for a charming finish. Arrange them on a decorative platter or in a cookie jar to showcase their beautiful thumbprint design and vibrant jelly centers.
Tips:
- Feel free to experiment with different flavored jams – raspberry, apricot, or strawberry all work beautifully!
- For added dimension, consider adding a sprinkle of nuts or coconut flakes on top of the jam before baking.
- Store any leftover cookies in an airtight container at room temperature for up to a week.
Time Estimates:
- Preparation Time: 20 minutes (plus chilling time)
- Cooking Time: 10-11 minutes
- Total Time: About 1 hour and 30 minutes (including chilling)
Nutritional Information (per cookie):
- Calories: 163
- Protein: 2g
- Sodium: 43mg
Conclusion
Jam Thumbprint Cookies are a delightful addition to any cookie platter and an easy recipe that is sure to please all ages. Their charming appearance and delectable flavor will have everyone reaching for seconds. Whether it’s a festive celebration or a casual afternoon snack, these cookies are guaranteed to be a hit. Dust them with powdered sugar for a festive touch and watch as they become the star of your dessert table!
Questions and Answers
- Can I use gluten-free flour for this recipe?
Yes, you can substitute all-purpose flour with a gluten-free flour blend. The texture may vary slightly, but they will still be delicious. - What types of jam work best?
Any jam you enjoy will work great! Popular choices include raspberry, apricot, and strawberry, but feel free to experiment with your favorites. - How do I store leftover cookies?
Store the cookies in an airtight container at room temperature for up to one week. They can also be frozen for longer storage. - Can I make these cookies ahead of time?
Absolutely! You can prepare the dough in advance and keep it refrigerated for up to three days, or freeze it for longer. - What can I use instead of butter?
If you need a dairy-free option, you can use margarine or a plant-based butter substitute in equal amounts.

