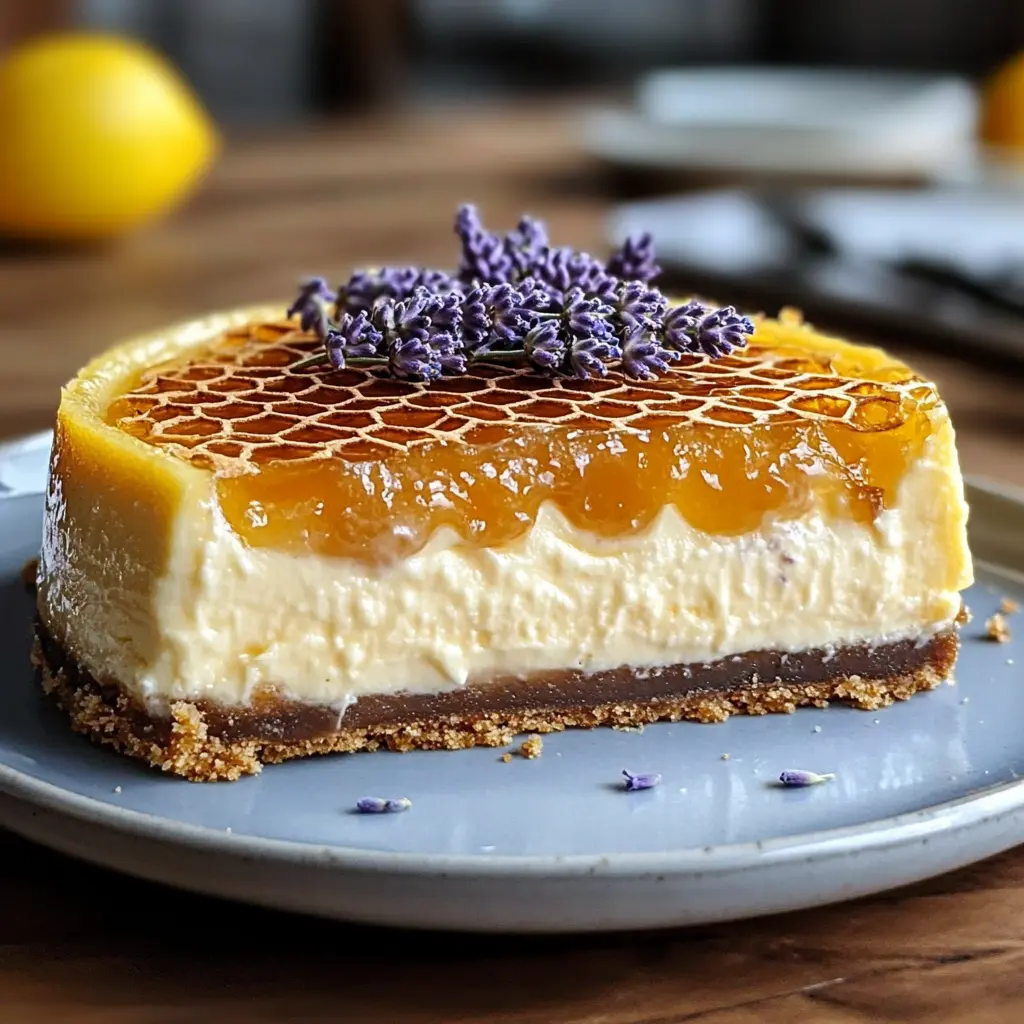
This Lemon Lavender Cheesecake is a symphony of flavors and textures. The creamy cheesecake filling, infused with the bright zest of lemon and the delicate floral notes of lavender, rests upon a buttery biscuit base. Topped with crunchy, golden honeycomb, each bite is an unforgettable experience.
Why you will love this recipe:
This cheesecake offers a unique twist on a classic dessert. The combination of lemon and lavender is both refreshing and sophisticated, while the honeycomb adds a delightful textural contrast and a touch of sweetness that perfectly complements the tangy cheesecake. It’s a show-stopping dessert that’s surprisingly easy to make, perfect for special occasions or simply when you want to treat yourself and your loved ones. The water bath ensures a creamy, crack-free top, making it as beautiful as it is delicious.
Ingredients:
For the Crust:
- 200g digestive biscuits
- 100g unsalted butter, melted
For the Filling:
- 600g cream cheese, softened
- 150g caster sugar
- 2 large eggs
- 200ml double cream
- Zest of 2 lemons
- Juice of 2 lemons
- 1 tbsp culinary lavender buds
- 1 tsp vanilla extract
For the Garnish:
- Honeycomb pieces, for garnish (store-bought or homemade)
Preparation:
Step 1: Prepare the Crust. Preheat your oven to 325°F (160°C). Begin by finely crushing the digestive biscuits. You can use a food processor for a uniform crumb or place them in a resealable bag and crush them with a rolling pin. In a mixing bowl, combine the crushed biscuits with the melted unsalted butter, ensuring that all the crumbs are evenly coated. This mixture will form the base of your cheesecake.
Step 2: Press the Crust into the Tin. Transfer the biscuit mixture to a springform tin (approximately 9 inches in diameter). Press the mixture firmly and evenly across the base of the tin, creating a compact and uniform crust. Use the bottom of a measuring cup or a flat-bottomed glass to help achieve a smooth and level surface. Once pressed, place the tin in the refrigerator to chill and set while you prepare the filling. Chilling the crust will help it hold its shape during baking.
Step 3: Prepare the Cheesecake Filling. In a large mixing bowl, add the softened cream cheese and caster sugar. Using an electric mixer (either a stand mixer or a handheld mixer), beat the cream cheese and sugar together until the mixture is smooth, light, and creamy. Be careful not to overmix at this stage, as this can incorporate too much air into the batter, which may cause the cheesecake to crack during baking.
Step 4: Add the Remaining Filling Ingredients. Once the cream cheese and sugar are well combined, add the eggs one at a time, mixing well after each addition. Next, stir in the double cream, lemon zest, lemon juice, culinary lavender buds, and vanilla extract. Mix until all the ingredients are thoroughly incorporated and the batter is smooth and homogenous. The lemon zest and lavender buds will infuse the cheesecake with their distinctive flavors, while the lemon juice will add a subtle tanginess.
Step 5: Bake in a Water Bath. Remove the chilled crust from the refrigerator and pour the cheesecake filling over the prepared base, spreading it evenly. Prepare a water bath by wrapping the bottom of the springform tin tightly with aluminum foil to prevent water from seeping in. Place the wrapped tin inside a larger baking pan. Carefully pour hot water into the larger pan, filling it halfway up the sides of the springform tin. The water bath helps to maintain a consistent temperature during baking, which prevents the cheesecake from cracking and ensures a creamy texture.
Step 6: Bake and Cool the Cheesecake. Carefully transfer the baking pan with the cheesecake and water bath to the preheated oven. Bake for 50-60 minutes, or until the cheesecake is just set around the edges but still slightly wobbly in the center. Once baked, turn off the oven and leave the cheesecake inside with the oven door slightly ajar for about an hour. This allows the cheesecake to cool gradually, which further reduces the risk of cracking. After an hour, remove the cheesecake from the oven and water bath, and let it cool completely at room temperature.
Step 7: Chill and Garnish. Once the cheesecake has cooled completely, cover it with plastic wrap and refrigerate for several hours or, preferably, overnight. This allows the flavors to meld together and the cheesecake to firm up. Before serving, remove the cheesecake from the refrigerator and carefully release it from the springform tin. Decorate the top of the cheesecake with crunchy honeycomb pieces. You can either use store-bought honeycomb or make your own by caramelizing sugar and adding baking soda.
COOKING Rating: Intermediate
Serving Suggestions:
Serve the Lemon Lavender Cheesecake chilled. A small dollop of whipped cream or a drizzle of honey can be added for an extra touch of indulgence. It also pairs well with fresh berries or a light fruit compote. For a more sophisticated presentation, consider dusting the cheesecake with a touch of powdered sugar before adding the honeycomb garnish.
Tips:
- Ensure that your cream cheese is fully softened before mixing to avoid lumps in the filling.
- Do not overmix the batter, as this can lead to a cracked cheesecake.
- Use culinary lavender buds, as other types of lavender may have a strong, soapy taste.
- If you don’t have a springform tin, you can use a regular cake pan lined with parchment paper, but be sure to leave enough overhang to easily lift the cheesecake out after baking.
- If you don’t have time to make your own honeycomb, store-bought honeycomb candy is a great substitute.
Prep Time: 30 minutes Cook Time: 60 minutes Total Time: Overnight (including chilling time)
Nutritional Information (per serving, approximate): Calories: 450 Protein: 8g Sodium: 250mg
Conclusion:
This Lemon Lavender Cheesecake with Honeycomb is a delightful dessert that combines the bright flavors of lemon and the soothing aroma of lavender with the sweet crunch of honeycomb. Whether you’re hosting a dinner party or simply looking to impress your family and friends, this cheesecake is sure to be a crowd-pleaser. Its creamy texture, unique flavor profile, and beautiful presentation make it a memorable dessert that you’ll want to make again and again. Enjoy the perfect balance of sweet, tangy, and floral notes in every bite!
Questions and Answers:
Q1: Can I use dried lavender instead of culinary lavender buds? A: While you can use dried lavender, it’s important to use culinary-grade lavender buds specifically. Other types of lavender may have a strong, perfume-like taste that can overpower the other flavors in the cheesecake. Culinary lavender is specially grown for consumption and has a more delicate and balanced flavor.
Q2: What can I do if I don’t have a springform tin? A: If you don’t have a springform tin, you can use a regular cake pan lined with parchment paper. Make sure to leave enough overhang of parchment paper so that you can easily lift the cheesecake out of the pan after baking. You may need to adjust the baking time slightly, so keep a close eye on the cheesecake to prevent it from overbaking.
Q3: Can I make this cheesecake ahead of time? A: Yes, this cheesecake is perfect for making ahead of time. In fact, it’s best to make it at least a day in advance to allow the flavors to meld together and the cheesecake to firm up properly. Store it covered in the refrigerator until you’re ready to serve.
Q4: What is the purpose of the water bath? A: The water bath helps to maintain a consistent temperature during baking, which prevents the cheesecake from cracking and ensures a creamy texture. The steam from the water bath also adds moisture to the oven, which helps to keep the cheesecake from drying out.
Q5: Can I use a different type of biscuit for the crust? A: Yes, you can use other types of biscuits for the crust, such as graham crackers or shortbread cookies. Just make sure to adjust the amount of melted butter accordingly to achieve the right consistency for the crust. The key is to have a crumbly mixture that holds together when pressed into the tin.