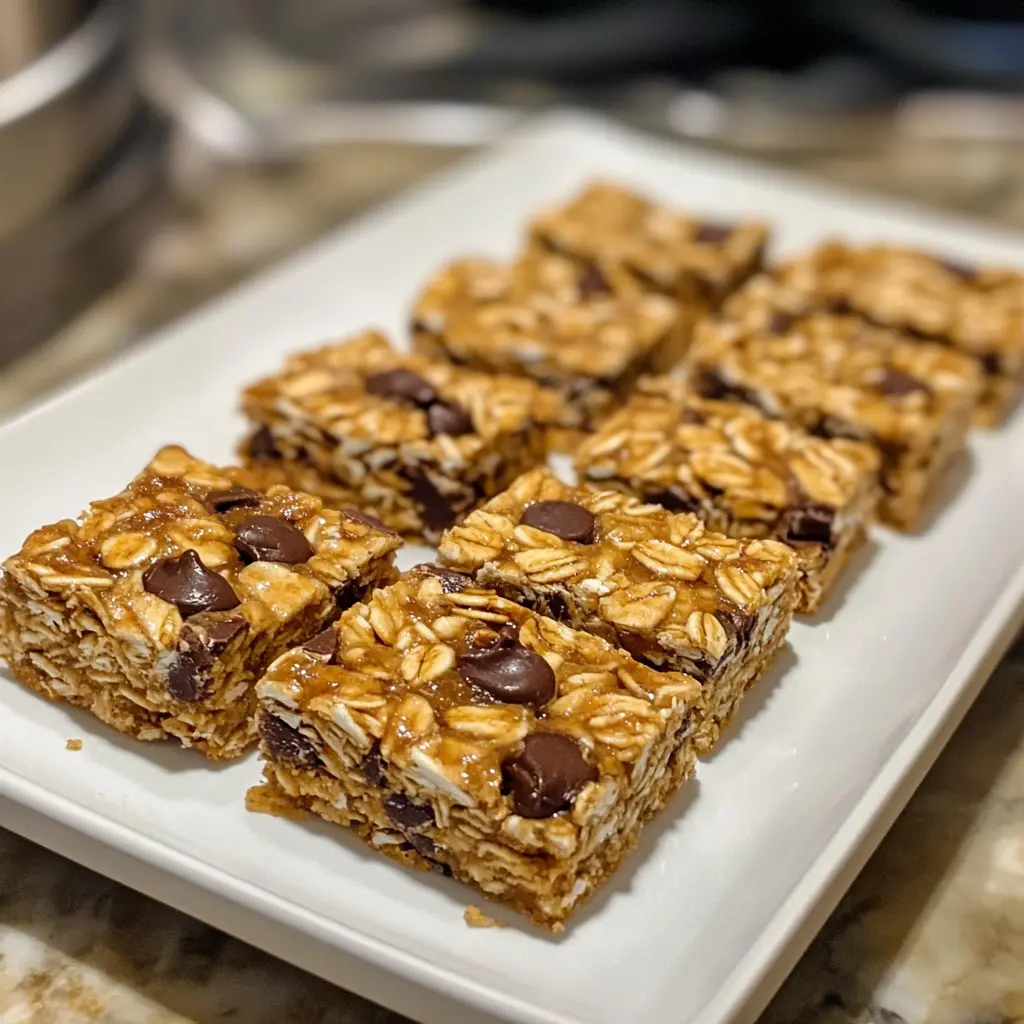
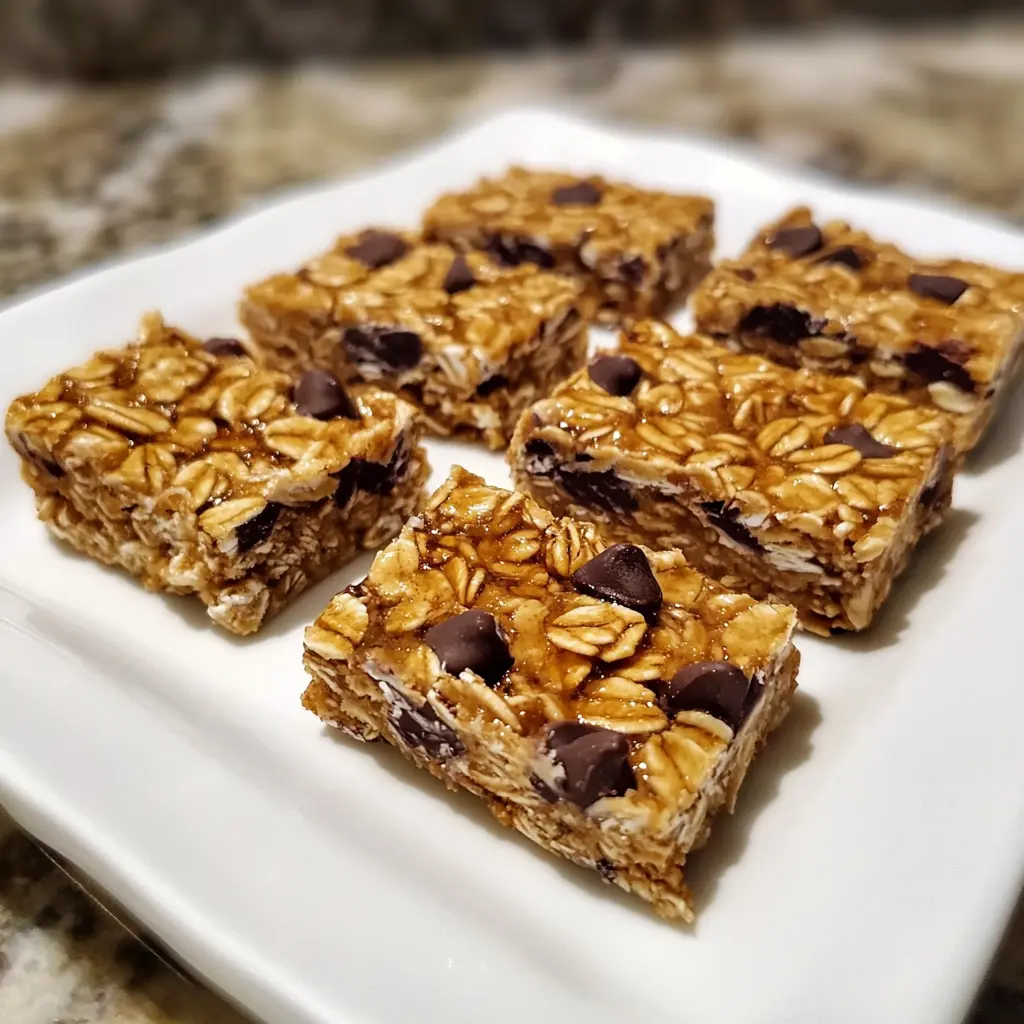
Snack time just got easier with these homemade no-bake granola bars! Perfect for busy mornings or afternoon cravings.
Why You Will Love This Recipe
These no-bake granola bars are not only easy to make, but they are also incredibly versatile and packed with wholesome ingredients. They provide a perfect balance of energy and nutrition, making them an excellent choice for a quick breakfast, a mid-afternoon snack, or even a post-workout treat. With the ability to customize the mix-ins to suit your taste, these bars can cater to everyone, from chocolate lovers to health enthusiasts. Plus, they require no baking, which means less hassle and mess in the kitchen!
Introduction
In our fast-paced world, finding healthy snacks can often be a challenge. Many store-bought options are loaded with sugars and preservatives, making it hard to find something that truly satisfies our cravings without compromising our health. Enter the no-bake granola bar! This recipe is a game-changer for anyone looking to whip up a delicious and nutritious snack in no time. With just a handful of ingredients, you can create a batch of homemade granola bars that are not only tasty but also customizable to fit your dietary preferences. Whether you’re rushing out the door in the morning or need a quick pick-me-up during the day, these bars have got you covered.
Ingredients:
- 2 cups old-fashioned rolled oats
- ½ cup nut butter (peanut butter, almond butter, or cashew butter)
- ⅓ cup honey (maple syrup or agave can work too)
- ½ cup mix-ins (chocolate chips, dried fruit, seeds, or nuts)
- 1 teaspoon vanilla extract (optional)
- Pinch of salt
Preparation:
Step 1: Line an 8×8-inch baking dish with parchment paper, making sure to leave some overhang on the sides for easy removal later. This will prevent the bars from sticking to the pan and make cutting them much easier.
Step 2: In a large mixing bowl, combine the old-fashioned rolled oats with your choice of mix-ins. This is where you can get creative! Consider using a combination of chocolate chips, dried cranberries, sunflower seeds, or chopped nuts to personalize your bars.
Step 3: In a small saucepan over low heat, melt the nut butter and honey together until smooth and well combined. Stir continuously to prevent burning, and once melted, remove from heat. If you’re using vanilla extract, stir it in now, along with a pinch of salt for added flavor.
Step 4: Pour the warm nut butter mixture over the oat mixture. Use a spatula or wooden spoon to stir everything together until the oats and mix-ins are evenly coated with the nut butter and honey. This step is crucial, as it ensures that every bite is deliciously sticky and flavorful.
Step 5: Transfer the mixture into the prepared baking dish. Use a spoon or spatula to press the mixture down firmly and evenly into the pan. This will help the bars hold together once they are chilled.
Step 6: Place the baking dish in the refrigerator and chill for at least 2 hours, or until the mixture is firm. Once set, lift the bars out of the pan using the parchment overhang and cut them into 10-12 bars. Enjoy your homemade no-bake granola bars!
Serving Suggestions:
These granola bars are delicious on their own, but you can also serve them with a side of fresh fruit or yogurt for a more substantial snack. They pair wonderfully with a cup of tea or coffee, making them a perfect afternoon treat. For a fun twist, try drizzling some melted dark chocolate over the top before chilling for an added touch of indulgence.
Tips:
- Storage: Store the granola bars in an airtight container in the refrigerator for up to one week. They can also be frozen for longer storage; just wrap them individually in plastic wrap and place them in a freezer-safe bag.
- Customization: Feel free to experiment with different nut butters and sweeteners. Almond butter or sunflower seed butter can be great alternatives for those with nut allergies.
- Mix-ins: Consider adding protein powder or chia seeds for an extra nutritional boost. Dried coconut flakes can also add a delightful texture and flavor.
- Cutting the Bars: For cleaner cuts, use a sharp knife and wipe it with a damp cloth between cuts. This helps prevent the mixture from sticking to the knife.
Prep Time:
15 minutes
Cook Time:
None
Total Time:
2 hours 15 minutes (including chilling time)
Nutritional Information (per bar):
- Calories: Approximately 200
- Protein: 5g
- Sodium: 50mg
Conclusion
Homemade no-bake granola bars are a fantastic addition to your snack repertoire. They are quick to prepare, full of wholesome ingredients, and can be easily customized to suit your taste. Whether you enjoy them as a grab-and-go breakfast or a satisfying afternoon snack, these bars are sure to please. Plus, knowing exactly what goes into your food gives you peace of mind and a sense of accomplishment. So why not gather your ingredients and give this simple recipe a try? Your taste buds will thank you!
Questions and Answers
1. Can I use a different sweetener instead of honey?
Absolutely! Maple syrup or agave nectar are excellent substitutes for honey and will work just as well in this recipe.
2. How long do these granola bars last?
When stored in an airtight container in the refrigerator, these granola bars can last up to a week. You can also freeze them for longer storage.
3. Can I make these granola bars vegan?
Yes! Simply substitute honey with maple syrup or agave nectar and use a nut butter that is free from animal products.
4. What are some good mix-ins for these bars?
You can use a variety of mix-ins such as chocolate chips, dried fruits (like cranberries or apricots), nuts (like almonds or walnuts), seeds (like pumpkin or sunflower seeds), or even shredded coconut.
5. Can I make these bars gluten-free?
Yes! Just ensure that you use certified gluten-free oats to make these granola bars suitable for a gluten-free diet.

