Description of this recipe
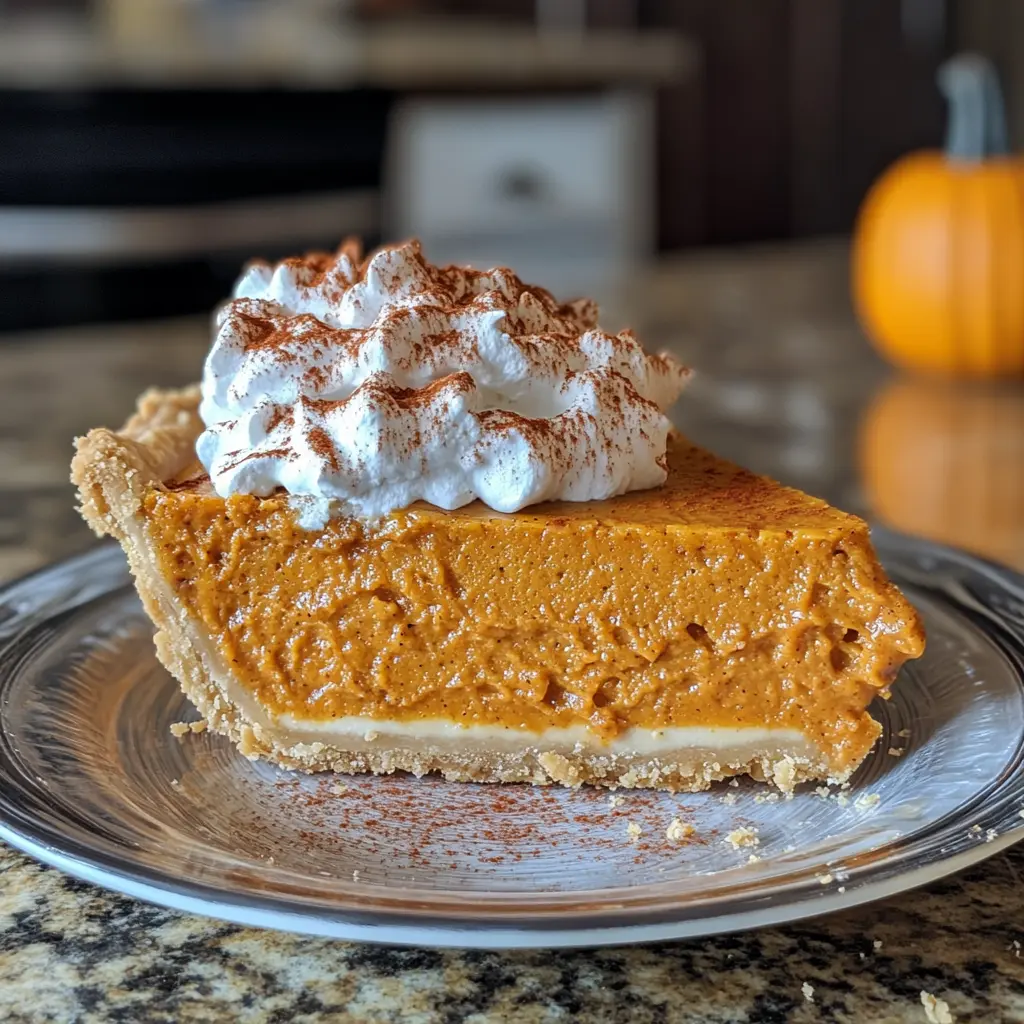
This No-Bake Pumpkin Pie is a delightful twist on the traditional pumpkin pie, perfect for those who want to enjoy the flavors of fall without the hassle of baking. With its creamy filling made from pumpkin puree and cream cheese, all nestled in a buttery graham cracker crust, this pie is not only simple to make but also incredibly delicious. Topped with whipped cream and a sprinkle of cinnamon, it’s a showstopper at any gathering.
Why you will love this recipe
You’ll love this No-Bake Pumpkin Pie for its ease of preparation and the rich, creamy texture that melts in your mouth. It captures all the classic flavors of pumpkin pie but without the need for an oven, making it an ideal dessert for warm days or busy schedules. Plus, it’s a crowd-pleaser that will impress family and friends alike, making it a staple for your fall celebrations.
Introduction
As the leaves turn golden and the air becomes crisp, the aroma of pumpkin spice fills our homes, signaling the arrival of fall. One of the quintessential desserts of this season is pumpkin pie, but who says it has to be baked? This No-Bake Pumpkin Pie is a game-changer, allowing you to enjoy all the comforting flavors of pumpkin without the fuss of baking. Perfect for Thanksgiving, Halloween, or any autumn gathering, this pie combines the rich taste of pumpkin with the smoothness of cream cheese, all encased in a sweet graham cracker crust. In this article, we’ll walk through the recipe step-by-step, share tips for perfecting your pie, and explore some serving suggestions that will take your dessert to the next level.
Ingredients:
For the Crust:
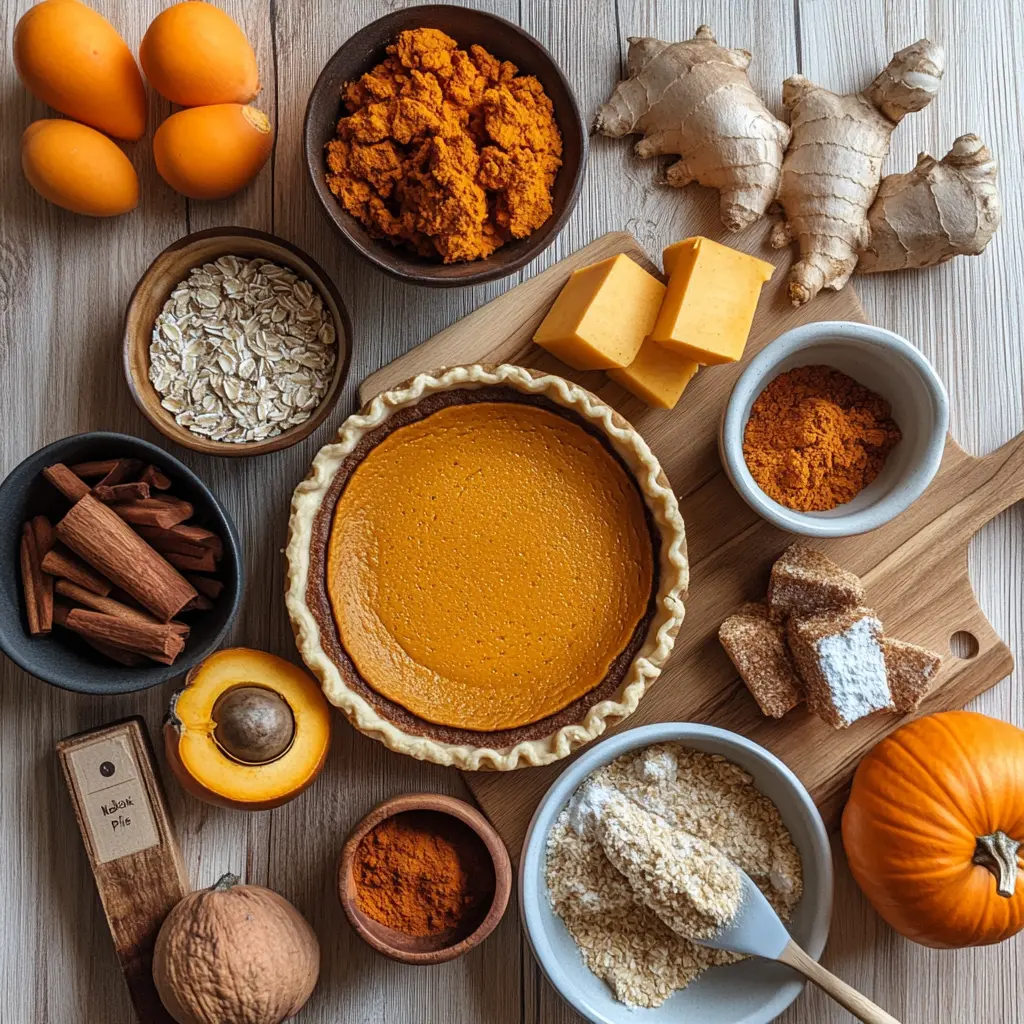
- 1 1/2 cups graham cracker crumbs
- 1/4 cup granulated sugar
- 1/2 cup unsalted butter, melted
For the Filling:
- 1 can (15 oz) pumpkin puree
- 8 oz cream cheese, softened
- 1 cup powdered sugar
- 1 teaspoon vanilla extract
- 1 teaspoon ground cinnamon
- 1/2 teaspoon ground ginger
- 1/4 teaspoon ground nutmeg
- 1/4 teaspoon salt
- 1 cup whipped topping (like Cool Whip)
Preparation:
Step 1: Prepare the Crust
In a medium bowl, combine the graham cracker crumbs and granulated sugar. Stir in the melted butter until the mixture is well combined and slightly crumbly. This mixture should hold together when pressed.
Step 2: Press the Crust
Using the back of a spoon or your fingers, press the crumb mixture firmly into the bottom and up the sides of a 9-inch pie dish. Ensure that the crust is evenly distributed and compacted to prevent it from crumbling when you slice the pie.
Step 3: Chill the Crust
Refrigerate the crust for at least 30 minutes. This chilling time allows the butter to firm up, ensuring that your crust holds its shape when filled.
Step 4: Make the Filling
In a large mixing bowl, beat the softened cream cheese with an electric mixer until smooth and creamy. Add the pumpkin puree, powdered sugar, vanilla extract, ground cinnamon, ground ginger, ground nutmeg, and salt. Mix well until all the ingredients are fully combined and the mixture is smooth.
Step 5: Fold in the Whipped Topping
Gently fold in the whipped topping until the filling is light and fluffy. Be careful not to over-mix, as you want to keep the filling airy and soft.
Step 6: Assemble the Pie
Spoon the pumpkin filling into the chilled graham cracker crust, smoothing the top with a spatula. Ensure the filling is evenly distributed and looks inviting.
Step 7: Chill Again
Refrigerate the pie for at least 4 hours, or overnight if possible, to allow the filling to set properly. This step is crucial for achieving the right texture.
Step 8: Serve
Before serving, top the pie with additional whipped cream or a sprinkle of cinnamon for an extra festive touch. Slice and enjoy the creamy, spiced goodness!
COOKING Rating:
This No-Bake Pumpkin Pie is rated 5/5 for ease of preparation, flavor, and presentation. It’s a foolproof recipe that even novice cooks can master.
Serving Suggestions:
Serve this pie with a dollop of freshly whipped cream, a drizzle of caramel sauce, or a sprinkle of toasted pecans for added texture. Pair it with a warm cup of spiced chai or a classic pumpkin spice latte to enhance the fall experience.
Tips:
- For a gluten-free option, use gluten-free graham cracker crumbs for the crust.
- Ensure the cream cheese is softened to room temperature for a smooth filling.
- For a spicier kick, adjust the spices according to your taste preference.
- This pie can be made a day in advance, making it perfect for entertaining.
- Store any leftovers in the refrigerator, covered, for up to 3 days.
Prep Time: 20 minutes
Cook Time: 0 minutes
Total Time: 4 hours 20 minutes (including chilling)
Nutritional Information:
- Calories: 250 kcal per slice
- Protein: 3g
- Sodium: 150mg
Conclusion
This No-Bake Pumpkin Pie is a delightful dessert that captures the essence of fall in every bite. With its creamy filling and crunchy graham cracker crust, it offers a perfect balance of flavors and textures. Whether you’re hosting a holiday gathering or simply craving something sweet, this pie is sure to impress. The best part? It’s incredibly easy to make, allowing you to spend more time enjoying the season with loved ones and less time in the kitchen. So gather your ingredients, follow the steps, and treat yourself to a slice of this heavenly pie!
Questions and Answers about this recipe:
- Can I use fresh pumpkin instead of canned pumpkin puree?
Yes, you can use fresh pumpkin. Make sure to cook and puree it until smooth, as canned pumpkin is already prepped for use. - How long can I store the No-Bake Pumpkin Pie?
You can store the pie in the refrigerator for up to 3 days. Just be sure to cover it to keep it fresh. - Can I make this pie vegan?
Yes, you can substitute the cream cheese with a vegan cream cheese alternative and use a dairy-free whipped topping to make it vegan-friendly. - Is it necessary to chill the pie for 4 hours?
While it’s recommended to chill for at least 4 hours for the filling to set properly, if you’re short on time, chilling for 2 hours can work, though the texture may be softer. - What can I substitute for graham cracker crumbs in the crust?
You can use crushed digestive biscuits, vanilla wafers, or even oats for a different flavor and texture in the crust.

