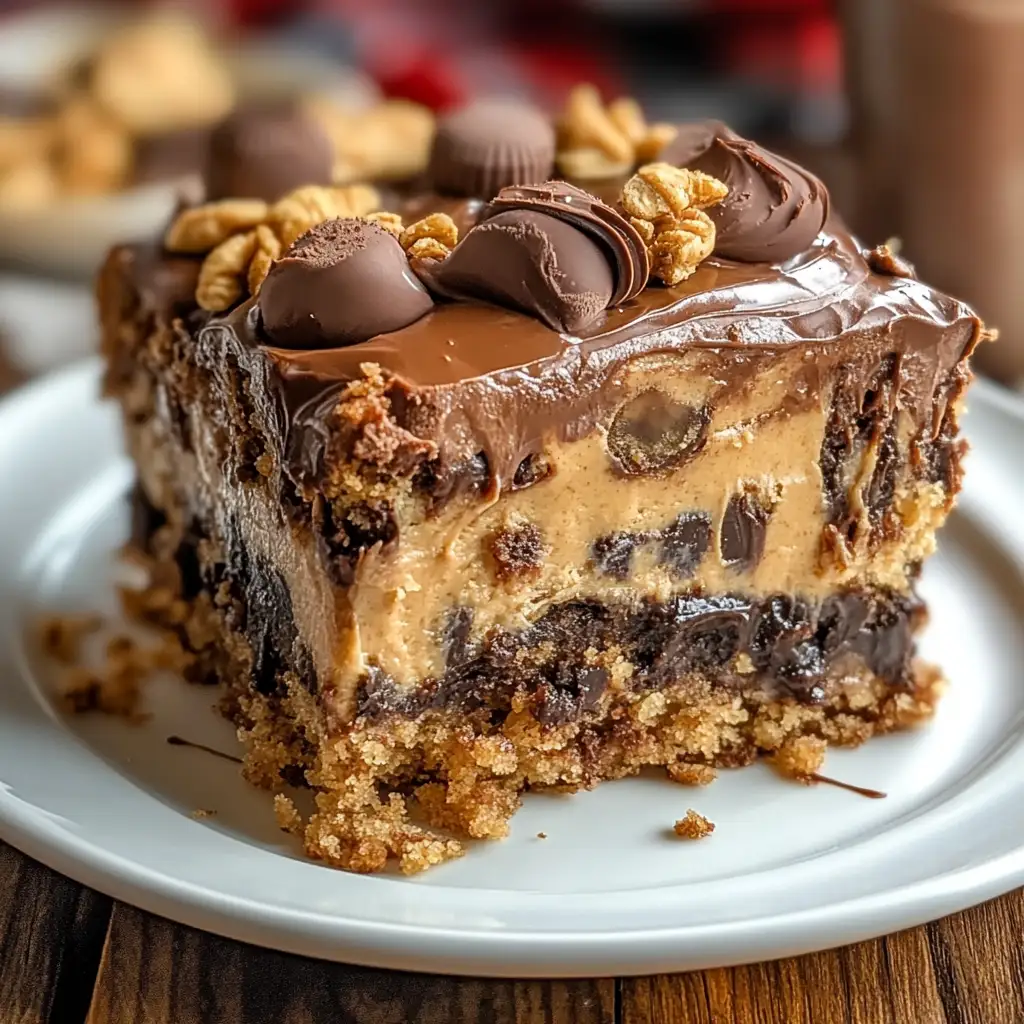
This Peanut Butter Cup Dump Cake is the ultimate dessert for peanut butter and chocolate lovers. It’s incredibly easy to make, requiring minimal effort and ingredients, yet delivering a decadent and satisfying treat. Imagine a rich, moist chocolate cake studded with gooey, melt-in-your-mouth Reese’s Peanut Butter Cups. This is dump cake at its finest!
Why you will love this recipe:
- Effortless Preparation: This recipe truly lives up to its “dump cake” name. Simply combine the ingredients, dump them into a pan, and bake! No fancy techniques or complicated steps are involved.
- Intense Flavor: The combination of chocolate cake and peanut butter cups is a classic for a reason. The rich chocolate flavor is perfectly complemented by the sweet and salty peanut butter, creating a flavor explosion in every bite.
- Crowd-Pleasing Dessert: This dump cake is always a hit at parties, potlucks, and family gatherings. Its simplicity and deliciousness make it a guaranteed crowd-pleaser.
- Customizable: Easily adapt this recipe to your preferences. Use different cake mixes, add other candies, or top with your favorite frosting.
- Quick and Easy Cleanup: With minimal mixing bowls and steps, cleanup is a breeze.
Ingredients:
- 1 box (15.25 oz) chocolate cake mix
- 1 package (3.9 oz) chocolate instant pudding mix
- 2 cups milk (preferably room temperature)
- 2 cups mini Reese’s Peanut Butter Cups, roughly chopped
Preparation:
Step 1: Preheat your oven to 350°F (175°C). Prepare a 9×13 inch baking dish by spraying it with non-stick cooking spray. This will prevent the cake from sticking and make it easier to remove after baking.
Step 2: In a large mixing bowl, whisk together the milk and chocolate instant pudding mix until smooth and slightly thickened. Using room-temperature milk helps the pudding mix dissolve evenly, creating a smoother base for the cake. Whisking ensures there are no lumps in the pudding mixture.
Step 3: Add the chocolate cake mix directly into the pudding mixture and stir until just combined. It is crucial not to overmix the batter. Overmixing can develop the gluten in the cake mix, leading to a tough cake. The batter will be thick. Just ensure there are no large pockets of dry cake mix remaining.
Step 4: Fold in most of the chopped mini Reese’s Peanut Butter Cups, reserving a few for topping if desired. Gently fold the peanut butter cups into the batter to distribute them evenly. Reserving some for topping allows you to create a visually appealing cake with a generous peanut butter cup presence on top.
Step 5: Pour the batter into the prepared baking dish and spread it evenly. Ensure the batter is evenly distributed to promote even baking. Sprinkle the remaining Reese’s Peanut Butter Cups on top. The peanut butter cups will melt slightly during baking, creating a delicious and gooey topping.
Step 6: Bake for 25 minutes or until a toothpick inserted into the center comes out clean. Start checking for doneness around 25 minutes. Baking times may vary depending on your oven. If the toothpick comes out with wet batter, continue baking for a few more minutes and check again.
Step 7: Let cool slightly before serving warm or at room temperature. Cooling the cake slightly allows it to set up a bit, making it easier to slice and serve. However, this cake is also delicious served warm, with the peanut butter cups still slightly melted.
COOKING Rating: Easy
Serving Suggestions:
- Serve warm with a scoop of vanilla ice cream or whipped cream.
- Drizzle with chocolate syrup or hot fudge sauce.
- Top with a sprinkle of chopped peanuts for added crunch.
- Pair with a cold glass of milk or a cup of coffee.
- Dust with powdered sugar for a more elegant presentation.
Tips:
- For an extra rich flavor, use whole milk instead of low-fat or skim milk.
- Add a tablespoon of vanilla extract to the batter for enhanced flavor.
- Use different flavors of cake mix, such as devil’s food or German chocolate, for a unique twist.
- Mix in other candies, such as chocolate chips, M&Ms, or chopped Snickers bars.
- If you don’t have mini Reese’s Peanut Butter Cups, you can use regular-sized cups, chopped into smaller pieces.
- Line the baking dish with parchment paper for even easier cleanup.
- Store leftover cake in an airtight container at room temperature for up to 3 days.
Prep Time: 10 minutes
Cook Time: 25 minutes
Total Time: 35 minutes
Nutritional Information: (per serving, approximate)
- Calories: 450
- Protein: 6g
- Sodium: 300mg
Conclusion:
This Peanut Butter Cup Dump Cake is a simple yet incredibly satisfying dessert that is sure to become a family favorite. Its ease of preparation, combined with the irresistible flavor of chocolate and peanut butter, makes it the perfect treat for any occasion. Whether you’re a seasoned baker or a beginner, this recipe is guaranteed to deliver delicious results every time. So, gather your ingredients, preheat your oven, and get ready to indulge in the ultimate chocolate peanut butter delight!
Questions and Answers:
Q1: Can I use a different size baking dish?
A: While a 9×13 inch baking dish is recommended for this recipe, you can use other sizes. A smaller dish, such as an 8×8 inch pan, will result in a thicker cake that may require a longer baking time. Keep an eye on it and adjust the baking time accordingly. A larger dish will result in a thinner cake that may bake faster.
Q2: Can I use a sugar-free cake mix or pudding mix?
A: Yes, you can substitute sugar-free cake mix and pudding mix to reduce the sugar content of the cake. Keep in mind that the taste and texture may be slightly different.
Q3: Can I add frosting to this cake?
A: Absolutely! Frosting is a great addition to this cake. Chocolate frosting, peanut butter frosting, or vanilla frosting would all be delicious choices. You can frost the cake after it has cooled completely.
Q4: Can I make this cake ahead of time?
A: Yes, this cake can be made ahead of time. Allow it to cool completely, then cover it tightly with plastic wrap and store it at room temperature for up to 2 days. You can also refrigerate it for longer storage.
Q5: What if I don’t have chocolate instant pudding mix?
A: If you don’t have chocolate instant pudding mix, you can omit it. The cake will still be delicious, but it may be slightly less moist. You can also try using vanilla instant pudding mix for a different flavor variation. Adding a couple of tablespoons of cocoa powder to the cake mix can help compensate for the missing chocolate flavor from the pudding.