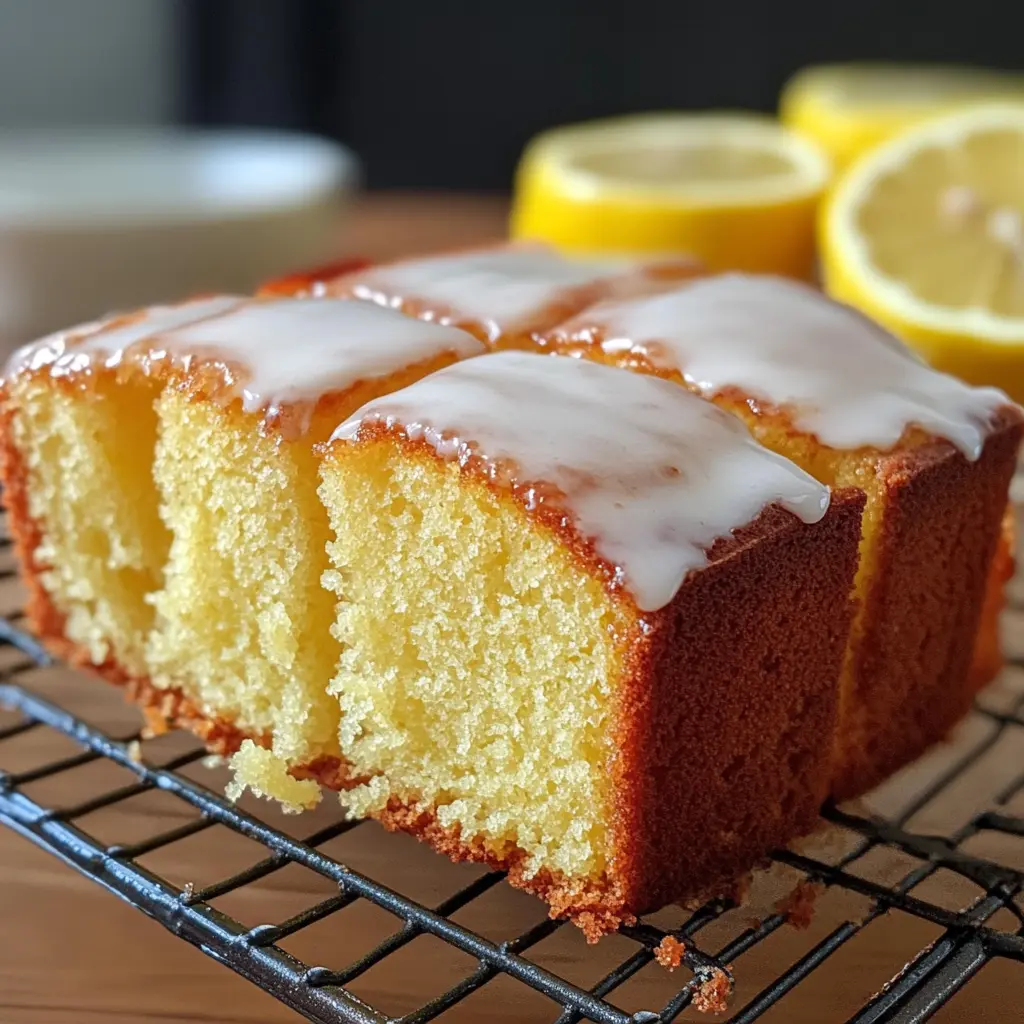
Description: This recipe brings the classic lemon drizzle cake into the modern kitchen with the help of an air fryer. Expect a moist, tender crumb infused with bright lemon flavor, topped with a sweet and tangy lemon drizzle that will have you coming back for seconds.
Why You Will Love This Recipe:
- Quick and Easy: Baking a cake in an air fryer significantly reduces the cooking time compared to a conventional oven.
- Perfectly Moist: The enclosed environment of the air fryer ensures the cake remains incredibly moist and tender.
- Intense Lemon Flavor: The combination of lemon zest and juice in both the cake batter and the drizzle delivers an explosion of zesty flavor.
- Simple Ingredients: You likely already have most of the ingredients in your pantry.
- Impressive Results: Achieve bakery-quality results with minimal effort.
Introduction
The lemon drizzle cake is a beloved classic for a reason. Its simple yet satisfying combination of moist cake, bright citrus notes, and sweet, tangy glaze makes it a perfect treat for any occasion. This air-fryer version takes the fuss out of baking, delivering a delicious and impressive cake in a fraction of the time. The air fryer creates a wonderfully consistent and even bake, ensuring a golden-brown crust and a perfectly cooked interior. The key to a truly exceptional lemon drizzle cake is using high-quality ingredients and not skimping on the lemon. Freshly squeezed lemon juice and finely grated zest are essential for that vibrant, unmistakable flavor. This recipe walks you through each step, from preparing the batter to creating the perfect drizzle, so you can confidently bake a show-stopping lemon drizzle cake in your air fryer.
Ingredients:
- 250g (1 cup + 1 tablespoon) unsalted butter, at room temperature
- 250g (1 1/4 cups) caster sugar (granulated sugar can be used as a substitute)
- 4 large eggs
- 250g (2 cups) self-raising flour (or 2 cups of all-purpose flour + 3 teaspoons of baking powder and 1/2 teaspoon salt)
- 3 lemons, zested and juiced (approximately 1/4 cup juice)
- 100g (3/4 cup + 2 tablespoons) icing sugar (powdered sugar)
Preparation:
Step 1: Prepare the Batter
First, ensure your butter is at room temperature. This is crucial for creating a smooth and creamy batter. If you’ve forgotten to take the butter out in advance, you can soften it slightly in the microwave, but be careful not to melt it. The ideal consistency is soft enough to easily cream with the sugar.
In a large mixing bowl, combine the softened butter and caster sugar. Using an electric mixer (either a stand mixer or a handheld mixer), beat the butter and sugar together on medium speed for 4-5 minutes, or until the mixture is pale, light, and fluffy. This process, known as creaming, incorporates air into the batter, which is essential for a light and airy cake. Scrape down the sides of the bowl occasionally to ensure everything is evenly mixed.
Next, crack in the eggs one at a time, beating well after each addition. This ensures that each egg is fully incorporated into the batter. If the batter starts to curdle (which can happen if the eggs are too cold), add a spoonful of flour from the measured amount to help bind the mixture together.
Zest two-thirds of the lemons directly into the batter. Lemon zest contains the aromatic oils that give the cake its intense lemon flavor. Be careful to only zest the outer yellow layer of the lemon, avoiding the white pith underneath, which is bitter.
Step 2: Incorporate the Flour
Sift the self-raising flour (or your homemade self-raising flour substitute) into the bowl. Sifting helps to remove any lumps and makes the flour lighter, resulting in a more tender cake. Add a pinch of salt to enhance the flavors.
Gently fold the flour into the wet ingredients using a spatula or a large spoon. Be careful not to overmix, as this can develop the gluten in the flour and result in a tough cake. Mix just until the flour is incorporated and no streaks remain.
Step 3: Prepare the Loaf Tin
Line a loaf tin (approximately 9×5 inches) with baking parchment. This prevents the cake from sticking to the tin and makes it easy to remove once baked. Ensure the parchment paper overhangs the sides of the tin, creating a sling that you can use to lift the cake out. You can also grease the tin lightly with butter or cooking spray before lining it with parchment for extra insurance.
Step 4: Bake in the Air Fryer
Preheat your air fryer to 160°C (320°F). It’s important to preheat the air fryer to ensure the cake cooks evenly.
Spoon the cake mixture into the prepared loaf tin, smoothing the surface with a spatula. This helps to distribute the batter evenly and create a level cake.
Place the loaf tin in the air fryer basket. Cook for 1 hour to 1 hour 10 minutes, or until a skewer inserted into the center of the cake comes out clean. The exact cooking time may vary depending on your air fryer, so keep an eye on it. If the top of the cake starts to brown too quickly, you can cover it loosely with foil to prevent it from burning.
Step 5: Cool and Prepare the Drizzle
Once the cake is baked, remove it from the air fryer and let it cool in the tin for 5 minutes. This allows the cake to firm up slightly before removing it.
While the cake is cooling, prepare the lemon drizzle. In a small bowl, combine the icing sugar, the remaining lemon zest, and enough lemon juice to create a smooth, pourable icing. Start with a small amount of juice (about 1 tablespoon) and add more gradually until you reach the desired consistency. The icing should be thin enough to drizzle easily but not so thin that it runs off the cake completely.
Step 6: Drizzle and Serve
Carefully lift the warm cake out of the tin using the parchment paper sling and place it on a wire rack set over a tray. The tray will catch any excess icing.
Using a skewer, poke deep holes all over the top of the cake. This allows the lemon drizzle to soak into the cake and infuse it with even more flavor.
Slowly drizzle the lemon icing over the warm cake, letting it drip down the sides. The warm cake will absorb the icing, creating a moist and flavorful crumb.
Leave the cake to set completely before slicing and serving. The icing will harden as it cools.
COOKING Rating:
Easy to Moderate
Serving Suggestions:
- Serve slices of the cake as is, or with a dollop of whipped cream or a scoop of vanilla ice cream.
- Pair it with a cup of tea or coffee for a delightful afternoon treat.
- Dust it lightly with icing sugar for a more elegant presentation.
Tips:
- Ensure all ingredients are at room temperature for the best results.
- Don’t overmix the batter, as this can lead to a tough cake.
- Adjust the cooking time as needed depending on your air fryer.
- If the cake starts to brown too quickly, cover it loosely with foil.
- For a more intense lemon flavor, add a few drops of lemon extract to the batter.
- Store leftover cake in an airtight container at room temperature for up to 3 days.
Prep Time:
15 minutes
Cook Time:
1 hour – 1 hour 10 minutes
Total Time:
1 hour 15 minutes – 1 hour 25 minutes
Nutritional Information: (Approximate, per slice, assuming 10 slices)
Calories: 350-400
Protein: 4-5g
Sodium: 150-200mg
Conclusion
This Air-Fryer Lemon Drizzle Cake recipe is a game-changer for anyone who loves baking but doesn’t always have the time or inclination to use a conventional oven. The air fryer delivers consistently moist and flavorful results, making this cake a guaranteed crowd-pleaser. With its bright lemon flavor and simple preparation, this cake is perfect for any occasion, from afternoon tea to a special celebration. So, grab your ingredients, fire up your air fryer, and get ready to enjoy a slice of lemony goodness!
Questions and Answers:
Q1: Can I use margarine instead of butter?
A: While butter is recommended for its flavor and texture, you can substitute margarine. However, be aware that margarine may alter the taste and texture of the cake slightly. Look for a margarine with a high fat content (at least 80%) for best results. Margarine can sometimes lack that depth of flavour that the Butter gives.
Q2: My cake is browning too quickly on top. What should I do?
A: If the top of the cake is browning too quickly, cover it loosely with a piece of foil. This will help to prevent it from burning while the inside continues to cook. Check on it periodically and remove the foil during the last 10-15 minutes of baking to allow the top to brown evenly.
Q3: Can I use gluten-free flour in this recipe?
A: Yes, you can use a gluten-free flour blend, but it is essential to use a blend that is specifically designed for baking. Gluten-free flour blends often lack the binding properties of gluten, so you may need to add a binder such as xanthan gum to help hold the cake together. Follow the instructions on the gluten-free flour blend package for the correct amount of xanthan gum to use.
Q4: Can I make this cake ahead of time?
A: Yes, you can bake the cake ahead of time. Let it cool completely, then wrap it tightly in plastic wrap or place it in an airtight container. Store it at room temperature for up to 2 days. Drizzle the icing on the cake just before serving to prevent it from becoming soggy.
Q5: What if I don’t have self-raising flour?
A: If you don’t have self-raising flour, you can easily make your own by combining 2 cups of all-purpose flour with 3 teaspoons of baking powder and 1/2 teaspoon of salt. Whisk the ingredients together well to ensure the baking powder is evenly distributed. This will work as a substitute for self-raising flour in this recipe.