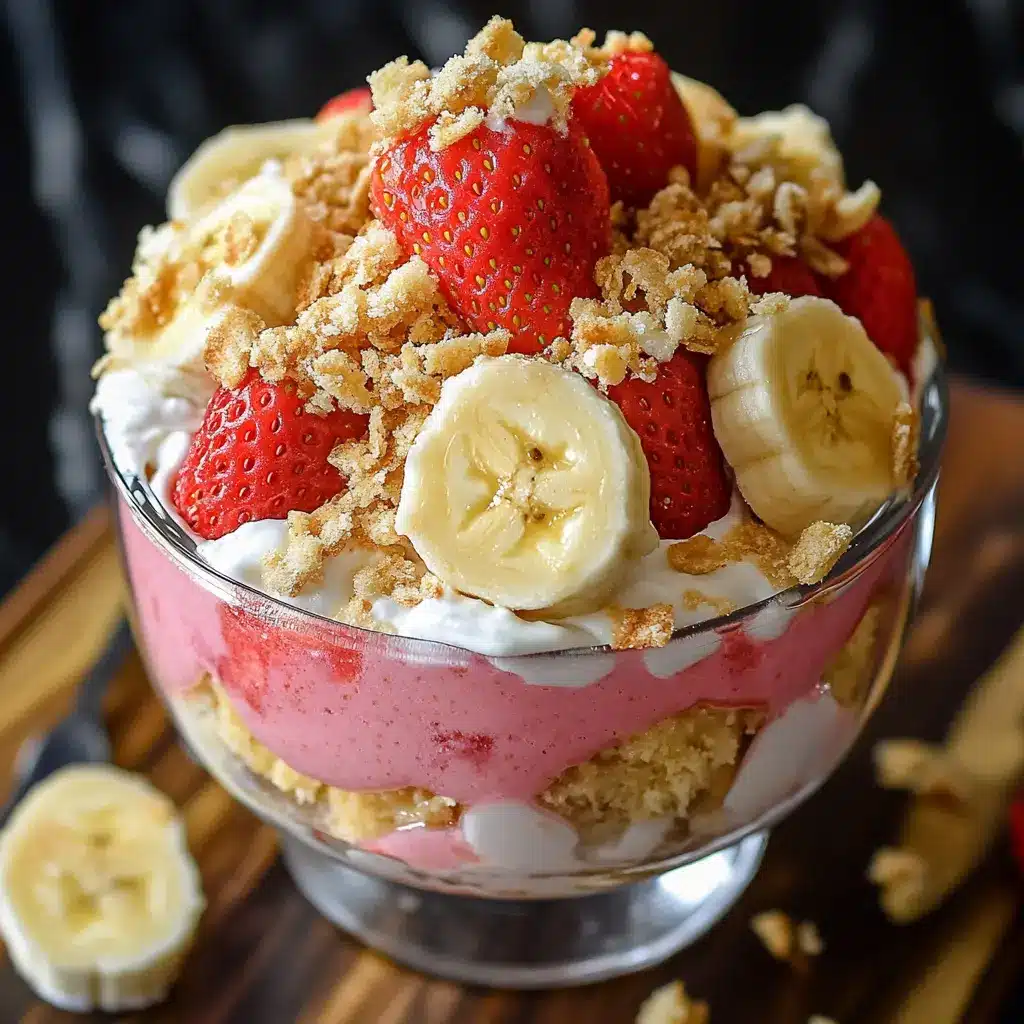
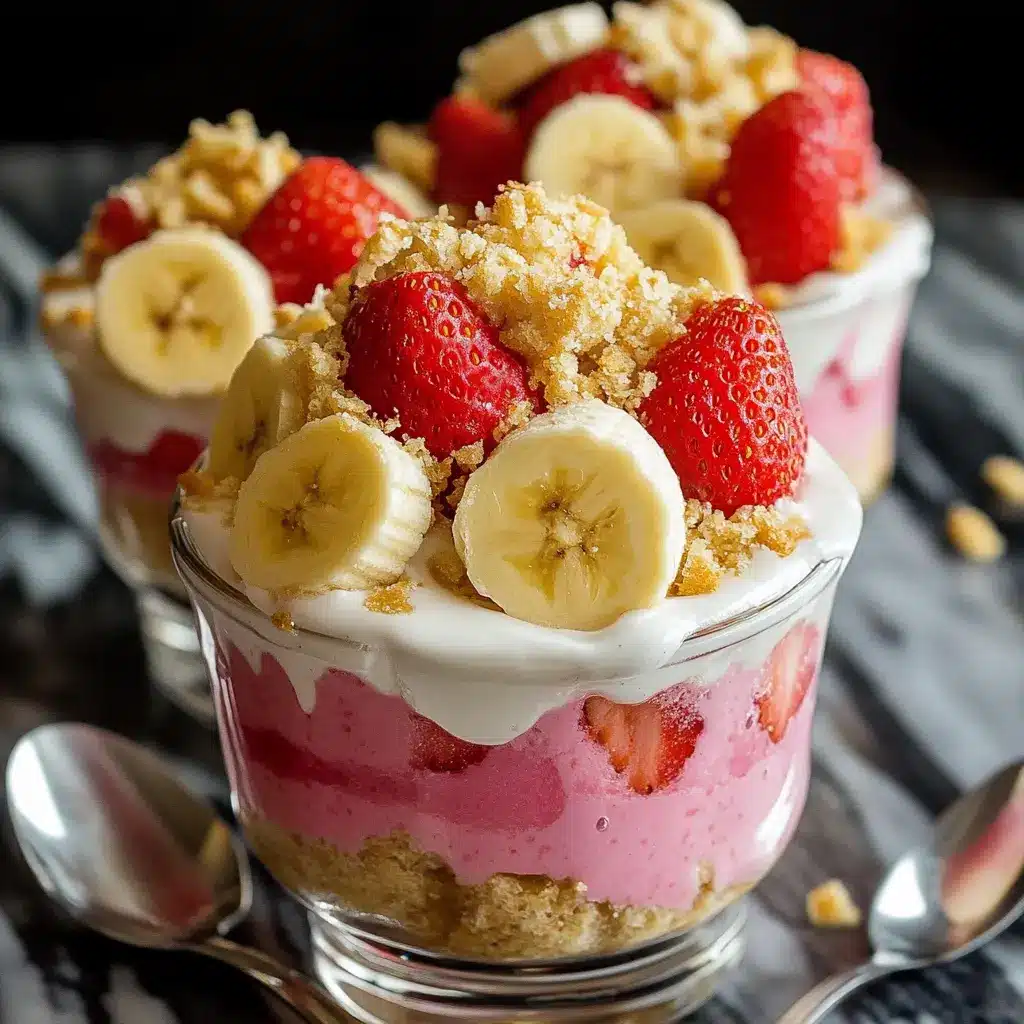
This Strawberry Cheesecake Banana Pudding is a delightful twist on classic desserts, combining the rich, creamy flavors of cheesecake with the light, fruity essence of bananas and strawberries. Perfect for gatherings or a sweet treat at home, this layered dessert is sure to impress both family and guests alike.
Why You Will Love This Recipe
You will love this recipe because it brings together the best of both worlds: the lusciousness of cheesecake and the comfort of banana pudding. The combination of fresh fruits adds a refreshing burst of flavor, while the layers create a beautiful presentation. It’s a no-bake dessert that’s easy to assemble, making it perfect for any occasion. Plus, it can be made ahead of time, allowing the flavors to meld beautifully in the refrigerator. Indulge in a dessert that’s not only delicious but also visually stunning!
Introduction
Desserts have a special place in our hearts, and this Strawberry Cheesecake Banana Pudding is no exception. It captures the essence of summer while being a comforting treat that can be enjoyed year-round. The creamy cheesecake layer, combined with the smooth vanilla pudding and fresh fruit, creates a delightful harmony of flavors and textures. Each spoonful brings a burst of sweetness and creaminess, making it a perfect finale to any meal. Whether you’re hosting a party or simply treating yourself, this dessert is sure to be a crowd-pleaser.
Ingredients:
For the Cheesecake Layer:
- 1 (8 oz) package cream cheese, softened
- 1 cup heavy whipping cream
- 1/2 cup powdered sugar
- 1 tsp vanilla extract
For the Pudding Layer:
- 1 (5.1 oz) box vanilla instant pudding mix
- 2 cups cold milk
For the Dessert:
- 1 box vanilla wafers (or other cookies of choice)
- 2 bananas, sliced
- 1 cup fresh strawberries, chopped (plus extra for garnish)
- Crushed strawberry wafers (optional, for garnish)
Preparation:
Step 1: Prepare the Cheesecake Layer
In a medium bowl, beat the softened cream cheese until smooth and creamy. This will serve as the base for your cheesecake layer. Make sure there are no lumps for a velvety texture.
Step 2: Mix in Sugar and Vanilla
Add the powdered sugar and vanilla extract to the cream cheese, and beat until fully combined. The mixture should be sweet and fragrant, with a smooth consistency.
Step 3: Whip the Cream
In a separate bowl, whip the heavy cream until stiff peaks form. This step is crucial as it adds lightness to the cheesecake layer. Be careful not to over-whip, as this can lead to a grainy texture.
Step 4: Fold the Cream into the Cheesecake Mixture
Gently fold the whipped cream into the cream cheese mixture until fully combined. This folding technique helps to maintain the airy texture of the whipped cream, resulting in a light and fluffy cheesecake layer. Set the mixture aside.
Step 5: Prepare the Pudding Layer
In another bowl, whisk together the instant vanilla pudding mix and cold milk for about 2 minutes until thickened. Set aside to allow it to firm up a bit. This layer adds a creamy and sweet touch to the dessert.
Step 6: Assemble the Pudding
In a serving dish or individual serving cups, layer the vanilla wafers at the bottom. Next, add a layer of banana slices and fresh chopped strawberries over the cookies. Spread a layer of the cheesecake mixture on top of the fruit, followed by a layer of vanilla pudding, smoothing it over the cheesecake layer. Repeat the layers as needed, alternating between the fruit, cheesecake, and pudding until you reach the top of your dish.
Step 7: Top and Chill
Garnish with more fresh strawberries and crushed strawberry wafers on top for added texture and visual appeal. Cover the dish and refrigerate for at least 3 hours or overnight to allow the flavors to meld and the pudding to firm up.
Step 8: Serve and Enjoy
Serve chilled, and enjoy the creamy and fruity layers of this indulgent dessert! Each bite is a delightful combination of flavors that will leave you wanting more.
Serving Suggestions:
This Strawberry Cheesecake Banana Pudding can be served as a standalone dessert or alongside a cup of coffee or tea. For an extra touch, consider pairing it with a scoop of vanilla ice cream or a dollop of whipped cream on the side. It’s also a great addition to potlucks, picnics, or family gatherings.
Tips:
- For best results, use ripe but firm bananas to prevent them from becoming mushy in the pudding.
- Feel free to experiment with other fruits, such as blueberries or raspberries, for added flavor and color.
- If you want to make this dessert gluten-free, substitute the vanilla wafers with gluten-free cookies.
- To enhance the cheesecake flavor, consider adding a tablespoon of lemon juice or zest to the cheesecake layer.
- This dessert can be made a day in advance, allowing the flavors to develop even further.
Prep Time: 30 minutes
Cook Time: 0 minutes
Total Time: 3 hours (plus chilling time)
Nutritional Information:
- Calories: Approximately 350 per serving
- Protein: 5g
- Sodium: 150mg
Conclusion
The Strawberry Cheesecake Banana Pudding is not just another dessert; it’s a celebration of flavors and textures that will delight your taste buds. With its creamy layers of cheesecake and pudding, combined with the freshness of bananas and strawberries, it’s a treat that everyone will love. Whether you’re making it for a special occasion or just to satisfy your sweet tooth, this recipe is sure to become a favorite in your household. So gather your ingredients, follow the steps, and indulge in this delightful dessert!
Questions and Answers:
Q1: Can I make this dessert ahead of time?
A1: Absolutely! This dessert is perfect for making a day in advance. Just assemble it and let it chill in the refrigerator overnight for the best flavor.
Q2: What other fruits can I use in this recipe?
A2: You can use a variety of fruits such as blueberries, raspberries, or peaches. Feel free to mix and match according to your preferences!
Q3: Is it possible to make this dessert gluten-free?
A3: Yes! Simply substitute the vanilla wafers with gluten-free cookies, and you’ll have a delicious gluten-free version of this pudding.
Q4: How long will leftovers last in the refrigerator?
A4: Leftovers can be stored in an airtight container in the refrigerator for up to 3 days. However, for the best texture, it’s recommended to enjoy it within the first couple of days.
Q5: Can I use homemade pudding instead of instant pudding mix?
A5: Yes, you can use homemade vanilla pudding if you prefer. Just make sure it has cooled and thickened before layering it in the dessert.

