Description of this recipe: This Strawberry Mousse recipe offers a light, refreshing, and utterly delightful dessert that’s surprisingly simple to create. Whether you’re looking for a sweet treat to end a special meal or a quick and easy indulgence on a warm afternoon, this mousse hits all the right notes. It’s customizable to suit various dietary needs and preferences, making it a versatile addition to your dessert repertoire.
Why you will love this recipe: This strawberry mousse is a winner for so many reasons! First, it’s incredibly easy and quick to make. With just a few ingredients and minimal effort, you can whip up a dessert that tastes like it came from a fancy patisserie. Second, it’s unbelievably creamy and flavorful, striking the perfect balance between sweet and tart. The fresh strawberry puree infuses every bite with a burst of summer, while the creamy base provides a luxurious texture that melts in your mouth. Finally, it’s adaptable to different dietary needs. Use coconut cream for a dairy-free and vegan option, or swap the powdered sugar for a sugar-free alternative to keep it guilt-free.
Introduction
Strawberry Mousse is a classic dessert that has stood the test of time, and for good reason. Its light, airy texture combined with the sweet, tangy flavor of fresh strawberries makes it an irresistible treat. This recipe builds upon the traditional concept by offering variations to cater to different tastes and dietary restrictions.
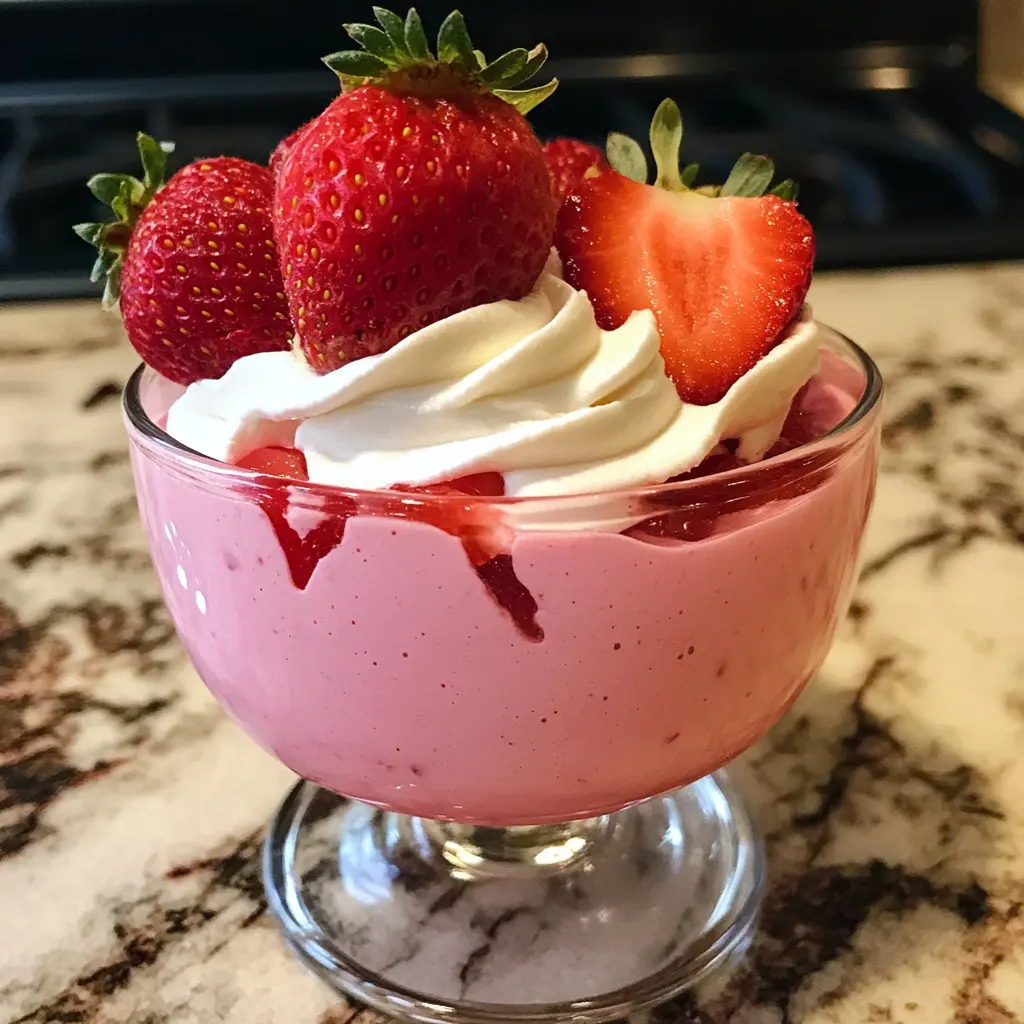
Imagine biting into a spoonful of creamy, pink perfection, the sweet strawberry flavor dancing on your tongue. This mousse is not just a dessert; it’s an experience. It’s a moment of pure indulgence that you can create in your own kitchen with minimal fuss.
This recipe guides you through each step, offering tips and tricks to ensure a flawless result every time. Whether you’re a seasoned baker or a kitchen novice, you’ll find this recipe easy to follow and incredibly rewarding. So, gather your ingredients, and let’s embark on this delicious journey together.
Ingredients:
- 8 oz cream cheese (full-fat or low-fat) or canned coconut cream (refrigerated overnight)
- 4 oz plain yogurt (Greek or regular) or additional cream cheese/coconut cream
- 1 cup powdered sugar or sugar-free powdered sweetener (erythritol, monk fruit, etc.)
- 5 medium-sized fresh strawberries, hulled
- Optional: 1/4 teaspoon vanilla bean paste or 1/2 teaspoon vanilla extract
- Optional: Fresh mint leaves for garnish
- Optional: Additional sliced strawberries for garnish
Preparation:
Step 1: Gather Your Ingredients
Before you even think about turning on the blender, ensure you have all your ingredients measured and ready to go. This little act of preparedness will streamline the entire process and prevent any mid-recipe scrambles. Having everything within arm’s reach allows you to focus on the nuances of each step, ensuring the best possible outcome. Place the cream cheese/coconut cream, yogurt, powdered sugar, strawberries, and vanilla (if using) on your countertop. Consider setting out your serving dishes as well, so they’re ready to receive the finished mousse.
Step 2: Prepare the Cream Base
The key to a smooth and creamy mousse lies in the preparation of the cream base. If you’re using cream cheese, it’s imperative that it’s softened to room temperature. This can take anywhere from 30 minutes to an hour, depending on the temperature of your kitchen. Softened cream cheese blends seamlessly into the other ingredients, preventing any lumps or graininess in the final product. To expedite the process, you can cut the cream cheese into small cubes.
If you’re opting for coconut cream, chill a can of full-fat coconut milk overnight in the refrigerator. This allows the thick coconut cream to separate from the watery liquid. When you open the can, carefully scoop out the thick cream, leaving the watery liquid behind. This concentrated coconut cream will provide a rich, decadent base for your mousse, perfectly complementing the sweetness of the strawberries. Discard the coconut water, or save it for smoothies.
Step 3: Puree the Strawberries
Fresh, ripe strawberries are the heart and soul of this mousse. Wash the strawberries thoroughly and remove the green tops (hulls). The method you choose to puree the strawberries will depend on your preferred texture and the equipment you have available. A blender or food processor will yield the smoothest puree, ensuring an even distribution of strawberry flavor throughout the mousse. However, if you don’t have these appliances, you can also mash the strawberries with a fork or potato masher. This will result in a slightly chunkier texture, which some people may find appealing.
To enhance the strawberry flavor, consider adding a squeeze of lemon juice or a pinch of salt to the puree. These small additions can brighten the flavor and create a more complex taste profile. Taste the puree and adjust the sweetness by adding a bit more sugar if needed.
Step 4: Blend Everything Together
This is where the magic happens! In a large mixing bowl or the bowl of your food processor, combine the softened cream cheese (or coconut cream), yogurt (or additional cream cheese/coconut cream), powdered sugar (or sugar-free alternative), vanilla (if using), and strawberry puree. Start by mixing on low speed to prevent the powdered sugar from flying everywhere. Gradually increase the speed until the mixture is smooth, creamy, and well combined. Be careful not to overmix, as this can result in a dense or curdled mousse.
Taste the mixture and adjust the sweetness or tartness as needed. If you prefer a sweeter mousse, add a bit more powdered sugar. If you want a more tart flavor, add a squeeze of lemon juice. Remember, taste is subjective, so adjust the recipe to suit your personal preferences.
Step 5: Pour into Serving Dishes
Once the mousse is mixed to perfection, it’s time to transfer it to your serving dishes. You can use individual ramekins, small glasses, or even a large serving bowl. If you’re using a large bowl, the presentation won’t be as elegant, but it’s a great option for casual gatherings. Use a spoon or a piping bag to evenly distribute the mousse into the serving dishes. Leave some space at the top for garnish.
Step 6: Chill and Serve
Patience is key in this final step. Cover the serving dishes with plastic wrap or lids and refrigerate for at least 2 hours, or preferably overnight. This chilling period allows the mousse to set properly and the flavors to meld together, resulting in a richer, more complex taste. The mousse should be firm enough to hold its shape but still have a creamy texture.
Before serving, garnish the mousse with fresh mint leaves and sliced strawberries. These garnishes add a touch of elegance and visual appeal, making the dessert even more irresistible.
COOKING Rating:
Easy
Serving Suggestions:
- Serve chilled as a light dessert after a meal.
- Pair with a scoop of vanilla ice cream or a dollop of whipped cream.
- Use as a filling for crepes or pancakes.
- Serve with a side of fresh berries or a sprinkle of chopped nuts.
- Garnish with chocolate shavings or a drizzle of chocolate sauce.
Tips:
- For a richer flavor, use full-fat cream cheese or coconut cream.
- For a lighter flavor, use low-fat cream cheese or yogurt.
- Adjust the amount of sugar to suit your personal preference.
- Add a squeeze of lemon juice to brighten the flavor.
- Chill the mousse for at least 2 hours before serving for the best texture.
Prep Time:
15 minutes
Cook Time:
0 minutes
Total Time:
2 hours 15 minutes (includes chilling time)
Nutritional Information: (Per Serving, approximate)
(Note: Nutritional information will vary depending on the specific ingredients used.)
Calories: 250-350 Protein: 5-8g Sodium: 100-150mg
Conclusion
Congratulations! You’ve just created a delectable Strawberry Mousse that’s sure to impress. This recipe is a testament to the fact that simple ingredients and easy techniques can result in a truly exceptional dessert. So, go ahead, savor every spoonful of this creamy, strawberry-infused delight and share it with your loved ones.
Questions and Answers:
Q1: Can I make this recipe ahead of time?
A: Absolutely! In fact, it’s recommended. Making the mousse a day in advance allows the flavors to meld together beautifully, resulting in a richer, more complex taste. Just make sure to store it properly in the refrigerator in an airtight container or covered with plastic wrap to prevent it from absorbing any unwanted odors.
Q2: I’m lactose intolerant. Can I still enjoy this recipe?
A: Yes, you definitely can! Simply substitute the cream cheese and yogurt with coconut cream. Coconut cream provides a similar richness and creaminess, making it a perfect dairy-free alternative. Be sure to use full-fat coconut milk and refrigerate it overnight to separate the cream from the watery liquid.
Q3: Can I use frozen strawberries instead of fresh ones?
A: While fresh strawberries are ideal for their vibrant flavor and texture, you can use frozen strawberries in a pinch. Just be sure to thaw them completely and drain off any excess liquid before pureeing. Keep in mind that frozen strawberries may be slightly less flavorful than fresh ones, so you might want to add a little extra lemon juice to brighten the taste.
Q4: Can I add other fruits to this mousse?
A: Absolutely! Feel free to experiment with other fruits to create your own unique flavor combinations. Raspberries, blueberries, and blackberries all pair well with strawberries. Just be sure to adjust the amount of sugar as needed to balance the sweetness of the fruits.
Q5: My mousse didn’t set properly. What went wrong?
A: There could be a few reasons why your mousse didn’t set properly. First, make sure you chilled it for at least 2 hours, or preferably overnight. Second, ensure that you used full-fat cream cheese or coconut cream. Low-fat versions may not provide enough structure to set the mousse properly. Finally, avoid overmixing the mousse, as this can break down the proteins and prevent it from setting. If your mousse is still not setting, you can try adding a small amount of gelatin to help it firm up.