Description
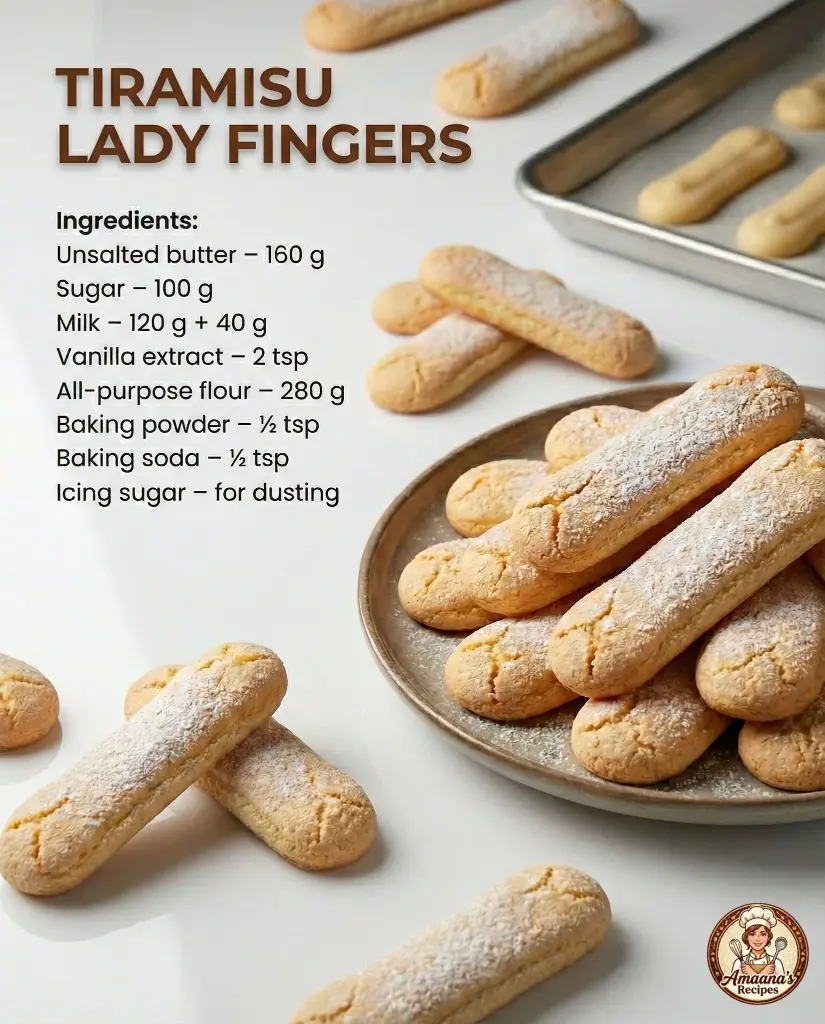
These homemade ladyfingers are the perfect base for a classic tiramisu. They are light, airy, and slightly sweet, with a delicate vanilla flavor. Made from scratch, they offer a superior texture and taste compared to store-bought versions, ensuring your tiramisu is a true masterpiece.
Ingredients:
- Unsalted butter – 160 g
- Sugar – 100 g
- Milk – 120 g + 40 g (divided)
- Vanilla extract – 2 tsp
- All-purpose flour – 280 g
- Baking powder – ½ tsp
- Baking soda – ½ tsp
- Icing sugar – for dusting
Preparation:
Step 1: Preheat the oven to 180°C (356°F). Line a baking tray with a silicone mat or parchment paper, or prepare a ladyfinger mold.
Step 2: In a bowl, cream the butter and sugar until pale and fluffy.
Step 3: Add 120 g milk and vanilla extract. Beat continuously for about 10 minutes until smooth.
Step 4: In a separate bowl, whisk together flour, baking powder, and baking soda.
Step 5: Gently fold the dry ingredients into the wet mixture.
Step 6: Add the remaining 40 g milk to adjust the batter to a smooth piping consistency.
Step 7: Transfer the batter to a piping bag fitted with a round nozzle.
Step 8: Pipe ladyfingers onto the tray or into molds.
Step 9: Dust generously with icing sugar.
Step 10: Bake for 15 minutes or until lightly golden and set.
Step 11: Cool completely before using in tiramisu or storing.
Why you’ll love this recipe
This recipe allows you to create authentic ladyfingers from scratch, giving you full control over the ingredients and freshness. The homemade ladyfingers have a delicate texture and subtle sweetness that enhances the overall flavor of your tiramisu. The process is straightforward, making it a rewarding baking experience.
Serving Suggestions:
- Use in a classic tiramisu recipe.
- Serve alongside coffee or dessert wine.
- Enjoy as a light snack, dipped in coffee or milk.
- Use as a base for other desserts like trifles or charlottes.
Tips:
- Ensure butter is at room temperature for easier creaming.
- Beat the butter and sugar for a full 10 minutes to incorporate air and create a light batter.
- Don’t overmix the dry ingredients once added to the wet ingredients to prevent tough ladyfingers.
- Dusting with icing sugar before baking helps create a slightly crisp exterior.
- Allow ladyfingers to cool completely before using in tiramisu to prevent them from becoming soggy.
Preparation Time:
- Prep time: 30 minutes
Cook Time:
- Cook time: 15 minutes
Total Time:
- Total time: 45 minutes
Nutritional Information:
- Calories: Approximately 60 calories per ladyfinger (estimated, will vary based on size)
- Protein: Approximately 1 g per ladyfinger
- Sodium: Approximately 10 mg per ladyfinger
Conclusion
Making your own ladyfingers is a simple yet rewarding process that elevates your tiramisu to a new level of deliciousness. This recipe provides clear, easy-to-follow instructions that ensure perfect results every time. Enjoy the satisfaction of creating a truly homemade dessert.
Questions and Answers
Q1: Can I use salted butter instead of unsalted?
A: It’s best to use unsalted butter so you can control the amount of salt in the recipe. If you only have salted butter, omit any additional salt from the recipe.
Q2: Can I make the batter ahead of time?
A: It’s best to bake the ladyfingers immediately after preparing the batter. If you must make it ahead, keep it refrigerated for no more than an hour, as the baking powder and baking soda will start to lose their effectiveness.
Q3: How do I store the baked ladyfingers?
A: Store the baked ladyfingers in an airtight container at room temperature. They will stay fresh for up to 3 days.
Q4: Can I freeze the ladyfingers?
A: Yes, you can freeze the baked ladyfingers. Wrap them individually or in small batches in plastic wrap, then place them in a freezer bag. They can be frozen for up to 2 months. Thaw at room temperature before using.
Q5: What if I don’t have a piping bag?
A: If you don’t have a piping bag, you can use a Ziploc bag. Cut a small hole in one of the corners and use it to pipe the ladyfingers.