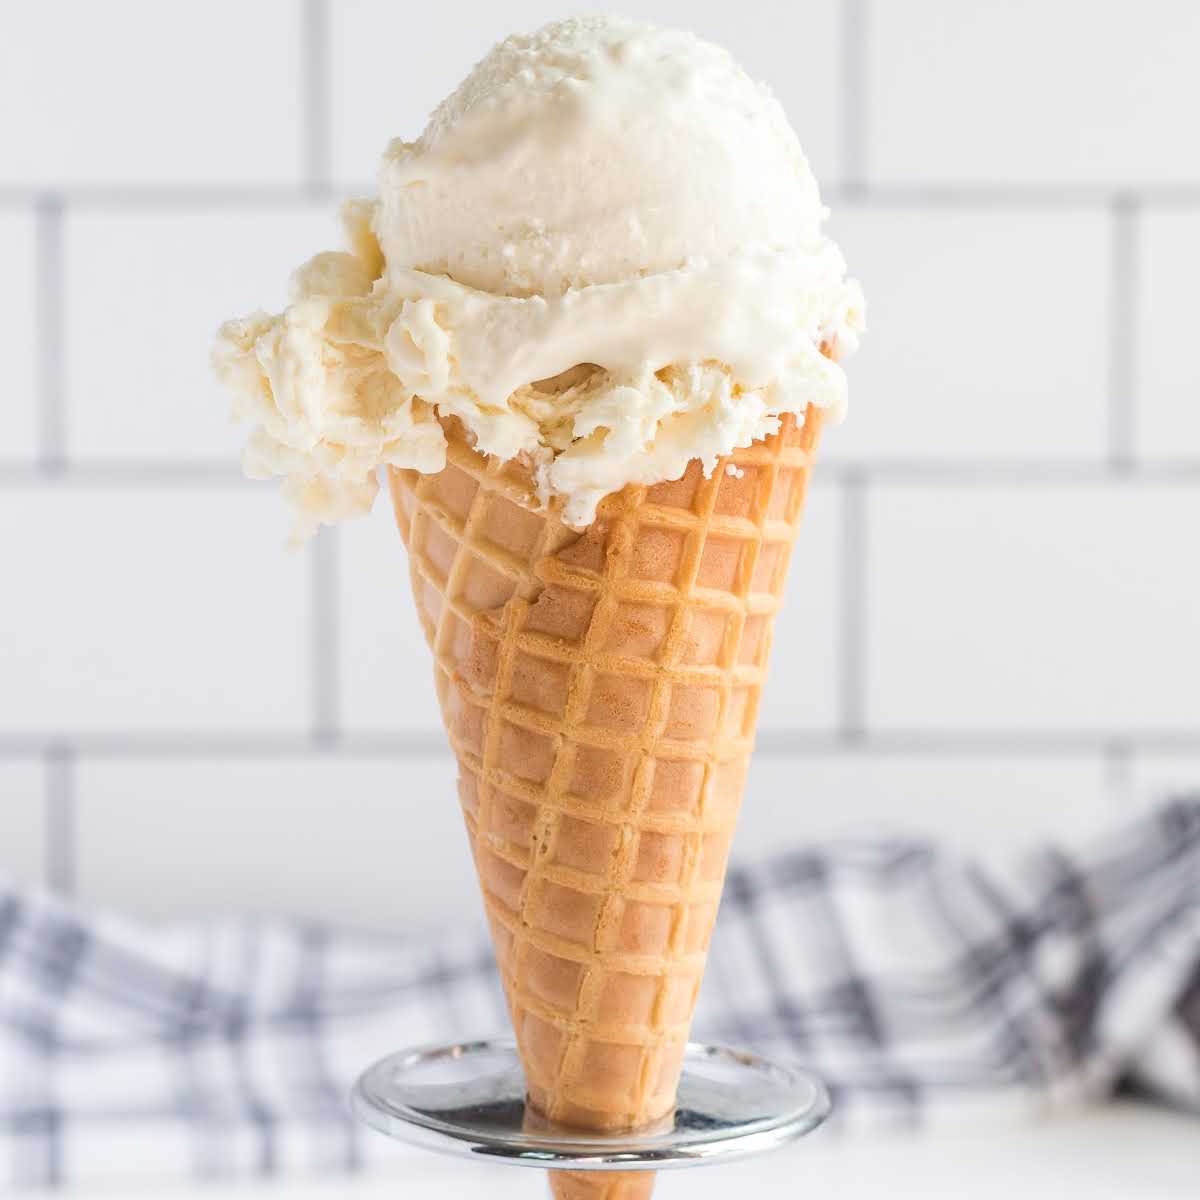
Description of this recipe
No-Churn Vanilla Ice Cream is the ultimate homemade dessert for anyone who craves creamy, rich ice cream without the need for an ice cream machine. This recipe transforms just a handful of simple ingredients into a smooth, velvety treat that rivals store-bought versions. With its classic vanilla flavor and luxurious texture, it serves as the perfect base for countless variations or stands beautifully on its own.
What makes this recipe truly special is its accessibility. You don’t need any specialized equipment or complicated techniques—just a bowl, a mixer, and a bit of patience while it freezes. The result is a soft, scoopable ice cream that melts gently on the tongue, delivering a pure and comforting vanilla experience in every bite.
This recipe is ideal for beginners and seasoned home cooks alike. Whether you’re preparing dessert for a dinner party or simply indulging in a quiet treat at home, this no-churn vanilla ice cream delivers consistent, delicious results every time.
Why you will love this recipe
There are countless reasons to fall in love with this no-churn vanilla ice cream. First, it’s incredibly easy to make. With no need for an ice cream maker, anyone can create a homemade frozen dessert with minimal effort. The process is straightforward, making it perfect even for those who have never made ice cream before.
Another reason is the texture. Thanks to the whipped cream base, this ice cream turns out light yet creamy, with a silky consistency that feels indulgent without being overly heavy. The sweetened condensed milk adds both sweetness and structure, eliminating the need for eggs or cooking a custard.
The flavor is another standout feature. Using vanilla extract or vanilla bean paste gives the ice cream a warm, aromatic depth that feels both classic and luxurious. It’s the kind of flavor that pairs well with everything—from fresh fruit to chocolate desserts—making it a versatile staple in your kitchen.
Finally, this recipe is highly customizable. You can add chocolate chips, fruit swirls, nuts, or cookie pieces to create your own unique variations. It’s a base recipe that invites creativity while remaining delicious in its simplest form.
Ingredients:
- 14 ounces sweetened condensed milk
- 2 teaspoons vanilla extract or vanilla bean paste
- 1 pinch salt
- 2 cups heavy whipping cream, chilled
Preparation:
Step 1
Begin by placing a large mixing bowl and a loaf pan in the freezer for about 30 minutes. This step is essential because keeping your tools cold helps the cream whip more efficiently and maintain its structure.
Step 2:
In a medium mixing bowl, combine the sweetened condensed milk, vanilla extract (or vanilla bean paste), and a pinch of salt. Stir until the mixture is smooth and fully blended. Set this aside while you prepare the whipped cream.
Step 3:
Remove the chilled mixing bowl from the freezer and pour in the cold heavy whipping cream. Using an electric mixer on high speed, beat the cream until stiff peaks form. This means that when you lift the beaters, the cream holds its shape firmly without collapsing. This step is crucial for achieving a light and airy texture in your ice cream.
Step 4:
Gently fold the whipped cream into the condensed milk mixture, one cup at a time. Use a rubber spatula and a light hand to combine the mixtures, being careful not to deflate the whipped cream. Continue folding until the mixture is smooth and no streaks remain. This folding technique helps preserve the airy structure that gives the ice cream its creamy consistency.
Step 5:
Pour the mixture into the chilled loaf pan and spread it evenly using a spatula. Cover the pan tightly with foil or plastic wrap and place it in the freezer. After about 2 hours, you may add any desired mix-ins such as chocolate chips, fruit swirls, or crushed cookies. Gently swirl them into the partially frozen ice cream with a knife. Return the pan to the freezer and allow it to set for at least 3 more hours, or until firm. Before serving, let the ice cream sit at room temperature for about 5 minutes to soften slightly for easy scooping.
Serving Suggestions:
Serve this no-churn vanilla ice cream in bowls or cones for a classic presentation. It pairs beautifully with warm desserts like brownies, apple pie, or chocolate cake, where the contrast of hot and cold creates a delightful experience. You can also top it with fresh berries, caramel sauce, or a drizzle of chocolate syrup for added indulgence.
For a more creative approach, use it as a base for sundaes or milkshakes. Layer it with granola and fruit for a simple dessert parfait, or sandwich it between cookies for homemade ice cream sandwiches.
Tips:
Make sure your heavy cream is very cold before whipping, as this helps it achieve stiff peaks more quickly. Avoid overmixing when folding the cream into the condensed milk, as this can deflate the mixture and result in a denser texture.
If you prefer a stronger vanilla flavor, consider using vanilla bean paste or scraping seeds from a real vanilla pod. For added variety, experiment with mix-ins like crushed biscuits, toasted nuts, or fruit compotes. Always add mix-ins after partial freezing to ensure even distribution without sinking.
Prep Time:
15 minutes
Cook Time:
0 minutes
Total Time:
5 hours 15 minutes
Nutritional Information:
Calories: 320 per serving
Protein: 5g
Sodium: 60mg
Conclusion
No-Churn Vanilla Ice Cream proves that you don’t need fancy equipment or complicated steps to create a truly satisfying homemade dessert. Its creamy texture, rich vanilla flavor, and effortless preparation make it a go-to recipe for any occasion. Whether enjoyed on its own or paired with your favorite desserts, this ice cream delivers comfort and indulgence in every scoop.
Questions and Answers:
- Can I make this recipe without an electric mixer?
Yes, but it will require more effort. You can whip the cream by hand using a whisk, though it may take longer to achieve stiff peaks. - How long does this ice cream last in the freezer?
It can be stored in an airtight container for up to 2 weeks, though it is best enjoyed within the first few days for optimal texture. - Can I reduce the sweetness?
Since sweetened condensed milk is a key ingredient, reducing sweetness is difficult without altering the structure. However, you can balance it by adding less sweet mix-ins. - What mix-ins work best with this base?
Chocolate chips, cookie crumbles, fruit swirls, caramel, and nuts all work wonderfully and can be customized to your taste. - Why is my ice cream too hard to scoop?
Homemade ice cream can freeze more firmly than store-bought versions. Let it sit at room temperature for a few minutes before scooping to soften.